How to use the Grid and Guides in Amadine for iOS
In this article, I will explain the grid and guides that will help you draw illustrations.
How to use the Grid
What is the Grid?
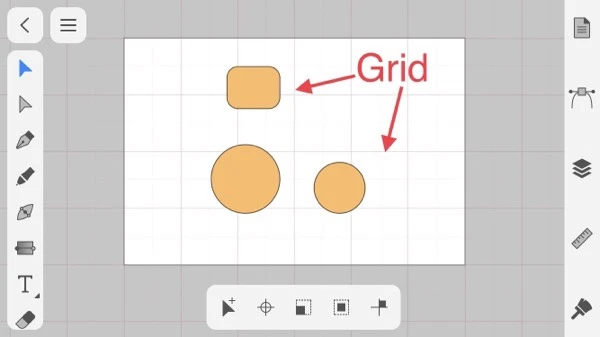
The grid is a pattern of squares to assist shapes in positioning.
The grid allows you to align images and draw lines precisely.
How to display the Grid
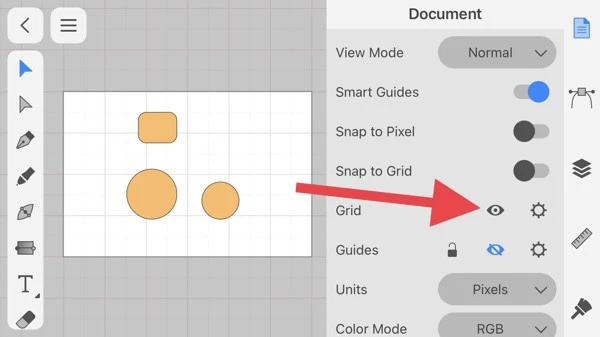
To show or hide the grid, tap the eye icon labeled “Grid” in the Document panel.
| 📌NOTE |
|---|
|
Keep in mind that shortcut is not hard to switch show/hide the grid frequently.
Align objects using the Grid
Tap “Snap to Grid” in the Document panel to enable the snap function.
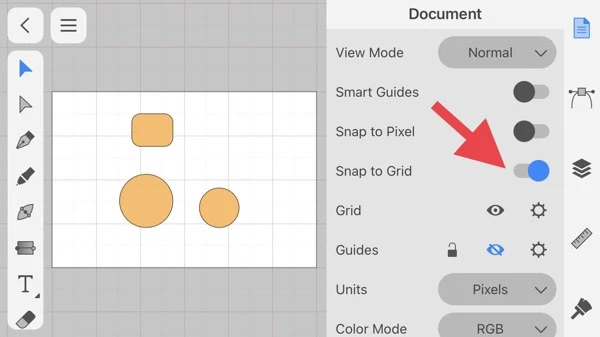
When the snap feature is enabled, an object that moves closer to the grid will stick to the lines of the grid.
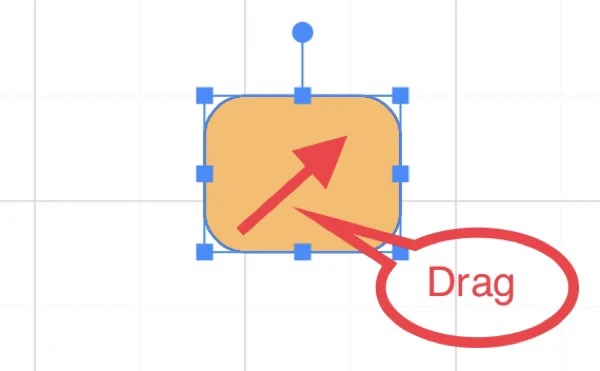
Try dragging the object to the upper right.
The edges of the object are placed flush with the lines of the grid.
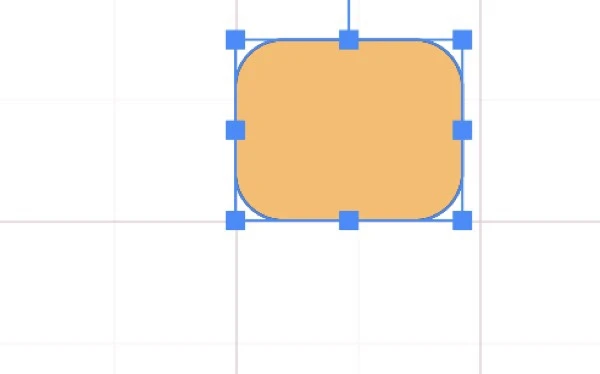
This feature is valid even when the grid is hidden.
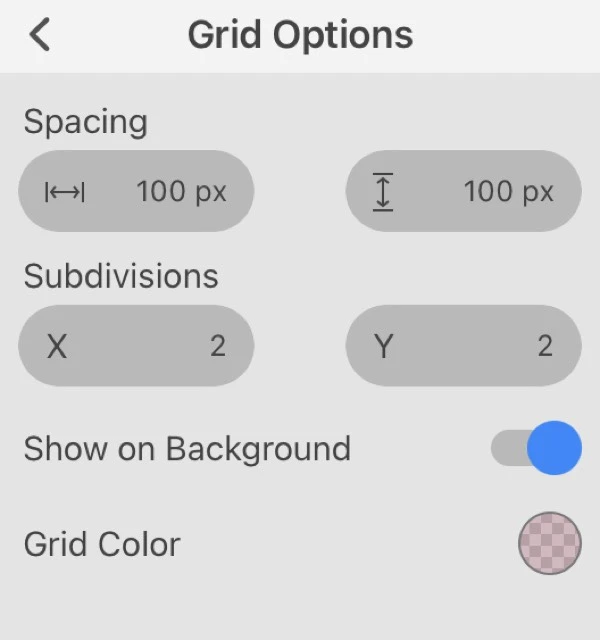
Change grid spacing and color
To change the grid spacing and color, tap the gear icon to open Grid Options.

How to use the Guides
What is the Guides?
Guides or Guide Lines are auxiliary lines used to align shapes or to position shapes correctly.
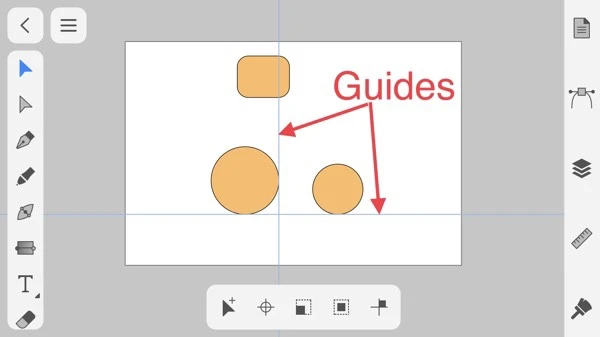
Because Guides are lines for work, they will not appear when exporting an image.
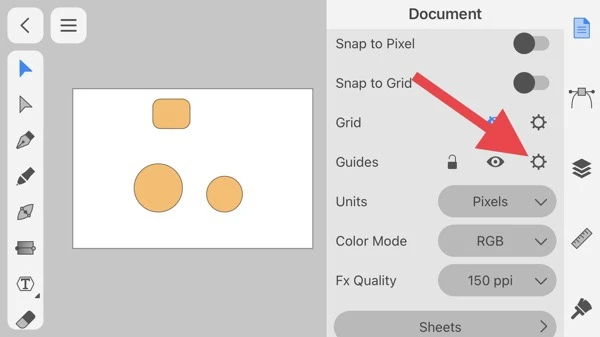
How to create Guides (1)
Tap the gear icon beside “Guides” in the Document panel to open the Guides panel.
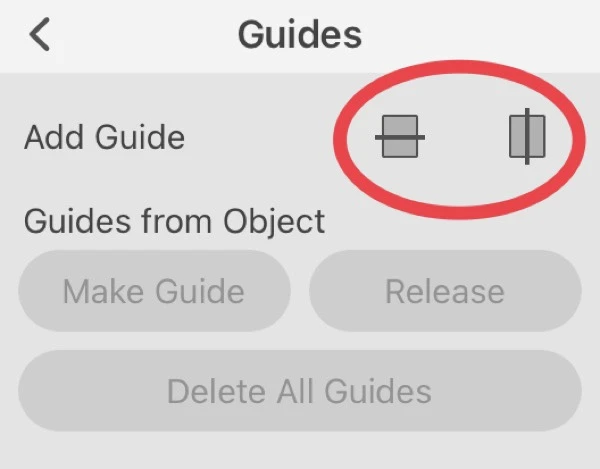
Tap the Add Guide icon in the Guides panel to add a guide to the canvas. The left icon is for horizontal guides, and the right icon is for vertical guides.
The added guides appear in the Layers panel in the same way as objects.
You can adjust the position of the guide in the same way as the object. You select the move tool and drag the guide.
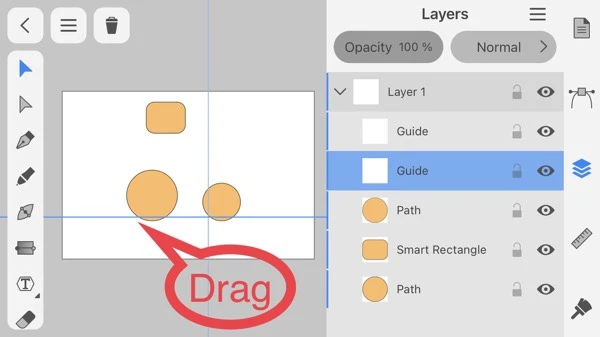
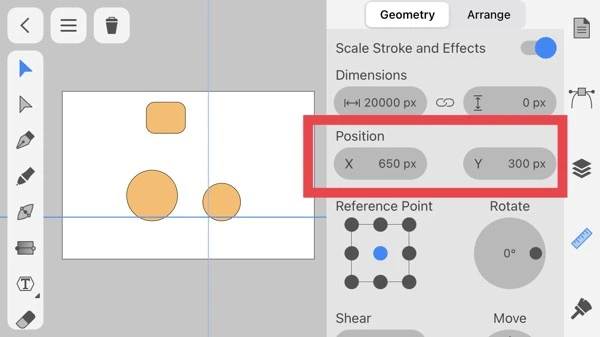
You can also enter a number to decide the position of guides in the Geometry panel.
How to create Guides (2)
You can also use the paths created on the canvas as guides.
Select the path you want to use as a guide with the selection tool.

Tap the gear icon of Guides in the Document panel.
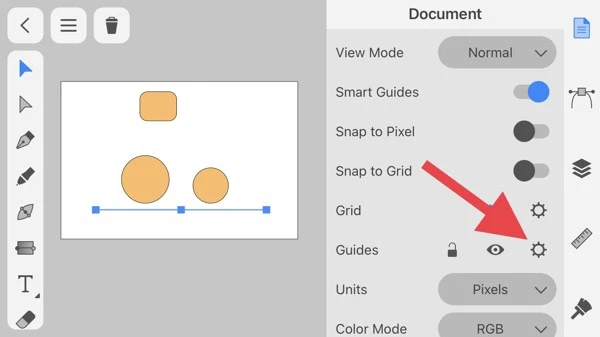
Tap the “Make Guide” button in the Guides panel to turn the path into a guide.

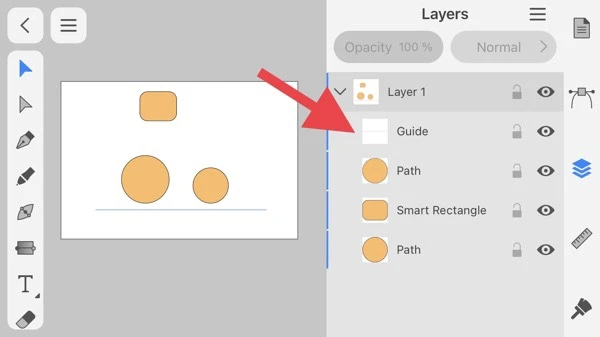
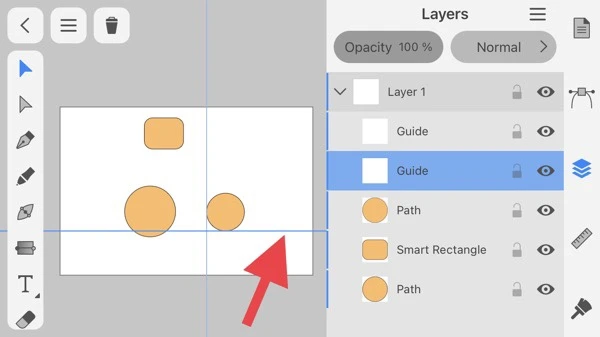
Open the Layers panel, and you will see that the name of the path has been automatically converted to “Guide.”
Align objects with Guides
Tap “Smart Guides” in the Document panel to enable the feature.
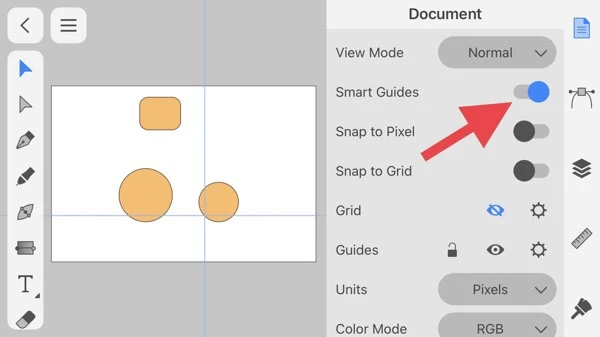
Smart Guides will allow snapping not only to guides but also to other objects.
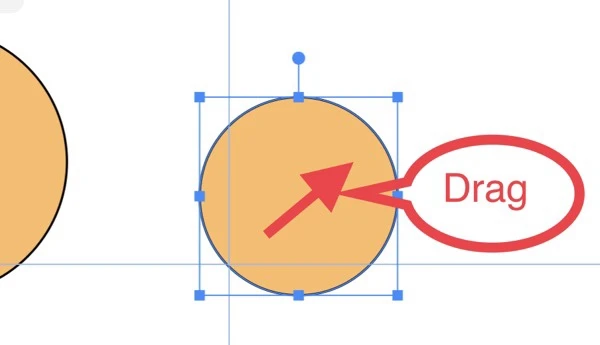
Try moving one object closer to the guide.
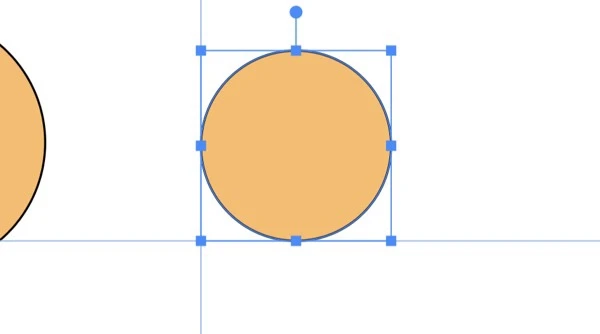
The object sticks to the guide.
Change the color of Guides
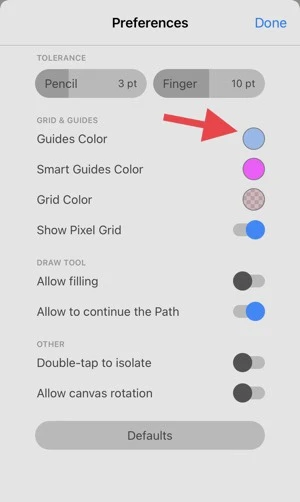
To select the color of the guides, open the Main Menu and tap Preferences.

There is an option of Guides Color in the Preferences panel, so you can change it to any color by tapping it.
Example of creating useful guides
Create a guide in the center of the canvas
There are many opportunities to place objects in the center of the canvas, so I’ll show you how to create a guide in the center.
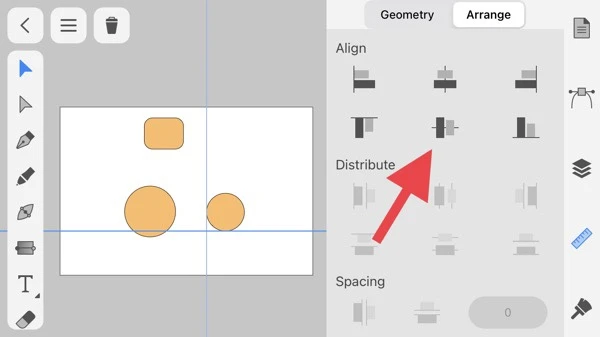
Select the horizontal guide with the selection tool or the Layers panel.
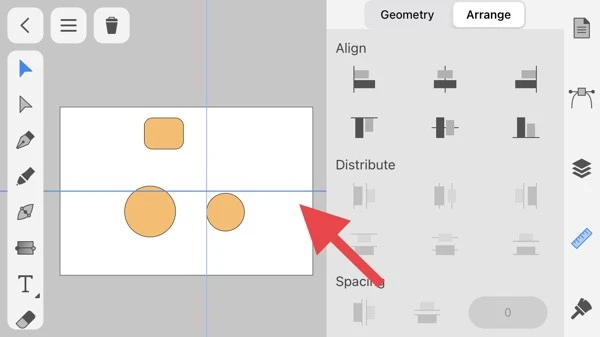
Next, tap the “Centering Icon” in the Arrange panel to move the guide to the center of the canvas.
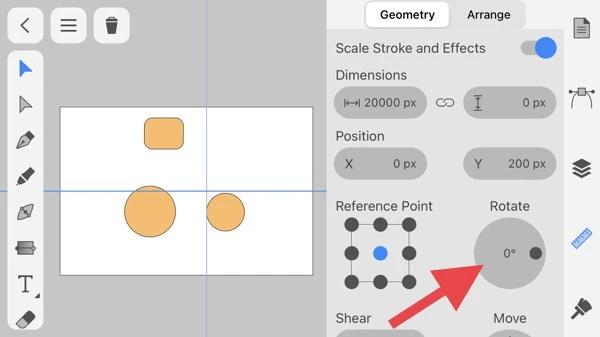
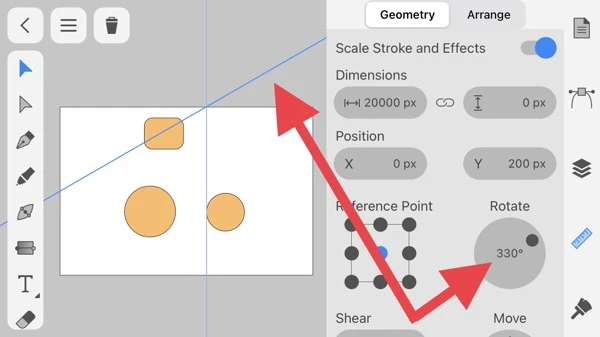
Create an angled guide
To create an angled guide, you just rotate the horizontal (or vertical) guide.
With the horizontal guide selected, enter the angle in the Rotate in the Geometry panel to rotate the guide.