How to use the Clipping Mask in Amadine for iOS
This article describes “clipping mask,” a function that makes objects appear cropped.
As of writing this article, Amadine for iOS was version 1.4.1.
Take a quick look at how the Clipping Mask works
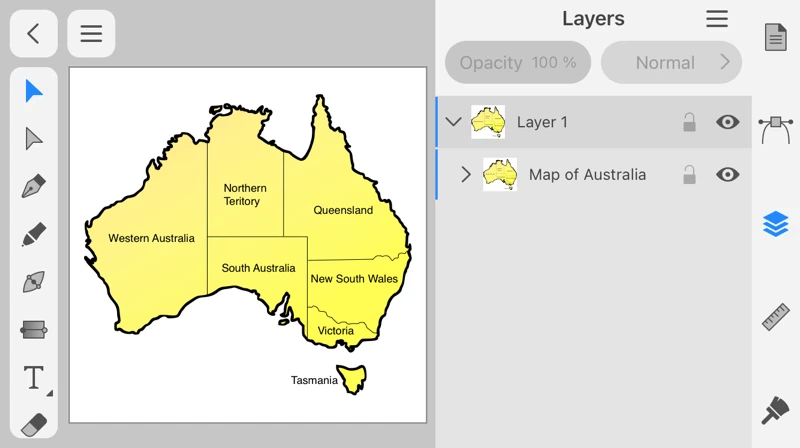
Let's cut a map of Australia into a circle.
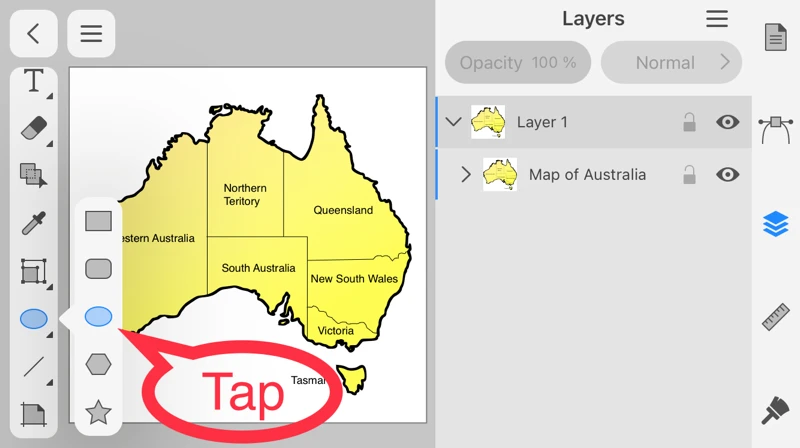
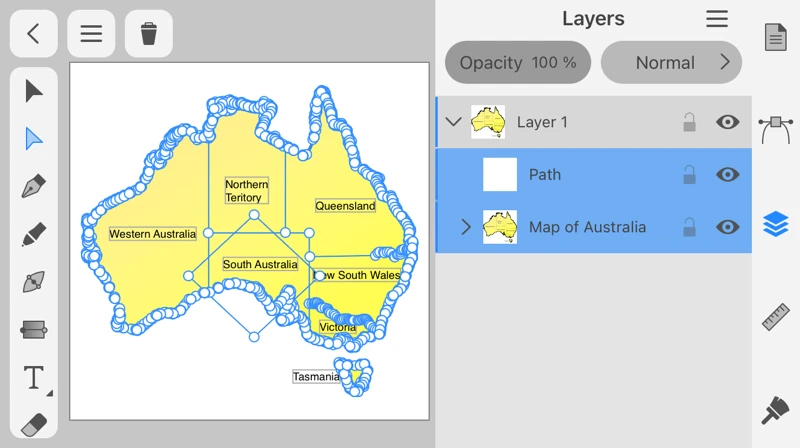
First, tap the Ellipse Tool in the Tools Panel to draw a circle on the map of Australia.
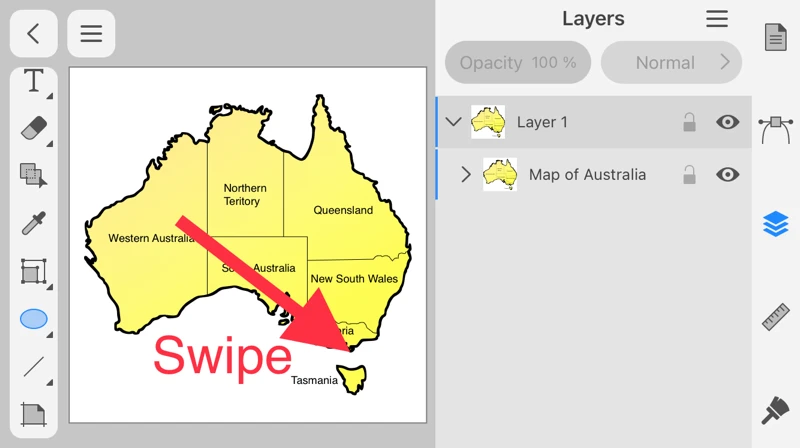
Swipe around the text "South Australia" from the top left to the bottom right.
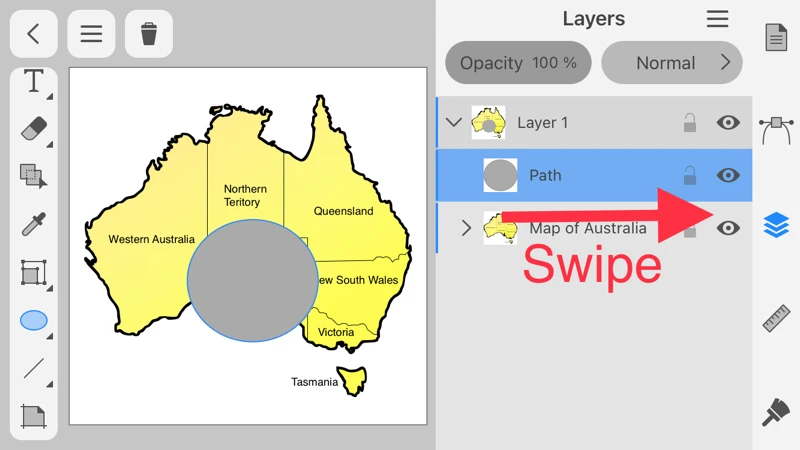
A gray circle has been added. With the circle selected, swipe the Map of Australia in the Layers panel from left to right.
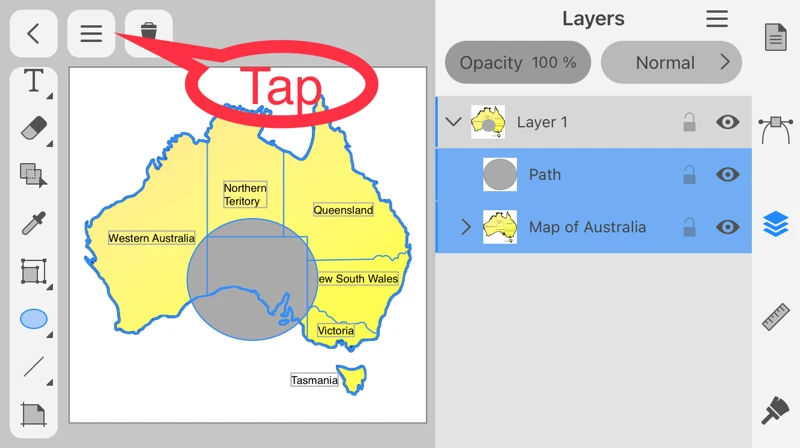
With the circle and the map selected, tap the Main Menu.
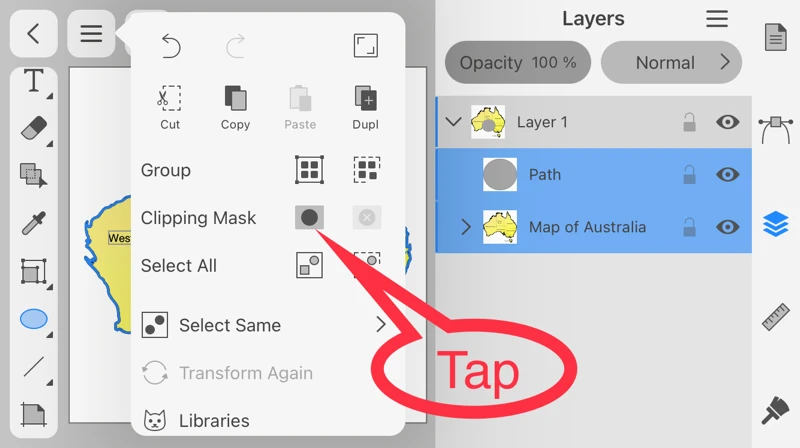
Tap the Make Clipping Mask button in the menu.
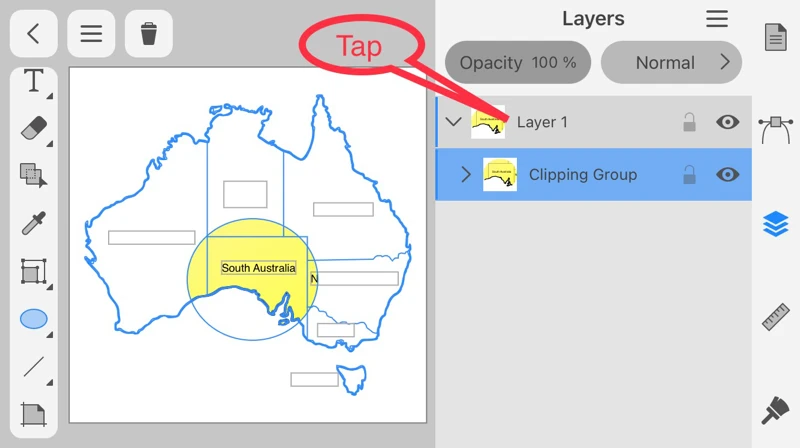
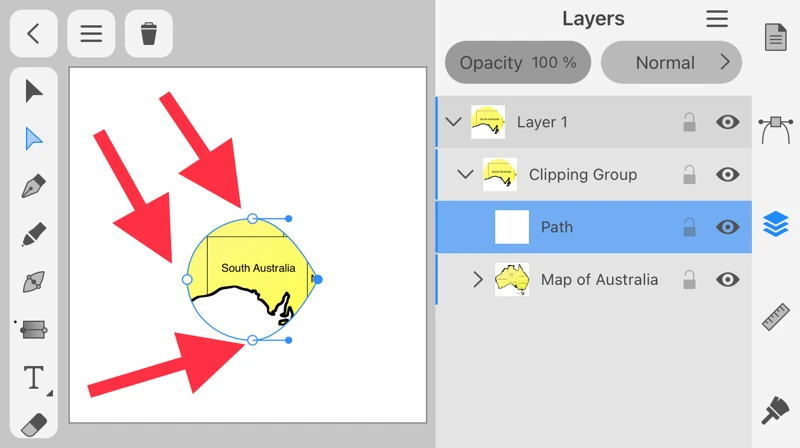
Only the part of the map that overlapped with the circle remains as it was, the rest is white.
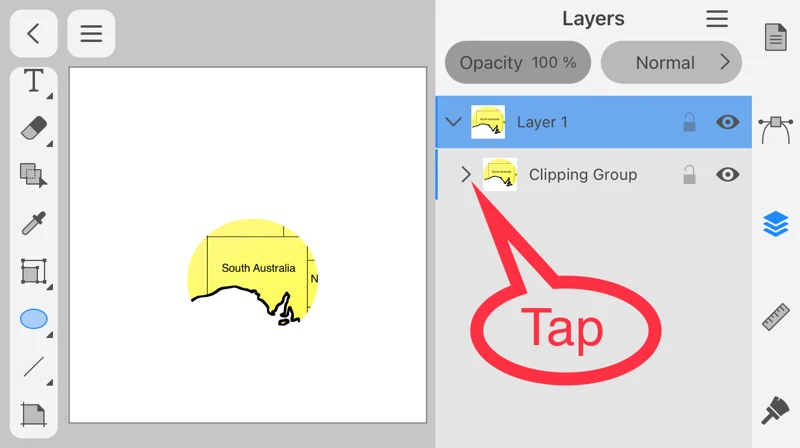
In the Layers panel, the objects under Layer 1 disappeared and the "Clipping Group" appeared.
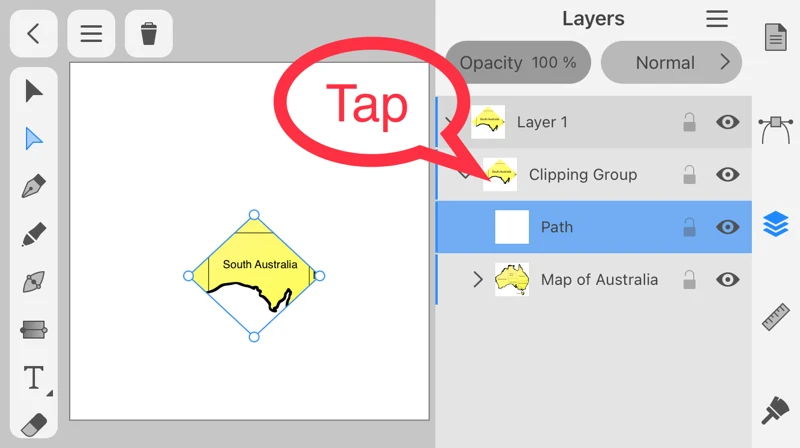
Tap Layer 1.
In the Layers panel, the objects under Layer 1 disappeared and the "Clipping Group" appeared.
Tap Layer 1.

The white part of the map is now hidden.
As mentioned above, the clipping mask is a function that hides the upper layer object and displays only the part of the lower layer objects that overlapped with the upper layer.
Edit the upper layer object
Let’s edit the upper object from a circle to a diamond.
Tap ">" at the beginning of "Clipping Group" in the Layers panel.
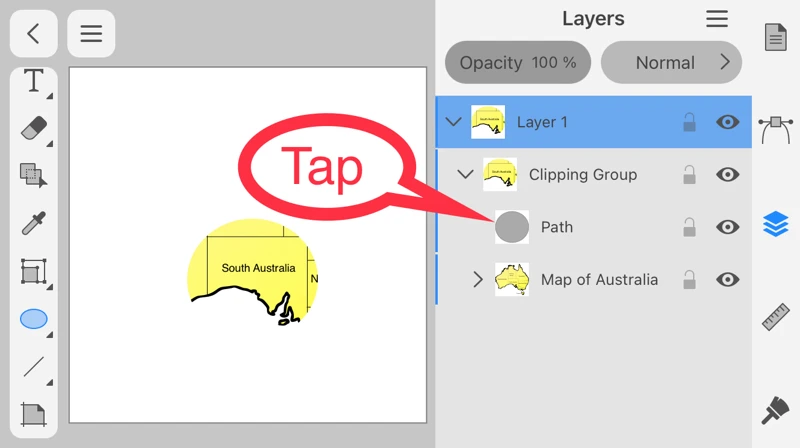
The circle you created first and the map have appeared. Tap the circle.
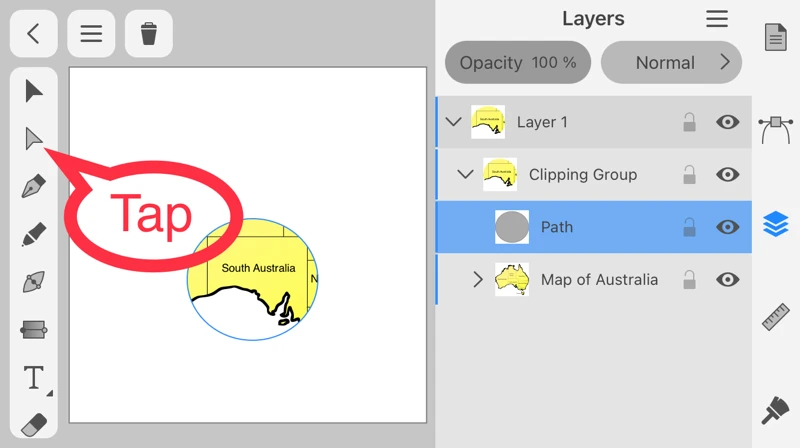
With the circle selected, tap the Selection Tool in the Tools Panel.
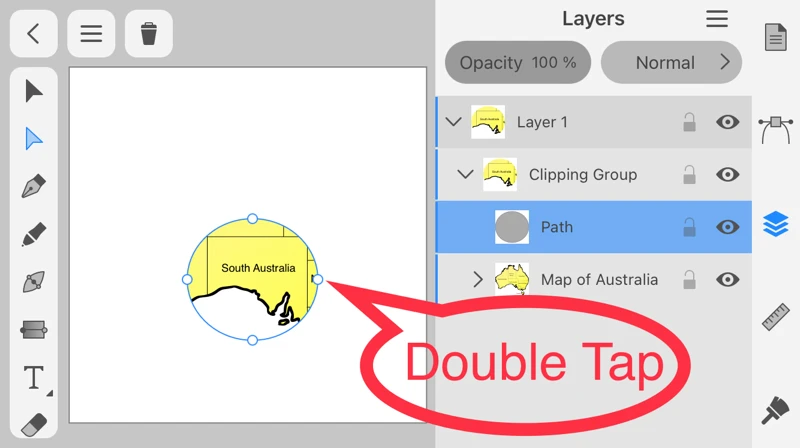
Double-tap the anchor point on the left side of the circle.
Smooth point is now changed to Corner point. Double-tap the other three points.
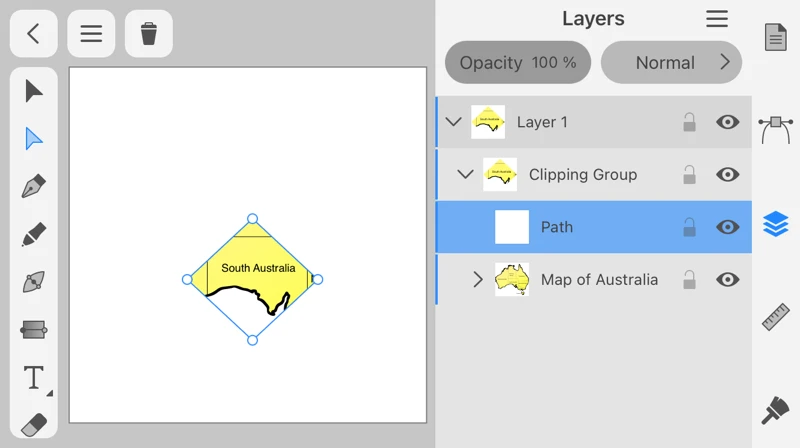
The map that was in the lower layer changed from being cut out with a circle to being cut out with a diamond.
In this way, even after cropping out the clipping mask, it is possible to edit not only the upper layer but also the lower layer.
Release the Clipping Mask
To remove the clipping mask, first tap Clipping Group in the Layers panel.

Then tap Main Menu.
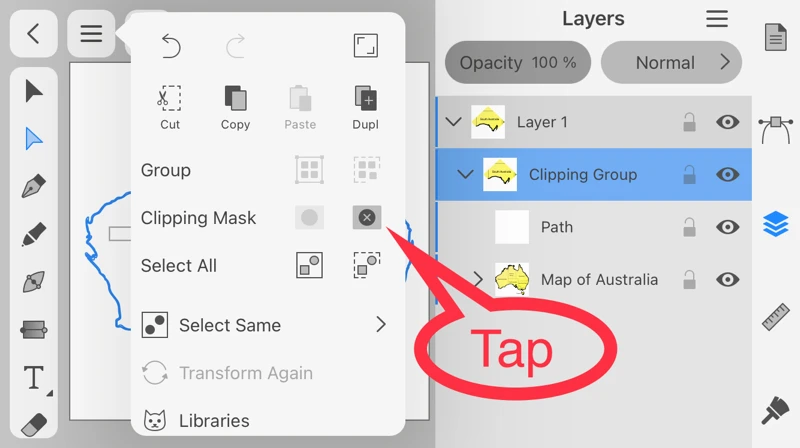
Tap The Release Clipping Mask button.
The clipping mask has been released and the Clipping Group in the Layers Panel has disappeared.
Thank you.
Related Articles
2022-03-25
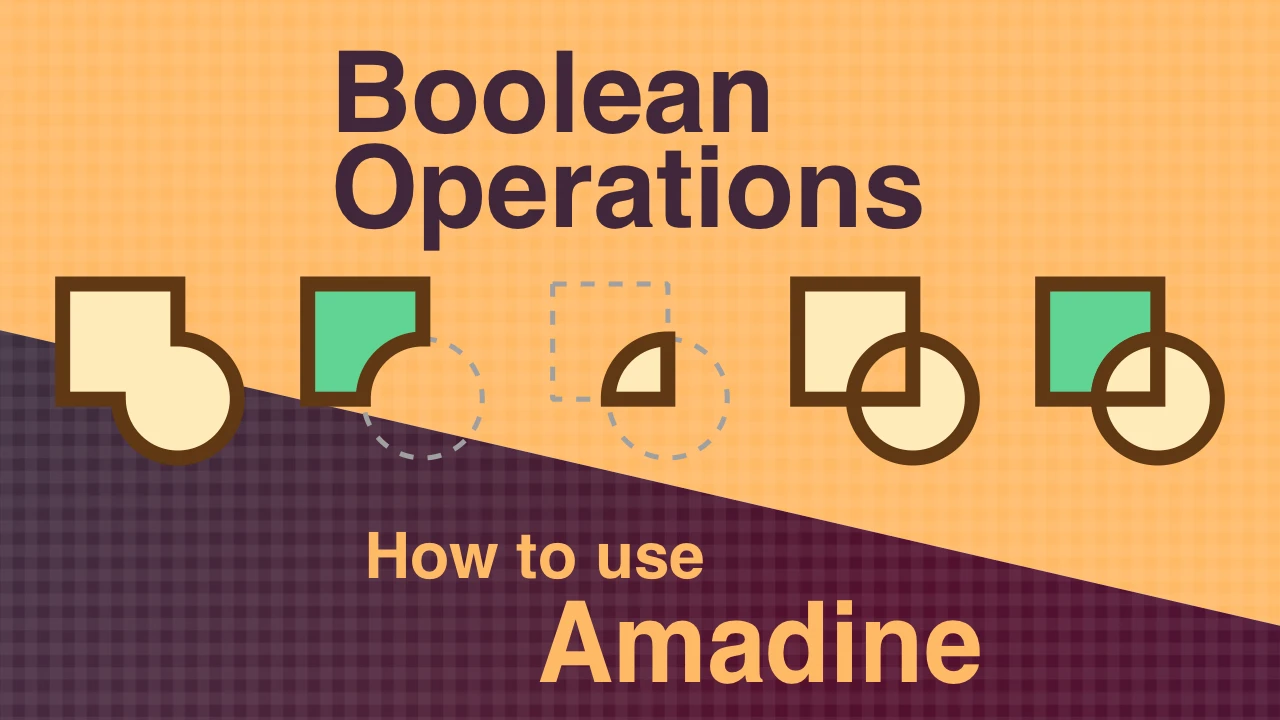
How to use the Boolean Operations in Amadine for iOS
Learn about the Boolean Operations that merge and break apart overlapping objects.

2022-09-16
How to draw a Symmetrical Face in Amadine for iOS
Lets draw a bear face using the three methods introduced in the article below: "The Symmetrical Distort Tool", "Flip, Copy and Join", and "The Path Width Tool".
2022-04-22
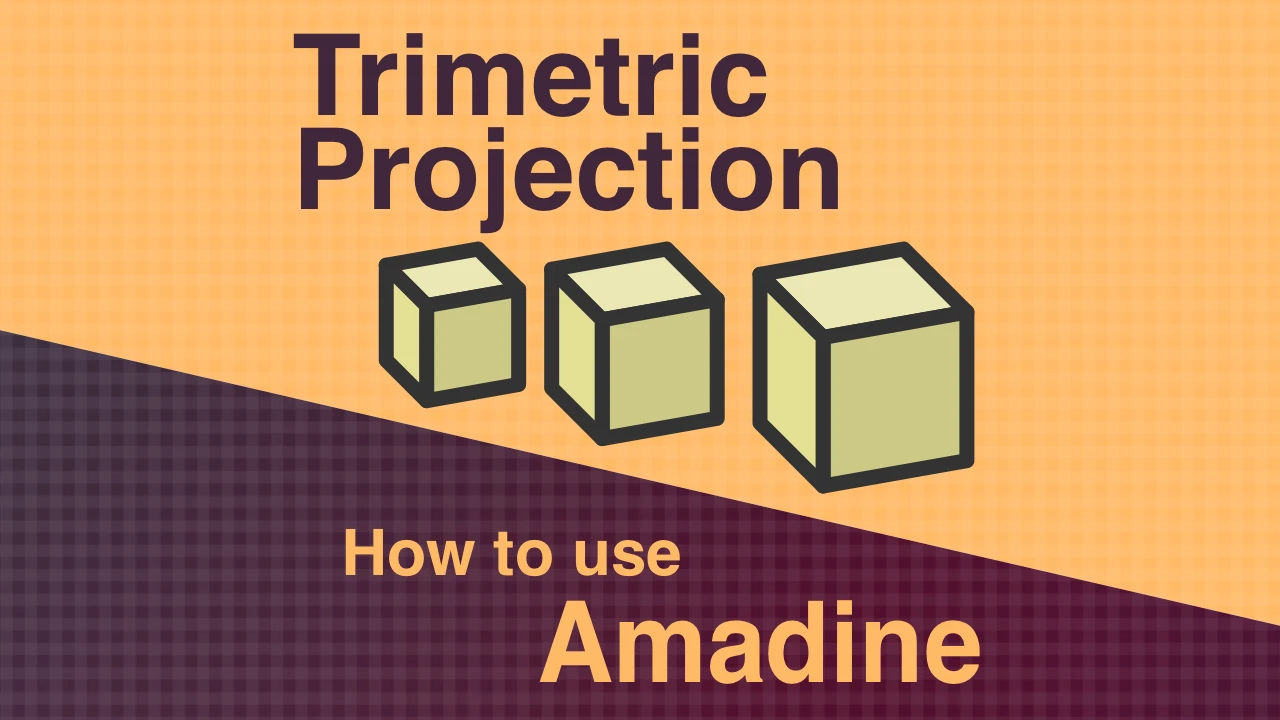
Trimetric Projection in Amadine for iOS
Learn how to draw a box in trimetric projection using the vector graphics application Amadine. It is a way to write an object whose shape, color, and angle can be easily modified as you want. Finally, I will show you how to change it to isometric projection.
2022-02-11
Vectornator vs. Amadine
I compared two vector graphics applications on iOS.
2022-02-28
How to Edit a Path with Pen Tool in Amadine for iOS
We will explain how to edit a path using Pen Tool in Amadine, a vector graphic app, for iOS.
2022-09-14
How to draw symmetrical objects in Amadine for iOS
This article shows you three ways to draw symmetrical shapes other than the basic shapes such as circles and squares.