Gradient fill and Image fill in Amadine for iOS
In addition to plain coloring, Amadine for iOS offers “Gradient,” a gradual color change, and “Image fill,” which fills in with a photo or shape.
I'm happy that I can use these two tools with my smartphone app.
As of when I wrote this article, Amadine was Version 1.2.8.
How to use Linear Gradients
First, let’s paint the object with a linear gradient.
Download the sample file below and open it in Amadine.
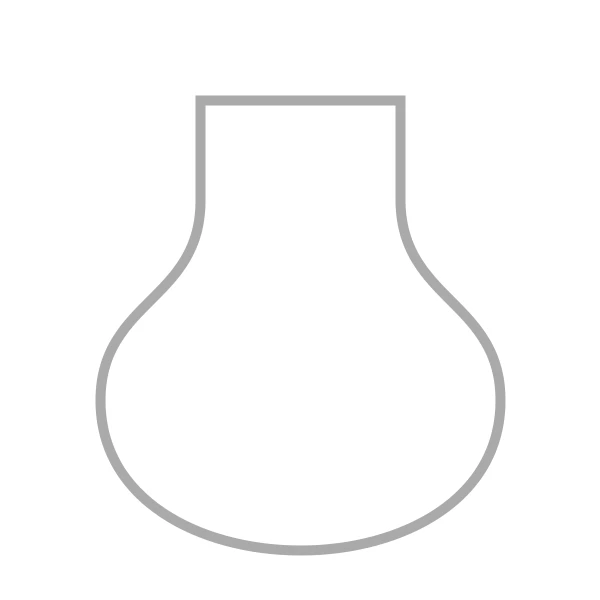
As shown, the vase diagram is displayed.
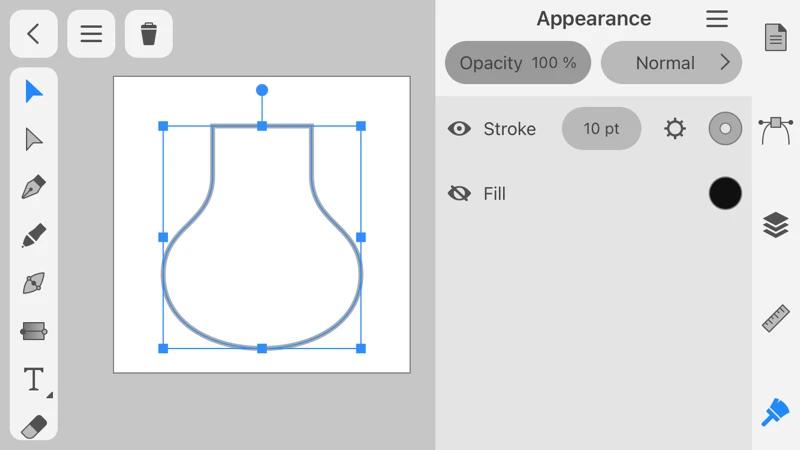
Select the figure with the Selection Tool. Opening the Appearance panel, you find the eye icon next to Fill is off.
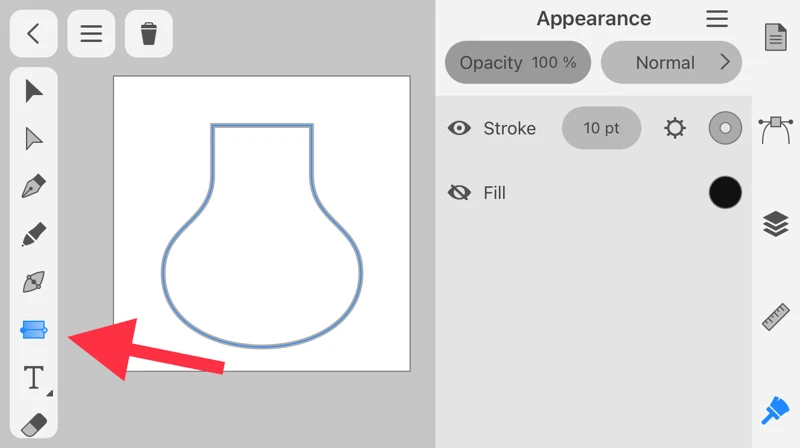
Select the Gradient tool, the sixth tool in the Tools panel.
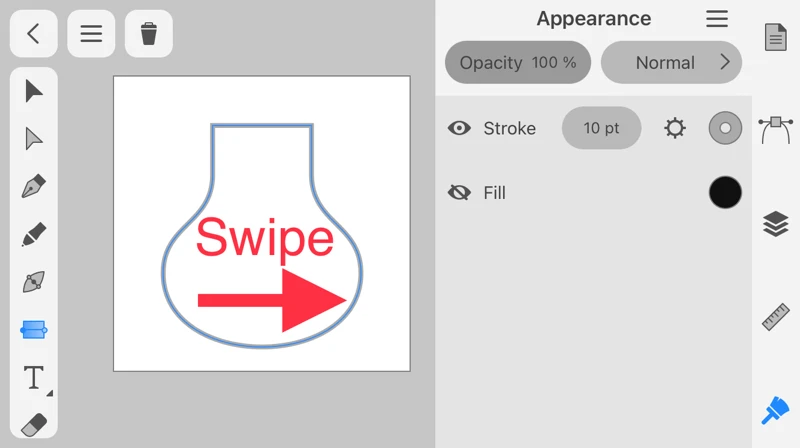
Swipe from left to right on the vase.
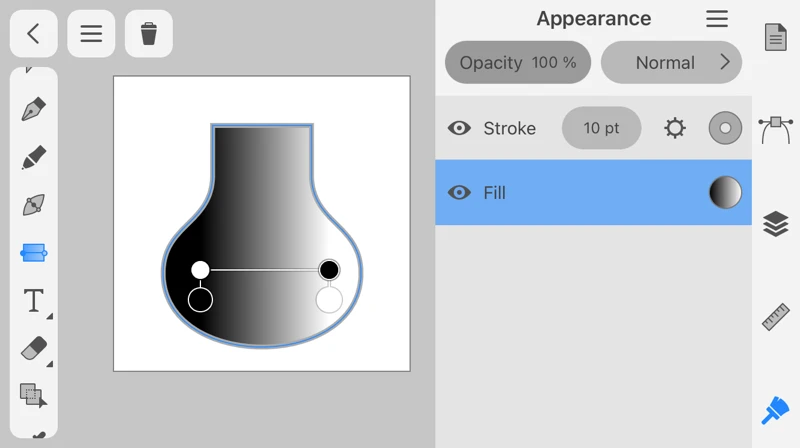
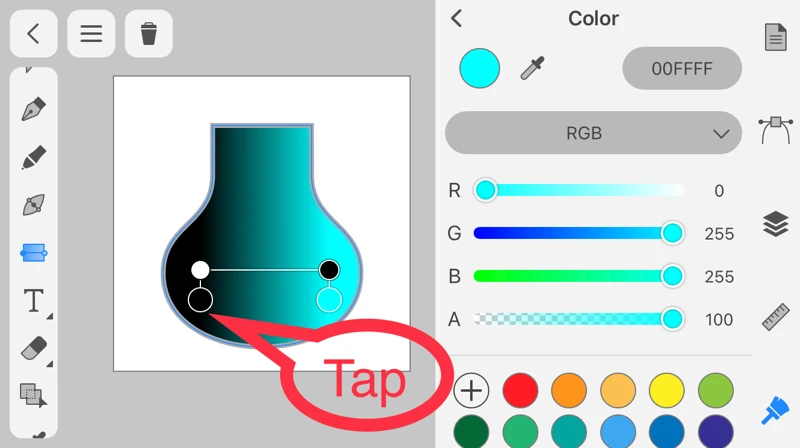
The vase is colored, and the four circles and the lines connecting them appear.
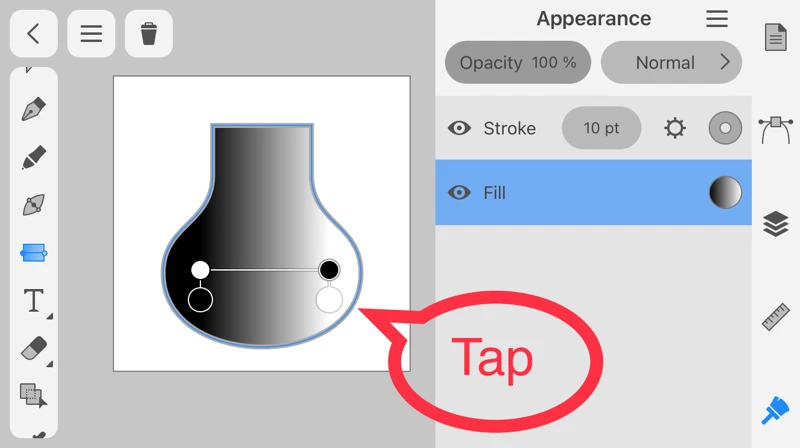
Tap the white circle on the right.
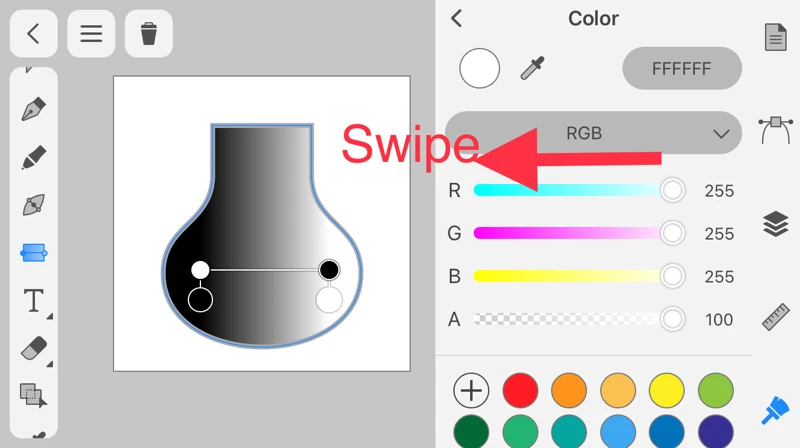
When the Appearance panel switches to the Color panel, swipe the R color slider to the left edge.
The color on the right side of the vase has changed to match the slider. Next, tap the black circle on the left.
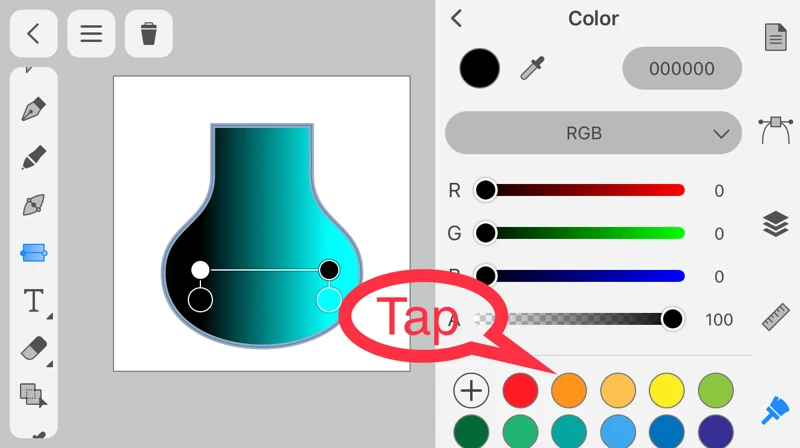
Tap the orange circle from the Swatch library below the Color panel.
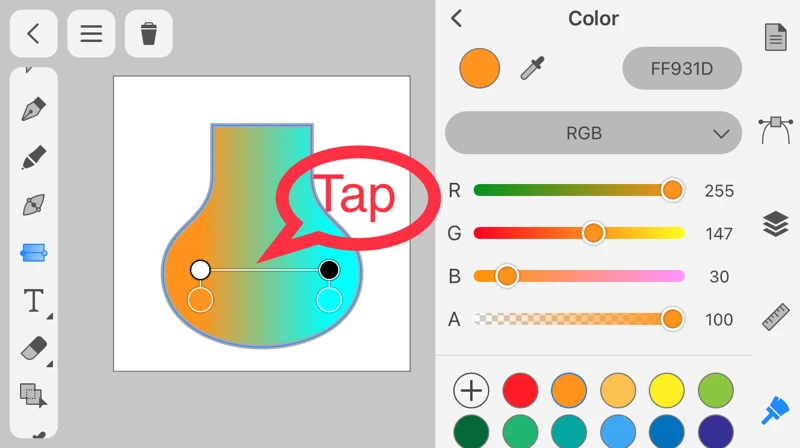
The color on the right side of the vase has changed to orange.
Let’s add one more color. Tap near the center of the line.
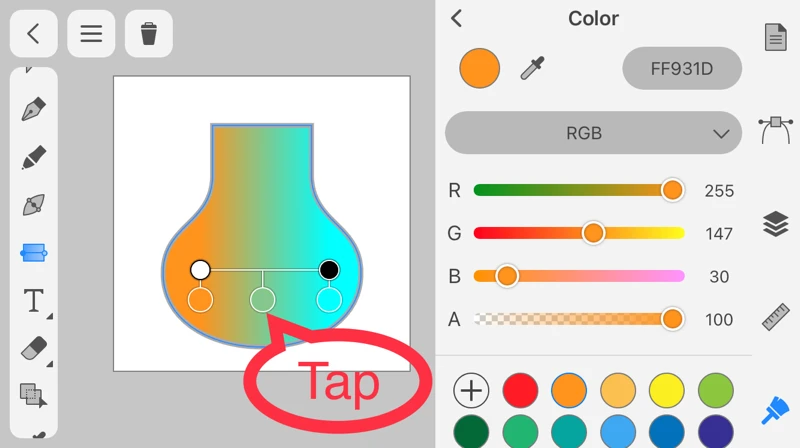
A circle has been added in the center, so tap that circle.
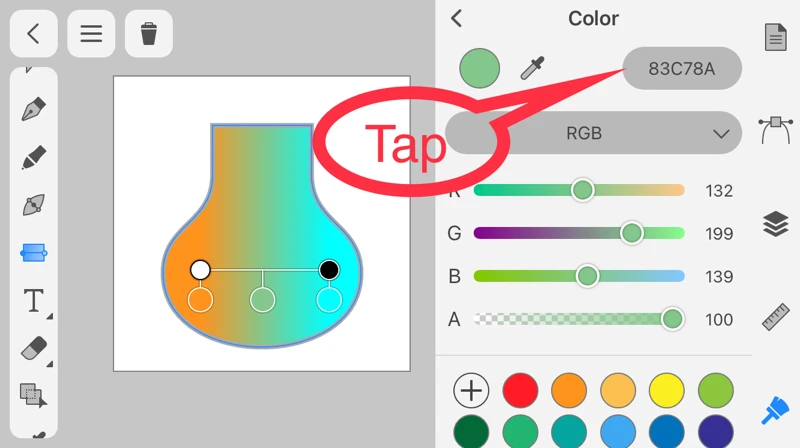
Tap the sequence of numbers and letters (hexadecimal representation) in the upper right corner of the Color panel.
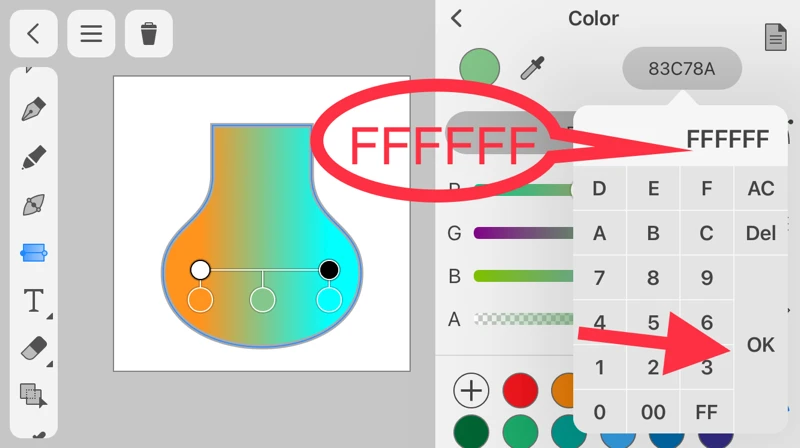
Enter "FFFFFF" and tap OK.
The center of the vase has turned white.
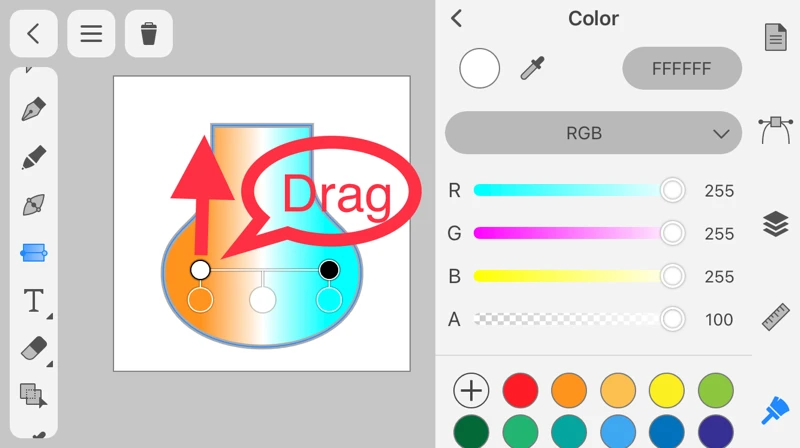
Next, drag the left circle upward.
Next, drag the left circle upward.
The orange position has moved, and the color of the entire vase has changed.
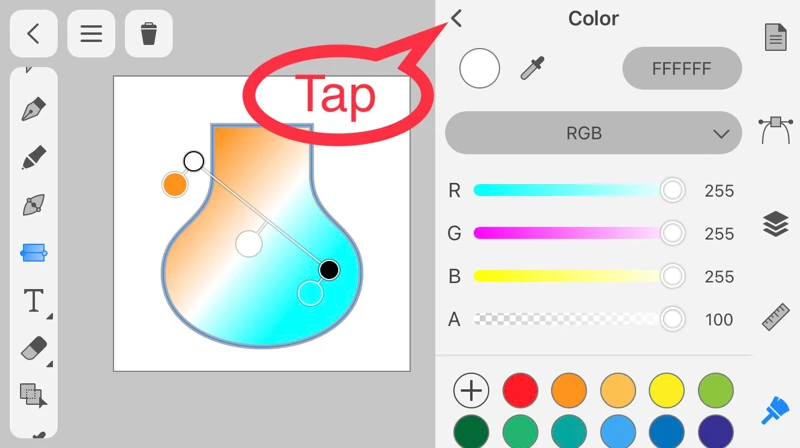
Tap the "<" in the upper left corner of the Color panel.
Tap the "<" in the upper left corner of the Color panel.
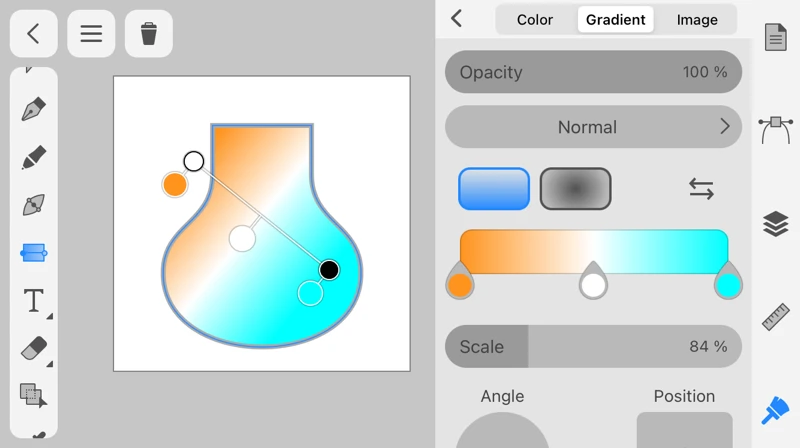
The Color panel has switched to the Gradient panel.
You can also change the color and angle in this panel.
You can also change the color and angle in this panel.
Av advantage of Amadine is that you can intuitively paint objects on the canvas.
How to use Radial Gradients
Next, let’s paint with a radial gradient.
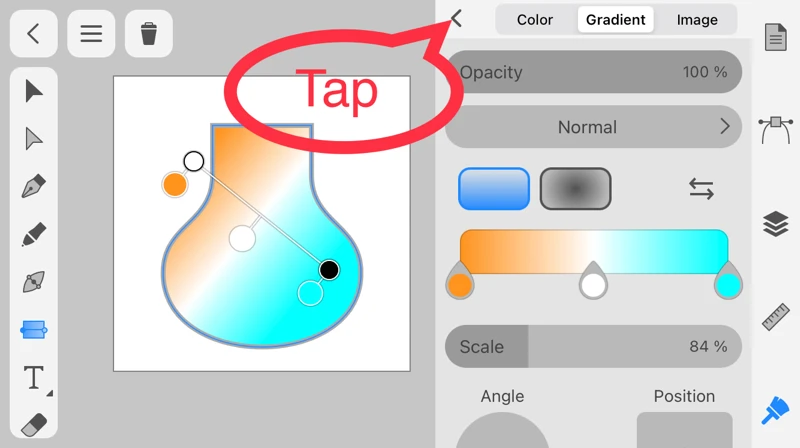
Tap the "<" in the upper left corner of the Gradient panel.
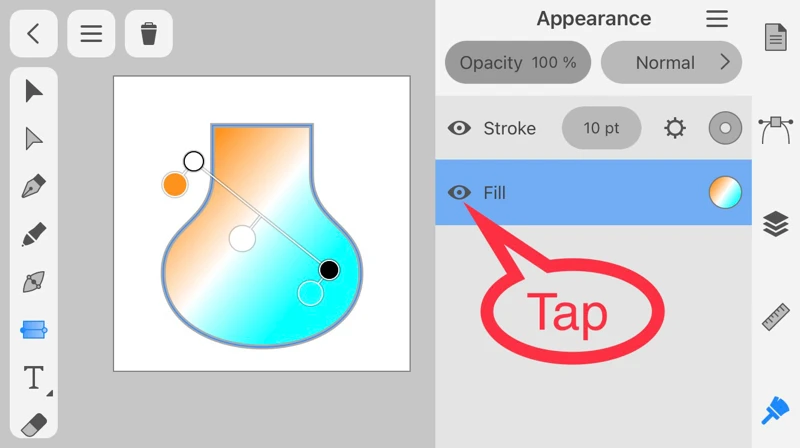
After switching from the Gradient panel to the Appearance panel, tap the eye icon to the left of Fill.
The vase fill has disappeared.
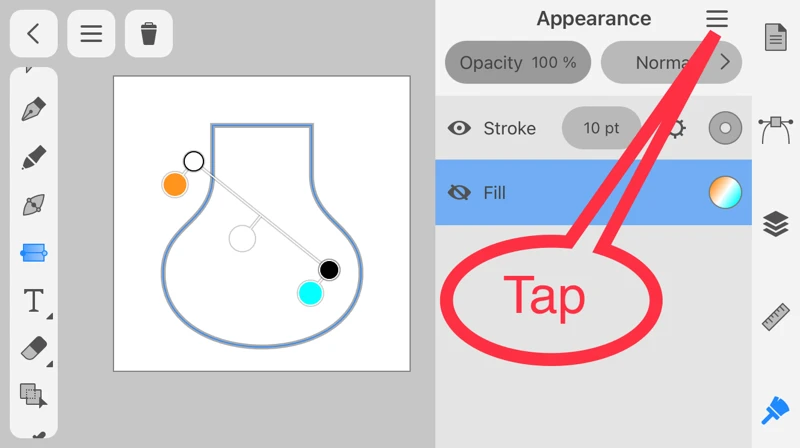
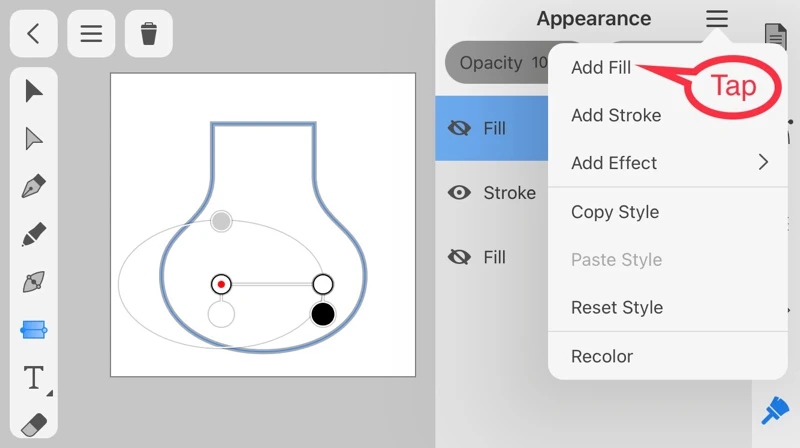
Tap the sandwich icon in the top right corner of the Appearance panel.
Tap the sandwich icon in the top right corner of the Appearance panel.
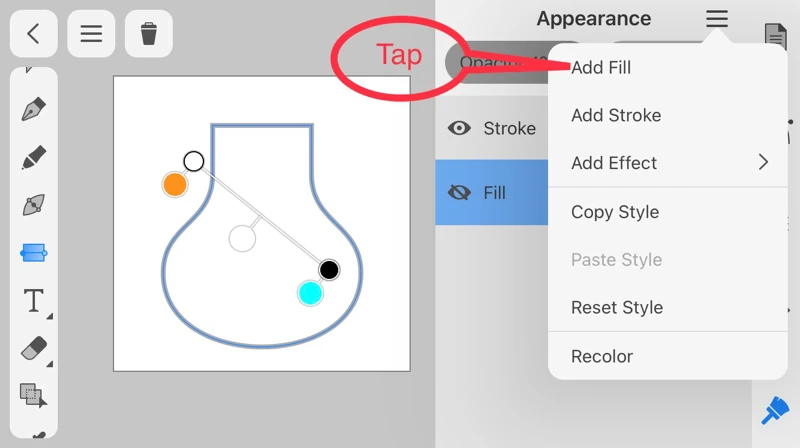
Tap Add Fill in the menu.
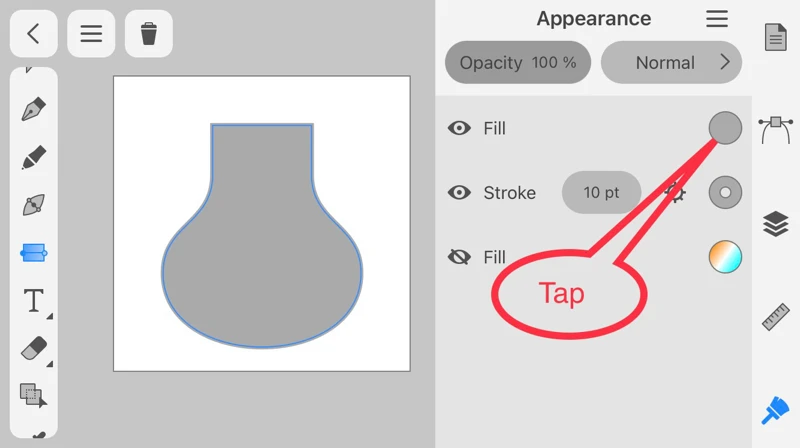
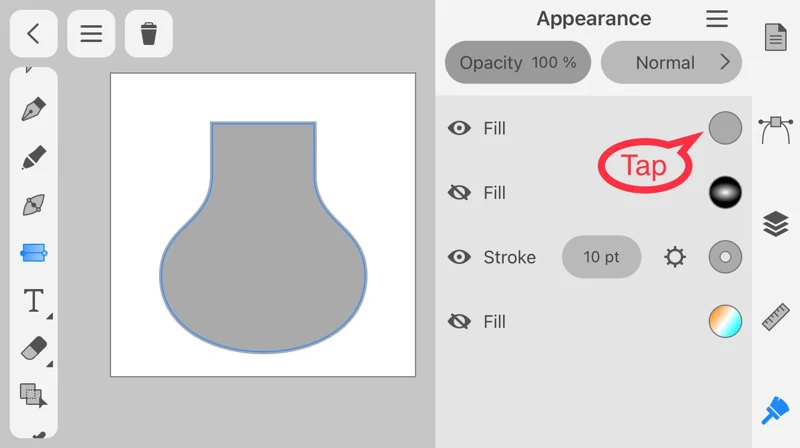
The color of the vase has changed, and one Fill has been added to the top of the panel.
Tap the circle at the right end of the Fill.
Tap the circle at the right end of the Fill.
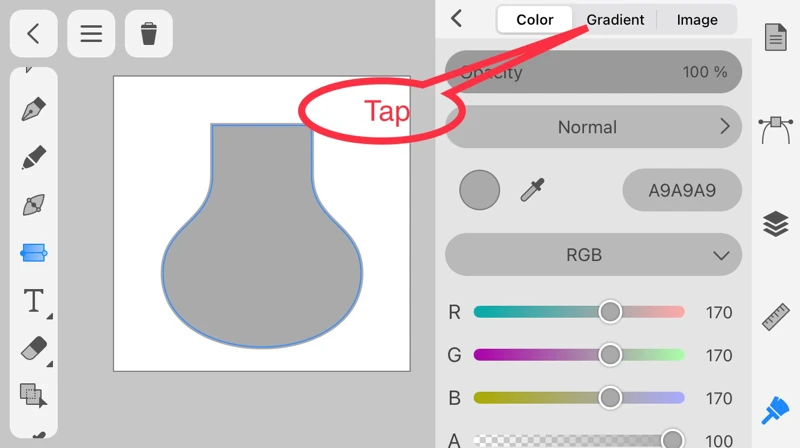
After switching to the color panel, tap Gradient among the top tabs.
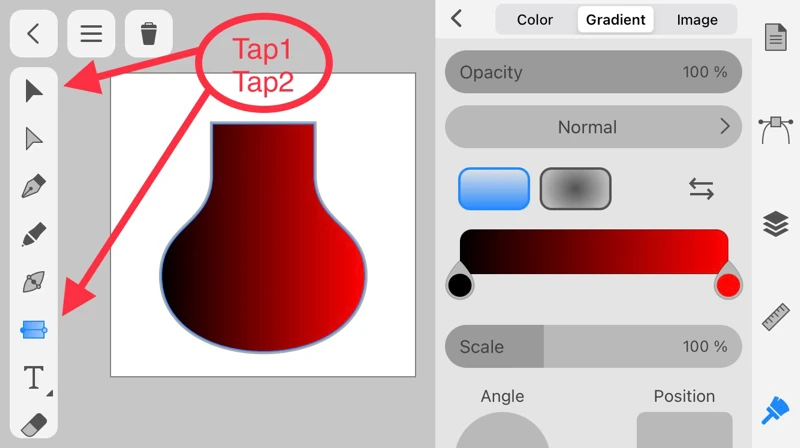
To display the gradient tool icon on the canvas, tap "Selection Tools" and then "Gradient Tool."
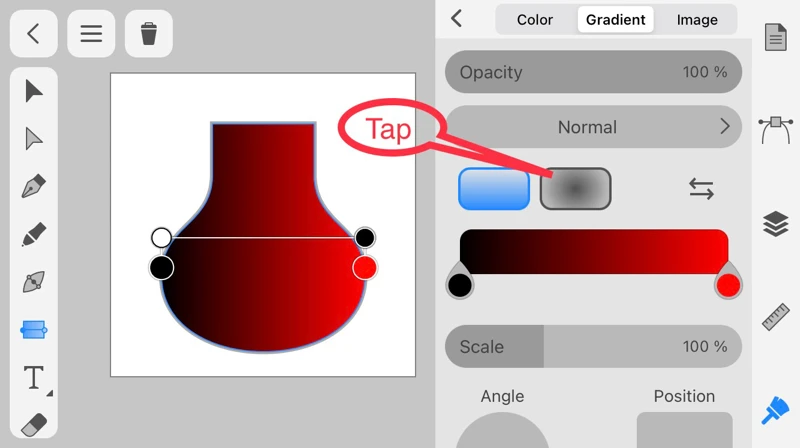
Next, tap the button in the center of the screen to switch from "Linear Gradient" to "Radial Gradient."
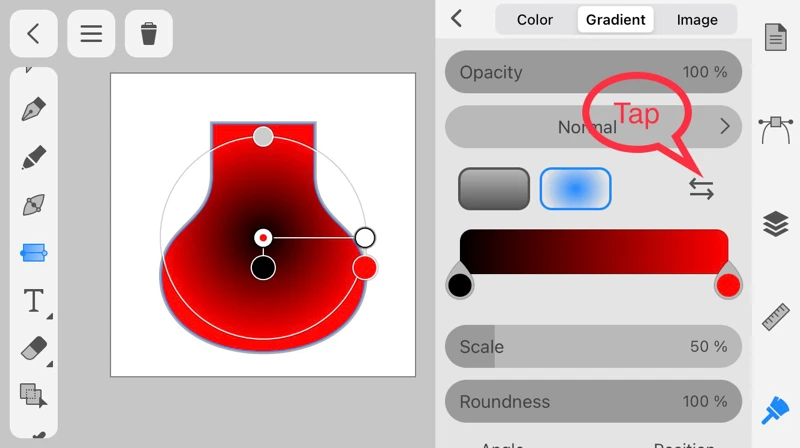
Tap the arrow icon on the right side of the center of the panel.
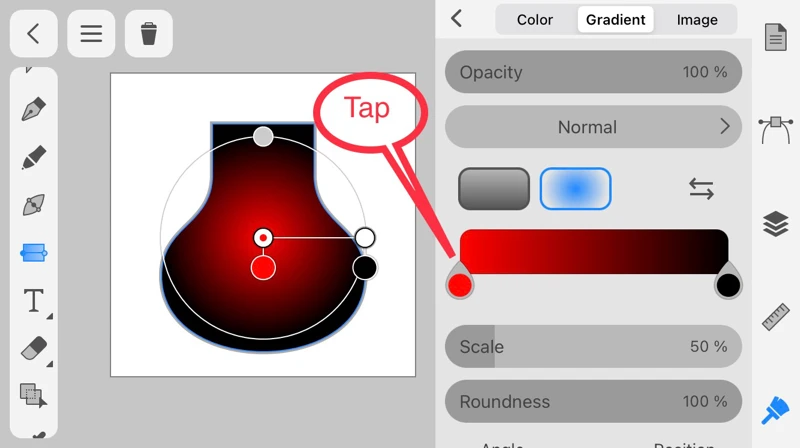
When the color scheme has reversed, tap the red circle.
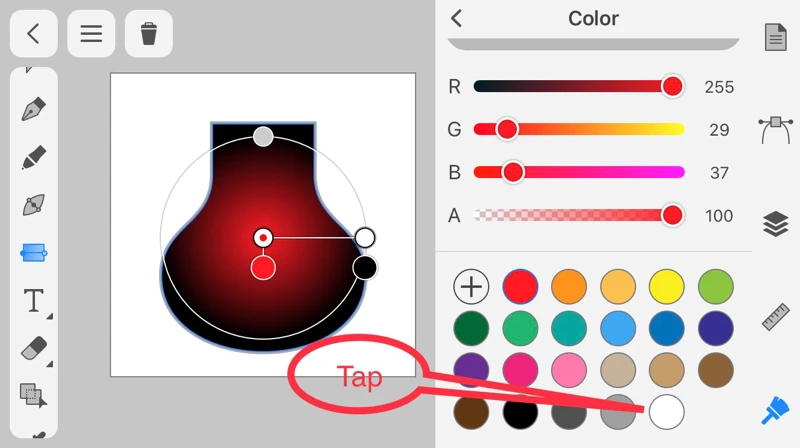
Tap white among the color swatches at the bottom of the Color panel.
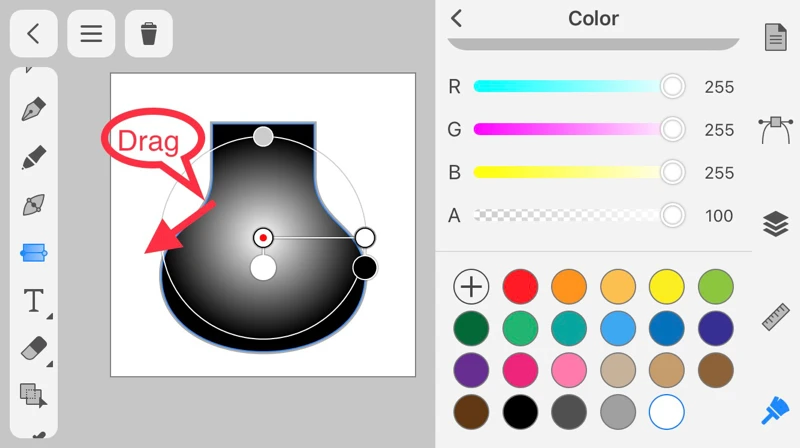
Drag the inside of the circle that overlaps the vase toward the lower left.
The center of the gradient has moved.
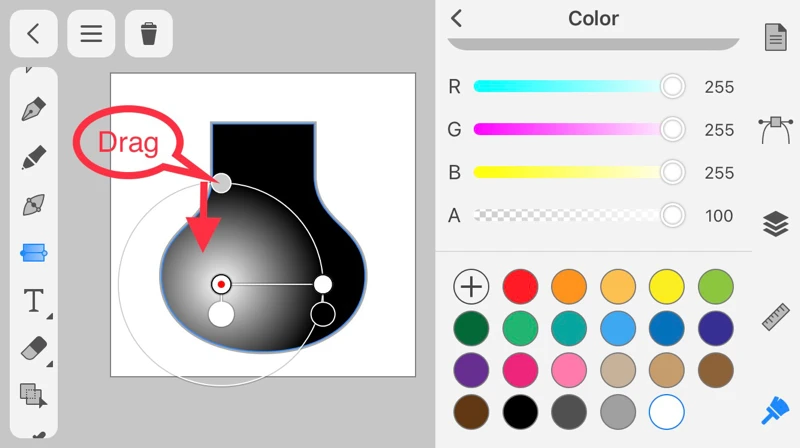
Drag the circle icon at the top of the gradient circle downward.
Drag the circle icon at the top of the gradient circle downward.
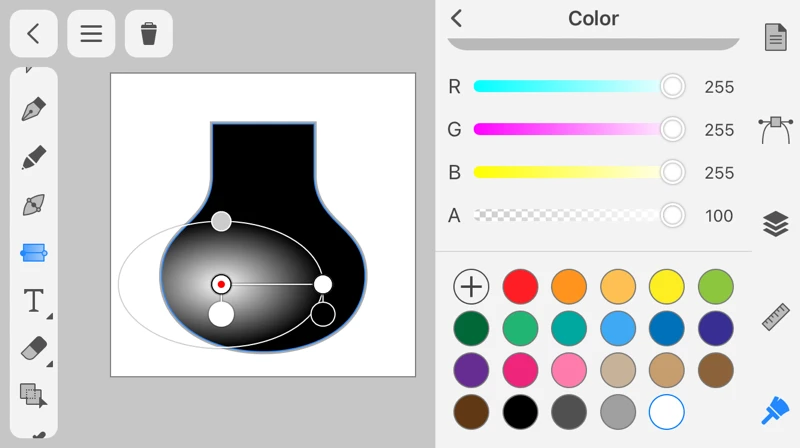
The gradient circle transforms into an ellipse.
Radial gradients can also be handled on the canvas, so it's easy to understand.
How to use Image Fill
Next, let’s try using image fill.
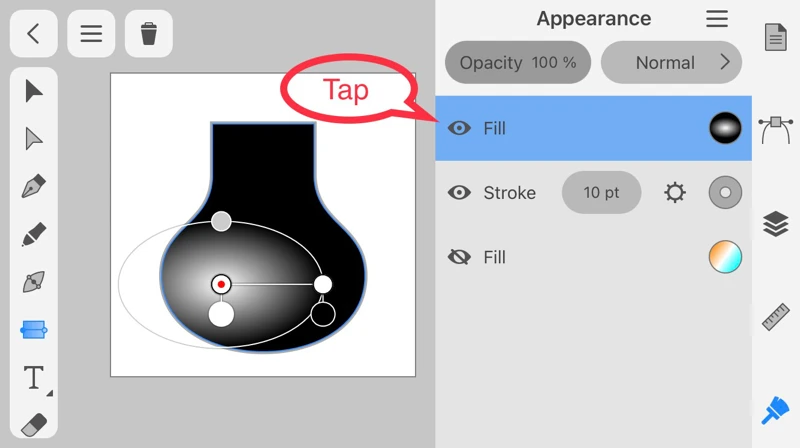
First, tap the eye icon to the left of the Fill in the Appearance panel to hide it.
Tap Add Fill in the Appearance panel.
Tap the color icon of the added Fill.
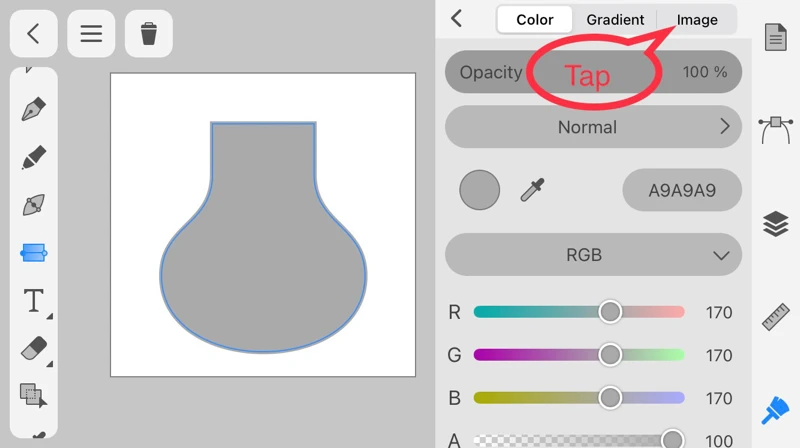
Tap the Image tab among the tabs in the Color panel.
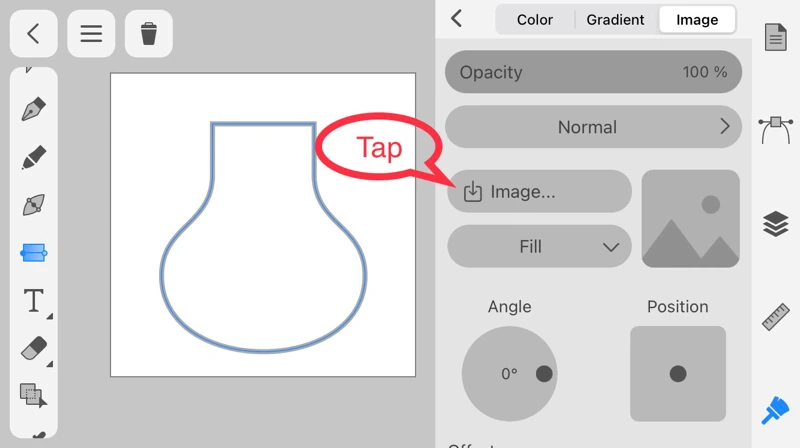
Tap the button in the center of the Image panel.
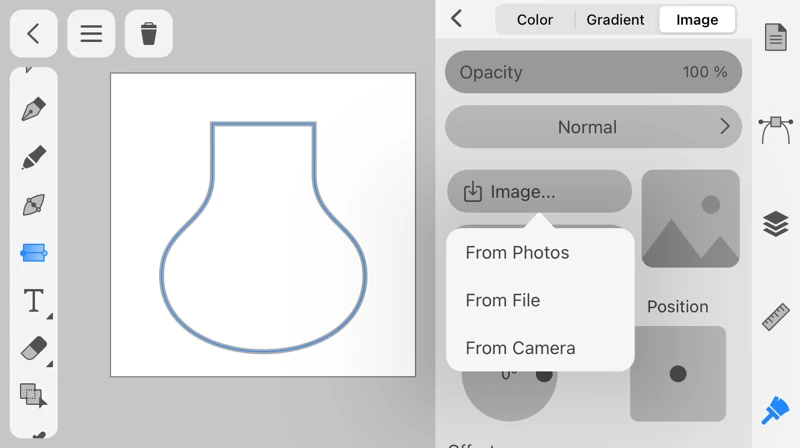
Select an image to use for Fill.
If you want to use an image saved in the Photos app, select "From Photos."
If you want to use an image saved in the Photos app, select "From Photos."
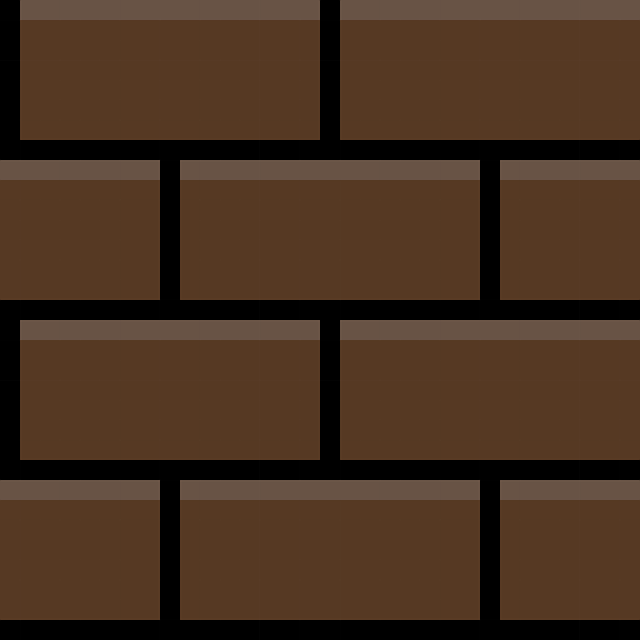
As a sample, I will use a brick image downloaded from Pixabay.
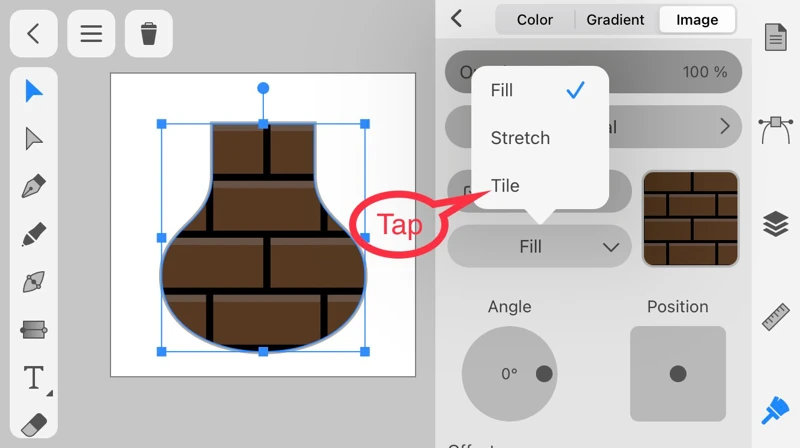
The vase has filled with the brick pattern. Tap the button labeled Fill in the Image panel and select Tile.
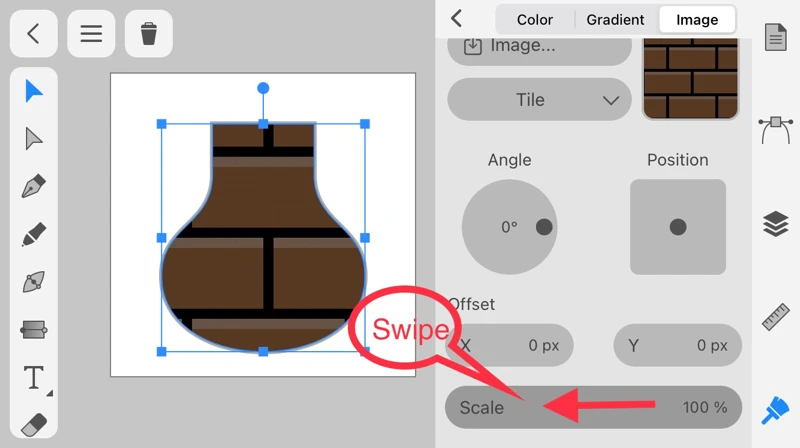
Slide the Image panel down and swipe the Scale bar to the left.
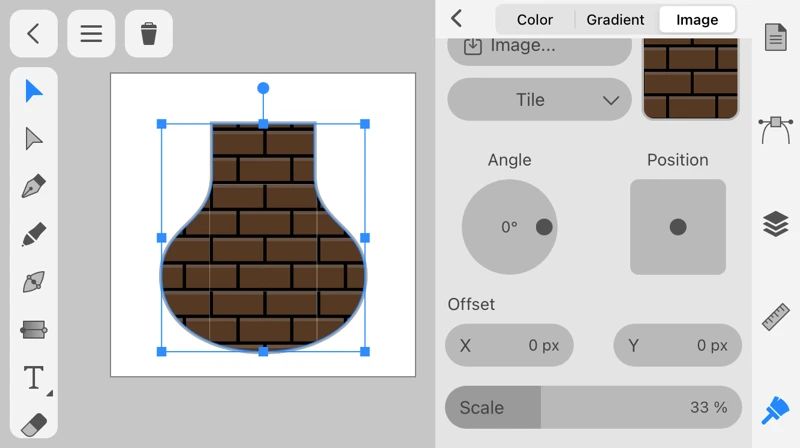
The brick pattern on the vase has become finer.
Other functions such as opacity are also available.
Related Articles
2022-09-14
How to draw symmetrical objects in Amadine for iOS
This article shows you three ways to draw symmetrical shapes other than the basic shapes such as circles and squares.
2022-02-11
Vectornator vs. Amadine
I compared two vector graphics applications on iOS.

2022-09-16
How to draw a Symmetrical Face in Amadine for iOS
Lets draw a bear face using the three methods introduced in the article below: "The Symmetrical Distort Tool", "Flip, Copy and Join", and "The Path Width Tool".
2022-03-21
How to use the Fusion tool in Amadine for iOS
Learn about the Fusion tool for merging or partially deleting objects.

2022-03-25
How to use the Boolean Operations in Amadine for iOS
Learn about the Boolean Operations that merge and break apart overlapping objects.
2022-04-01
How to create the Neon sign with Glow Effects in Amadine for iOS
We will show you how to use the Inner Glow Effect and Outer Glow Effect to create a neon sign-like logo, as used on a store sign.