How to use the Recolor in Amadine for iOS
Learn how to use the Recolor function to change the color of some objects at the same time.
It is indispensable for creating the same shapes with different colors.
What is the Recolor?
You use the Recolor function when you want to change the colors of Strokes and Fills that were determined when creating the objects.
Here is an example of using the Recolor.
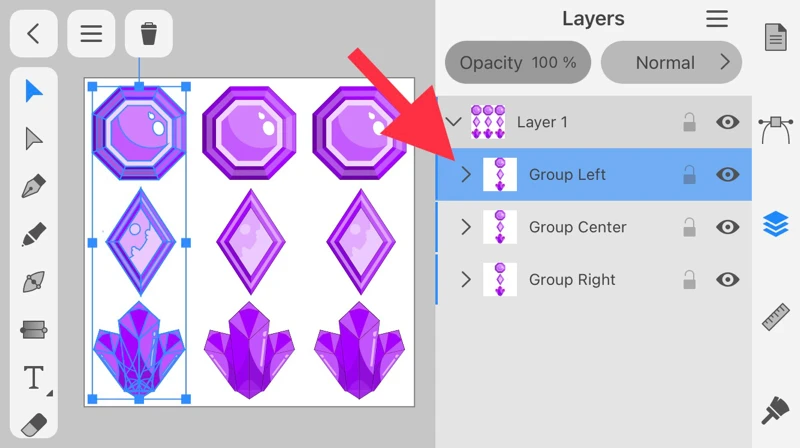
Select objects you want to recolor.
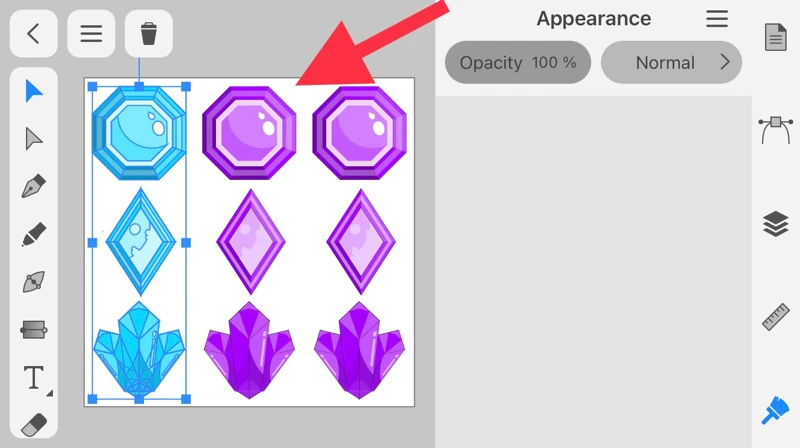
In this figure, select the group on the left of the gems.
In this figure, select the group on the left of the gems.
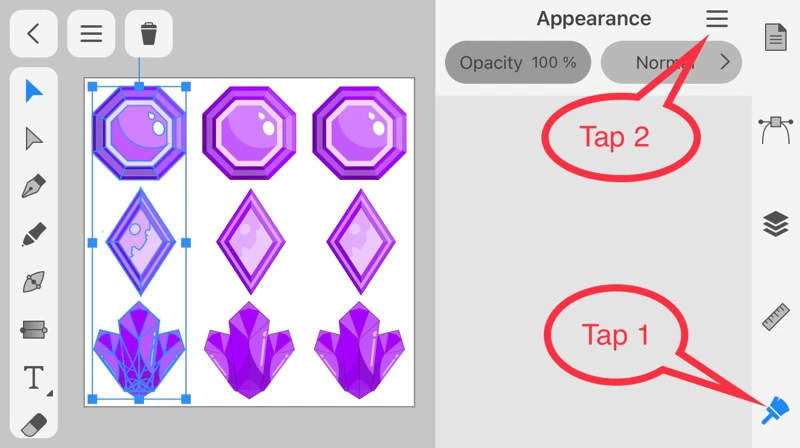
Tap the brush icon to open the Appearance panel.
Next, tap the menu icon in the upper right corner.
Next, tap the menu icon in the upper right corner.
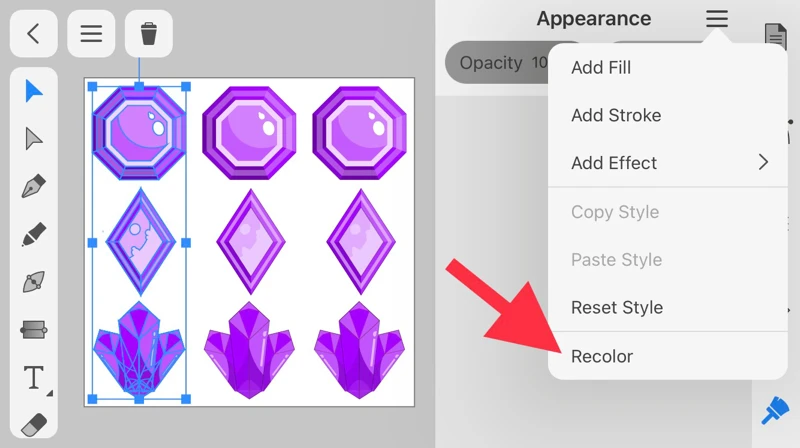
Tap Recolor at the bottom of the menu.
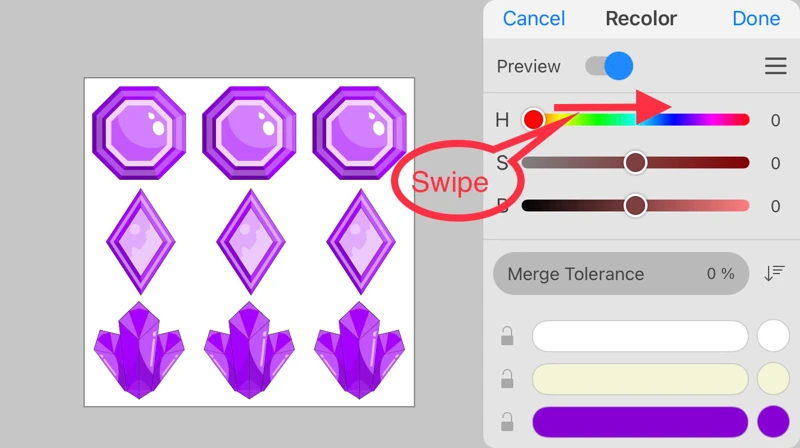
After switching to the Recolor panel, swipe the H slider to the right.
H stands for Hue.
H stands for Hue.
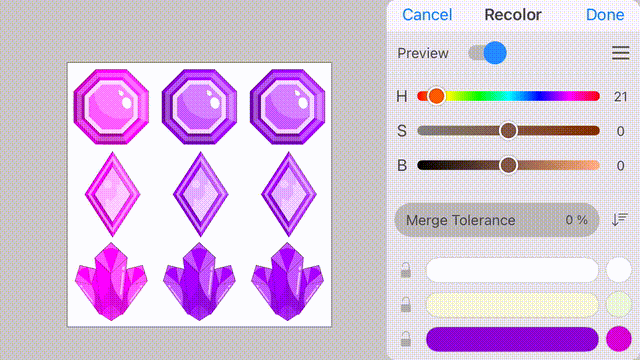
As you can see in the animation, swiping the slider changes the colors of the objects.
The Recolor function allows you to change the colors of objects simultaneously.
The Recolor function allows you to change the colors of objects simultaneously.
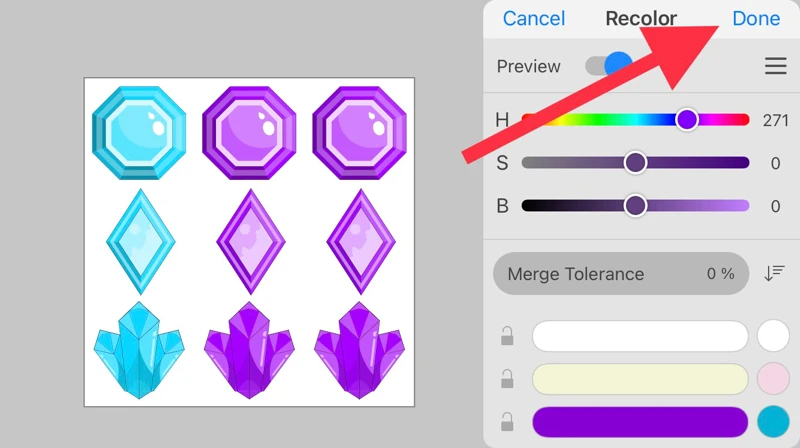
Tap Done on the upper right to confirm the recoloring.
Its so nice!
Without the Recolor function, you will have to select the gems one by one and change their colors.
Without the Recolor function, you will have to select the gems one by one and change their colors.
Recolor multiple colors that are not similar
In the above example, we recolored reddish colors, but now let’s see what happens when we recolor objects that are not similar colors.
First, recolor the middle column group in the same way.
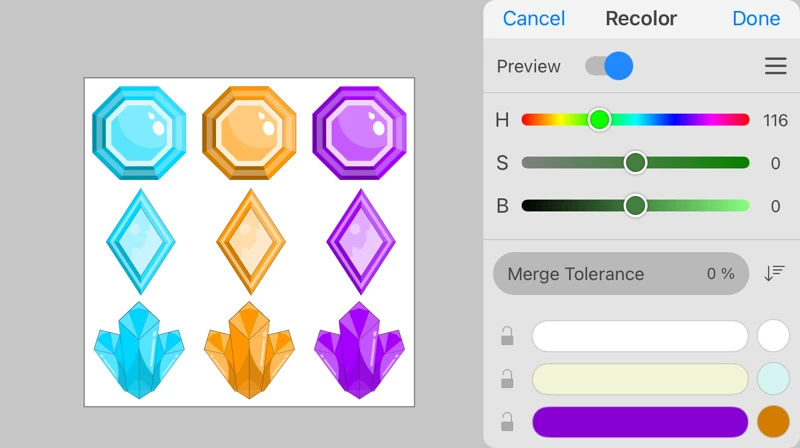
Follow the same steps above.
I made them orange.
I made them orange.
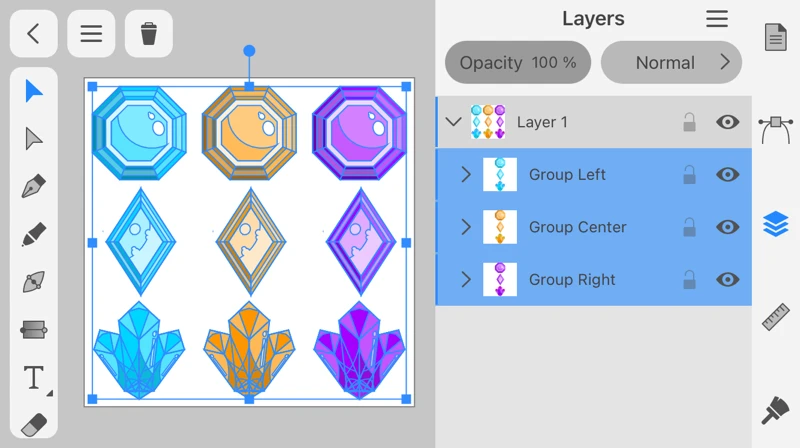
Then in the Layers panel, select all objects.
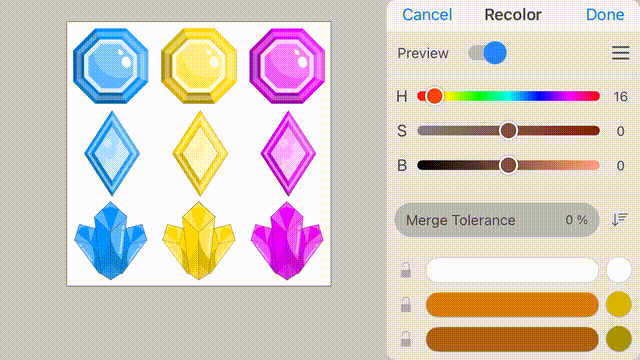
Swiping the H slider changes all colors.
You may use it to change the overall color scheme.
However, I think that you can get the desired color scheme by selecting only similar colors and recoloring them.
However, I think that you can get the desired color scheme by selecting only similar colors and recoloring them.
Change Saturation and Brightness
S is a slider to adjust Saturation, and B is a slider to adjust Brightness.
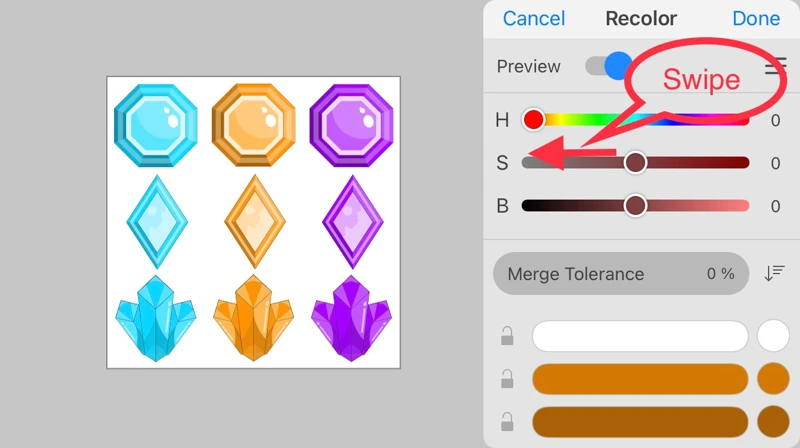
Swipe the S slider to the left.
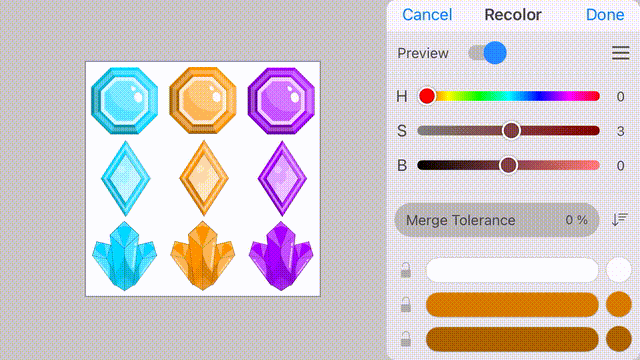
Swipe to the left edge to set the saturation to 0 and make the image monochrome.
Swiping to the right increases the saturation value and makes it more vivid.
Swiping to the right increases the saturation value and makes it more vivid.
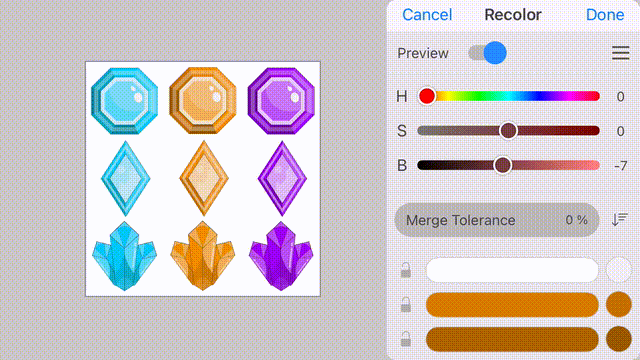
Swiping the B slider to the left decreases the brightness and brings it closer to black.
“Merge” to reduce the number of colors
Merge is a function used to reduce the number of colors.
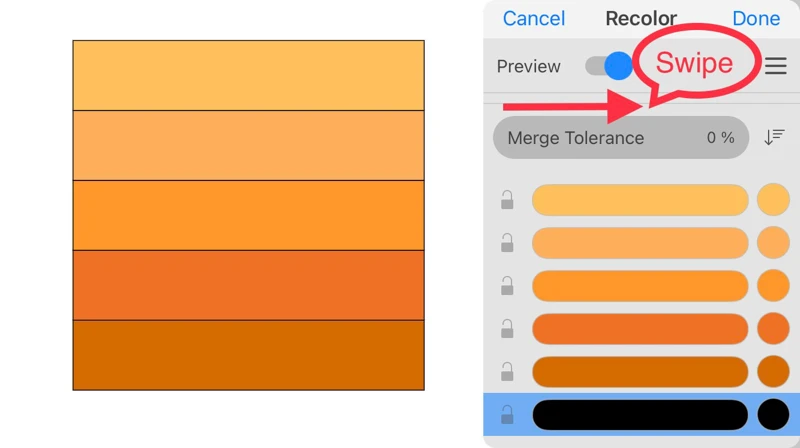
Let's merge a shape consisting of one type of black line and five types of orange.
Swipe the Merge Tolerance slider.
Swipe the Merge Tolerance slider.
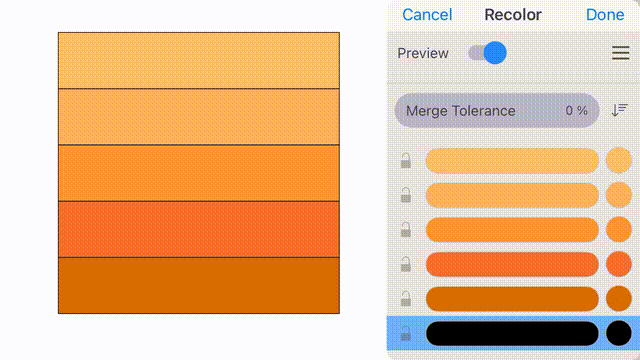
As you can see, colors are combined, and the number of colors is reduced.
Merge Tolerance is a threshold value. The higher the value, the more colors will be merged as one color.
Merge Tolerance is a threshold value. The higher the value, the more colors will be merged as one color.
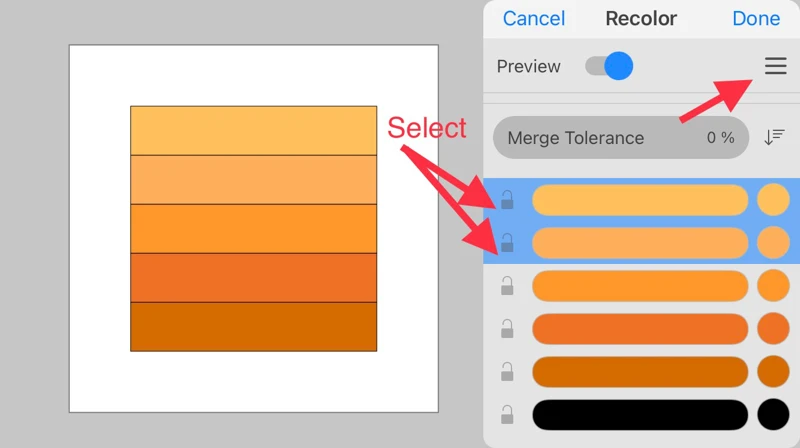
You can also select colors manually and merge them.
After selecting two colors, tap the menu icon in the upper right corner.
After selecting two colors, tap the menu icon in the upper right corner.
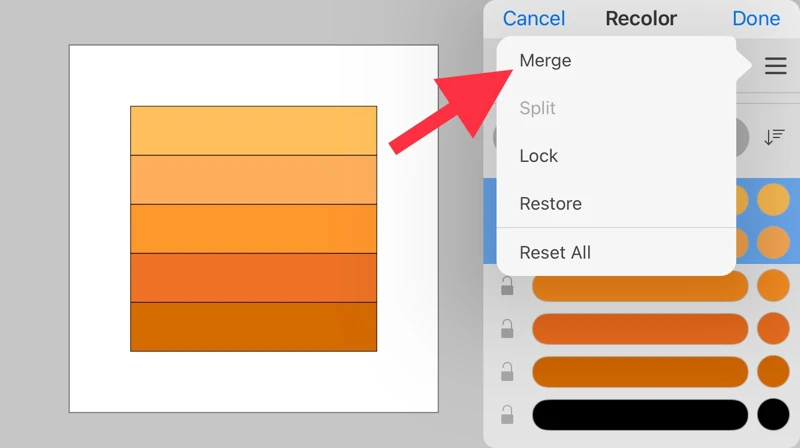
Tap Merge in the menu.
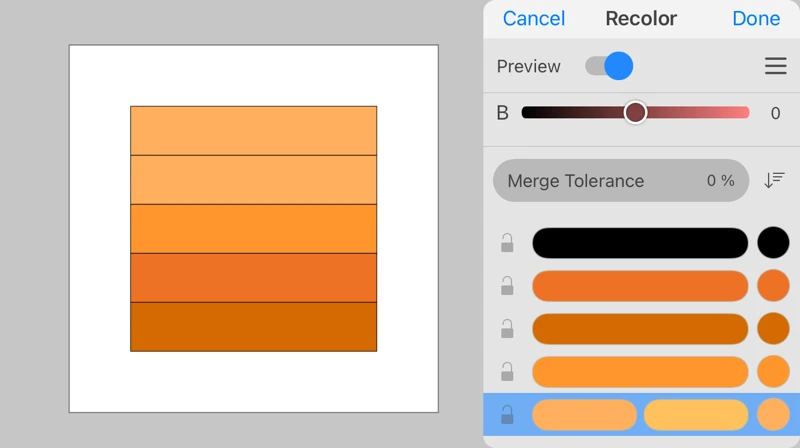
The two colors has been merged.
To undo the merged color, tap the menu.
To undo the merged color, tap the menu.
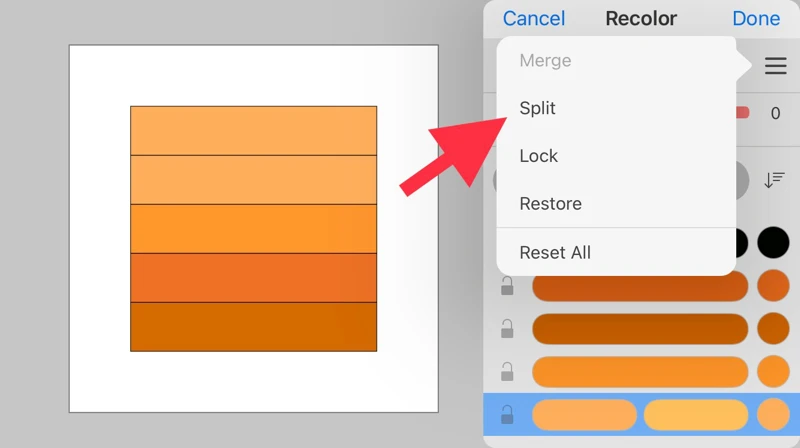
In the menu, tap Split to undo it.
When you want to undo everything, simply tap Reset All in the upper right menu.

