How to auto-fill the file path in the footer when printing MS Excel

Have you ever lost track of the destination folder for Excel workbooks printed on paper?
This article will show you how to automatically enter the file path in the footer when printed on paper for such occasions.
The way to do this is to create and edit a macro that fills in the footer with the file path and displays a print preview. Then place the macro’s button on the Quick Access Toolbar.
Step 1: Record a macro
In the tab View, click on Macros and select Record Macro.
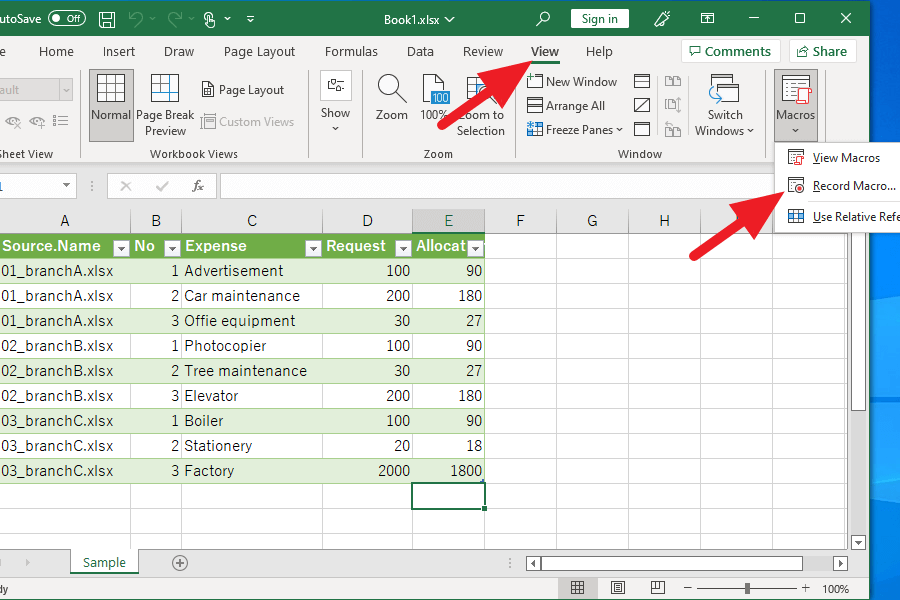
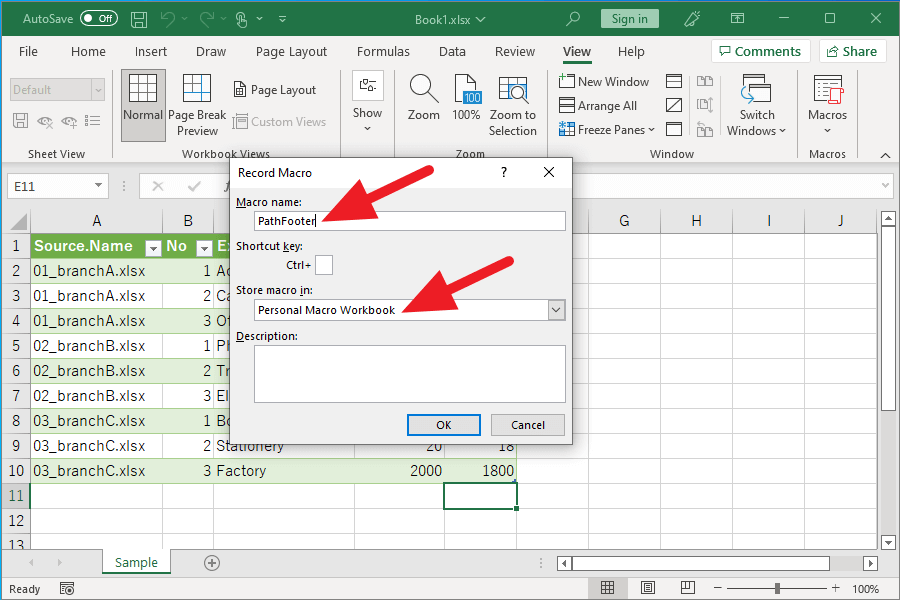
Rewrite the macro name as “PathFooter,” select Personal Macro Workbook as the save destination for the macro, and click the OK button.
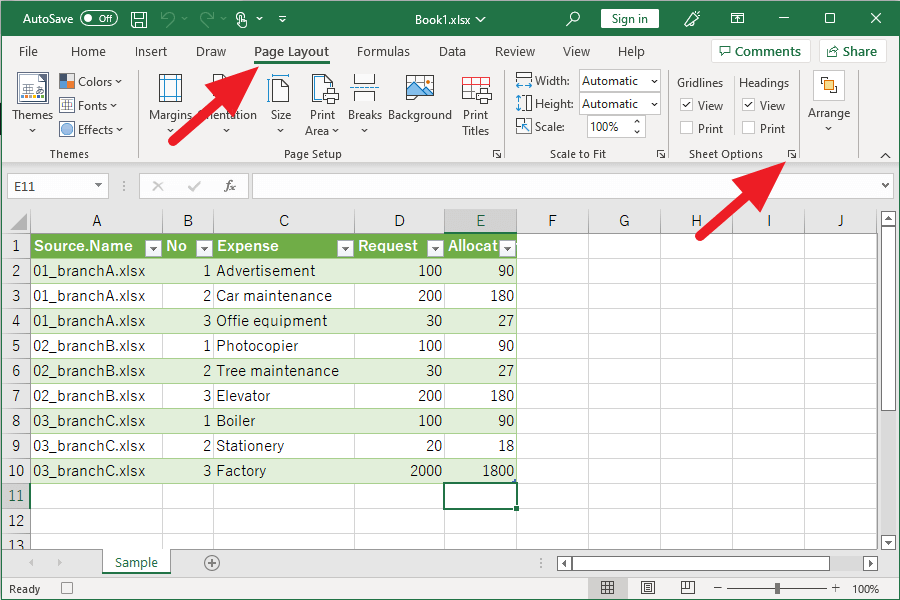
Click on the tab Page Layout, and click on the icon in the lower right corner of Sheet Options.
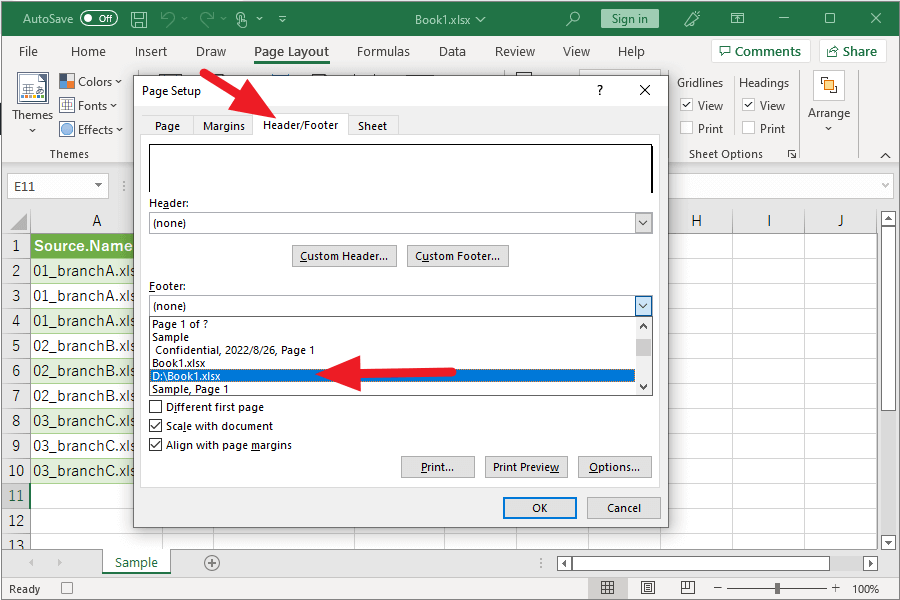
Click on the tab Header/Footer in the dialog that appears, select the file path in the sixth item from the top of the list in the Footer pull-down and click the OK button.
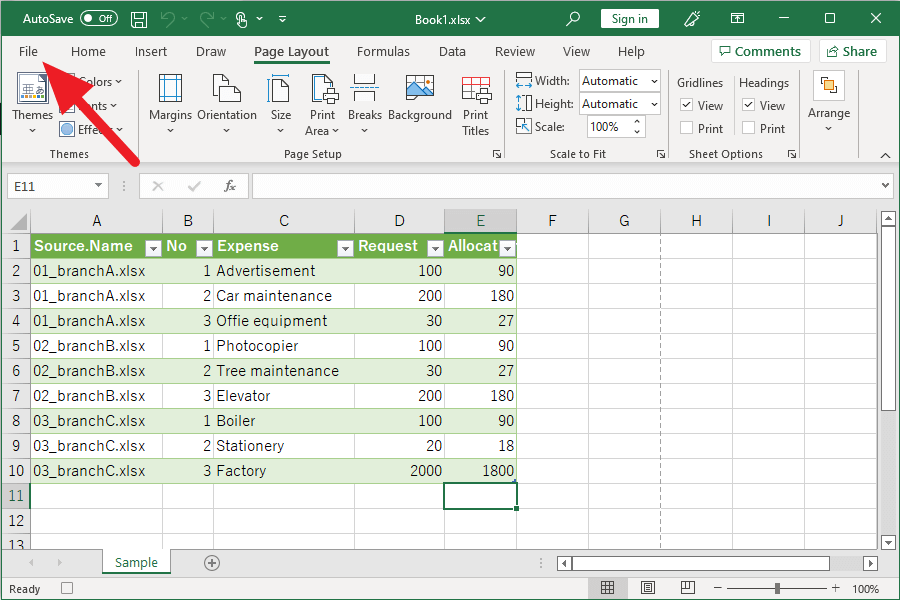
When the dialog closes, click on the tab File.
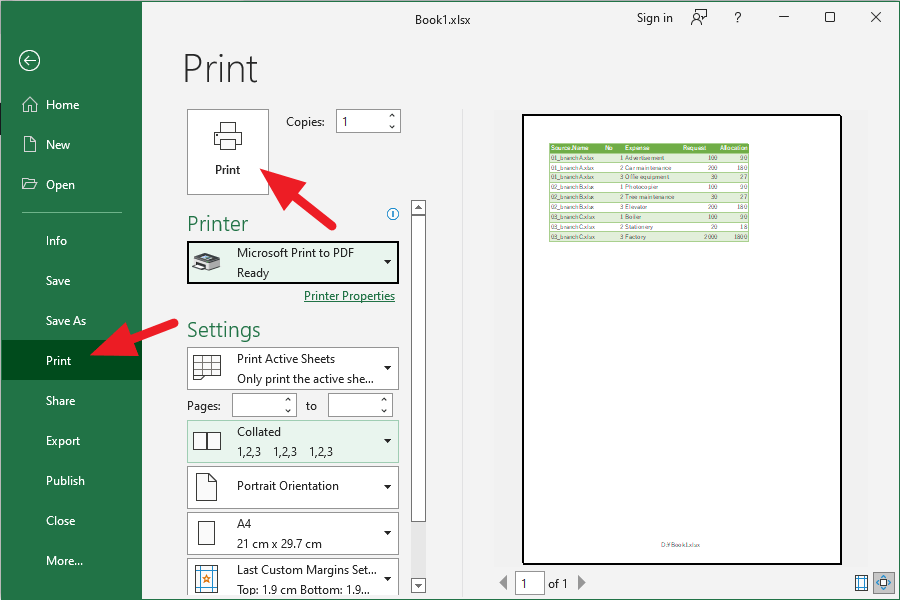
Select Print from the menu and click the Print button.
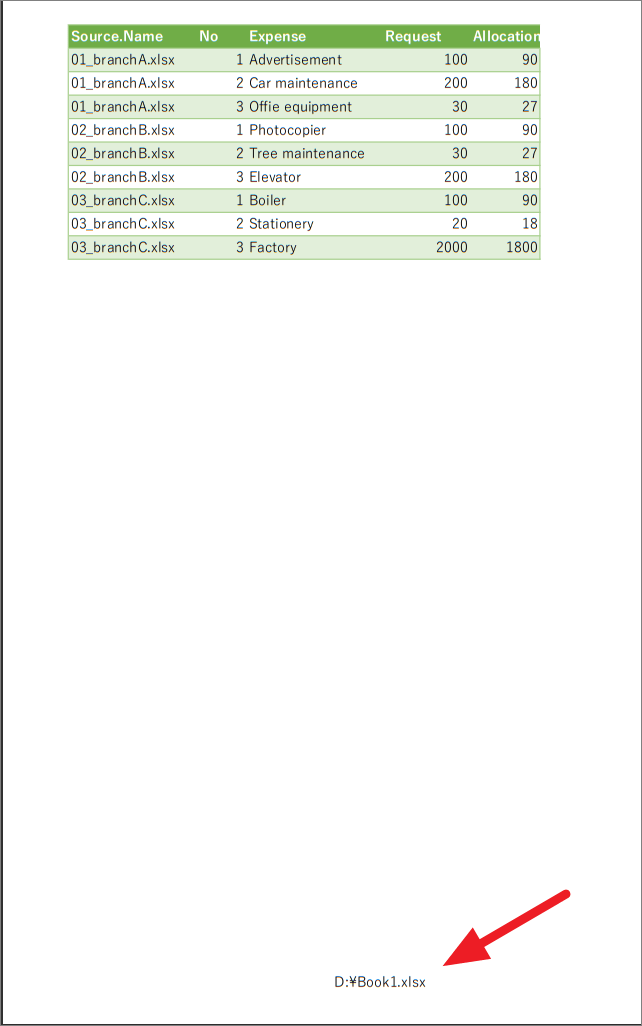
Make sure the file path is filled in the footer of the printout.
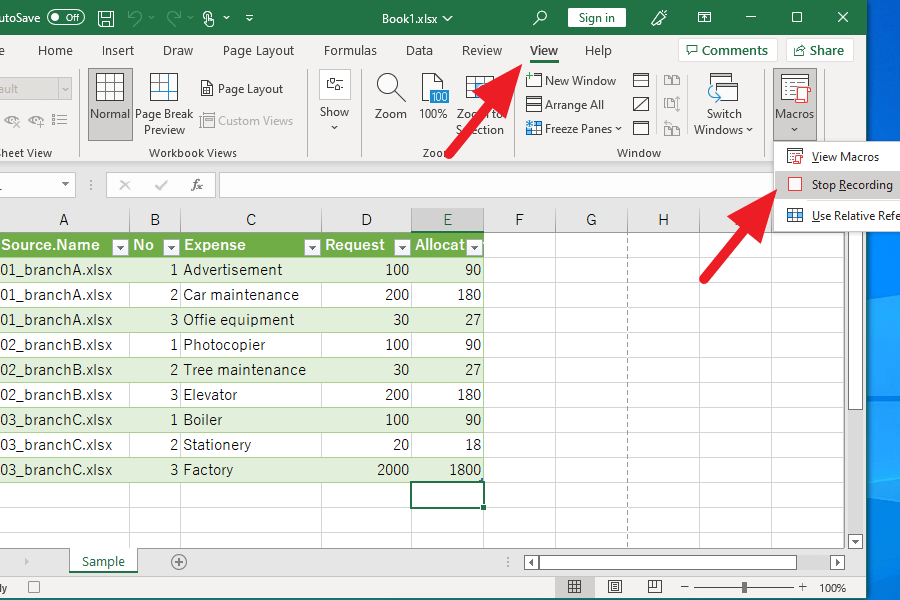
Click on Stop Recording under Macros in the tab View.
Step 2: Edit the macro
Press “Alt+F11” on the keyboard to start Visual Basic Editor.
Double-click Module1 from Modules at the bottom of VBAProject (PERSONAL.XLSB) in Project Explorer.
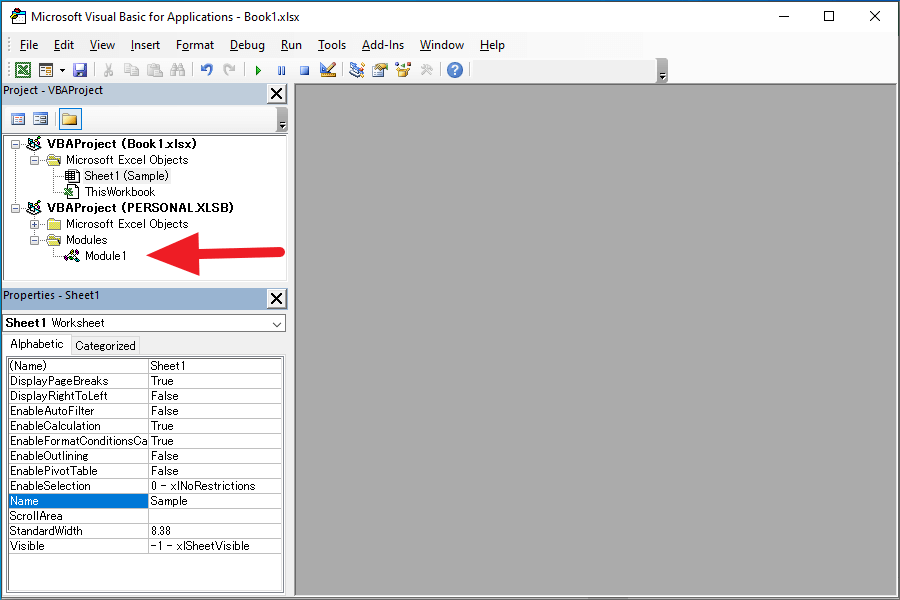
The PathFooter you just created appears in the code window.
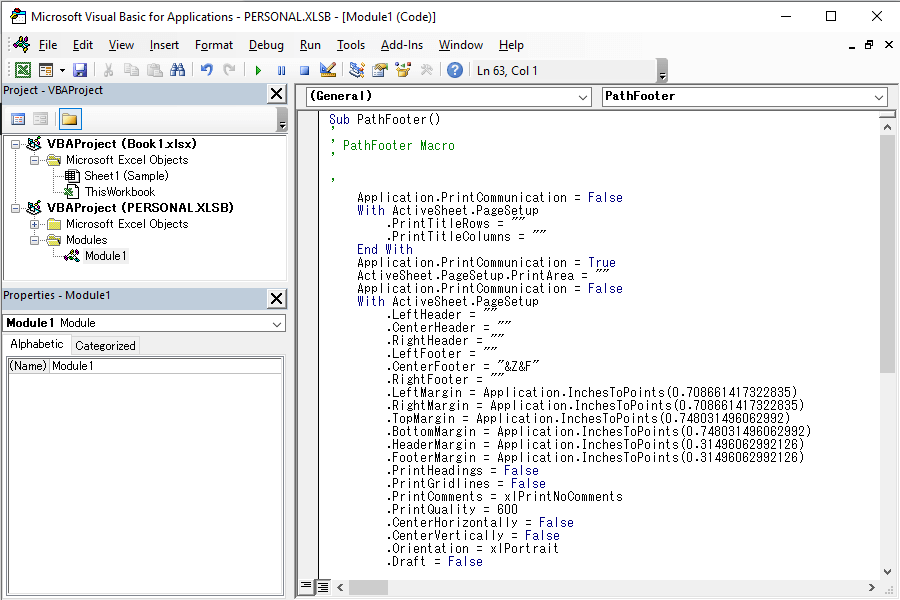
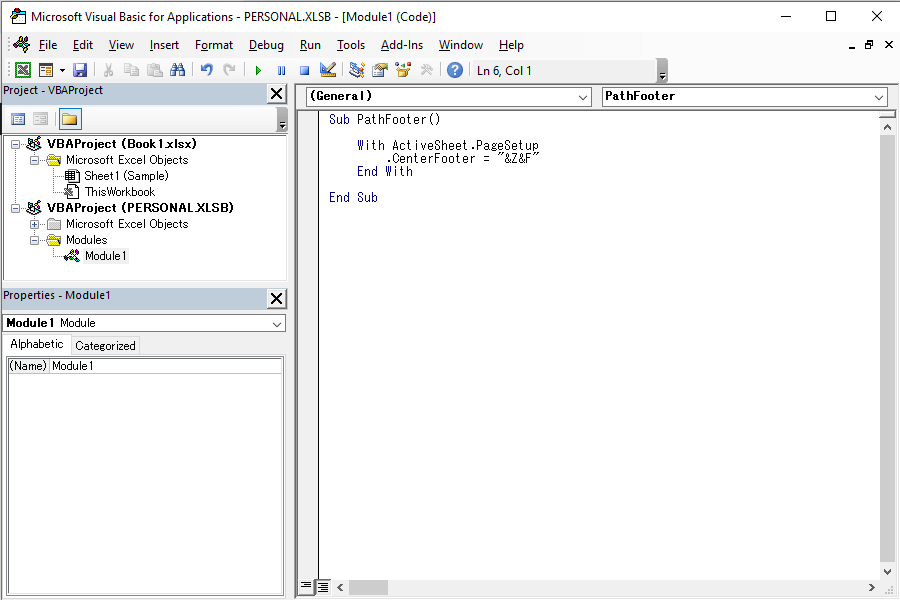
Out of this, remove the unnecessary code, leaving the following code:
1 | Sub PathFooter() |
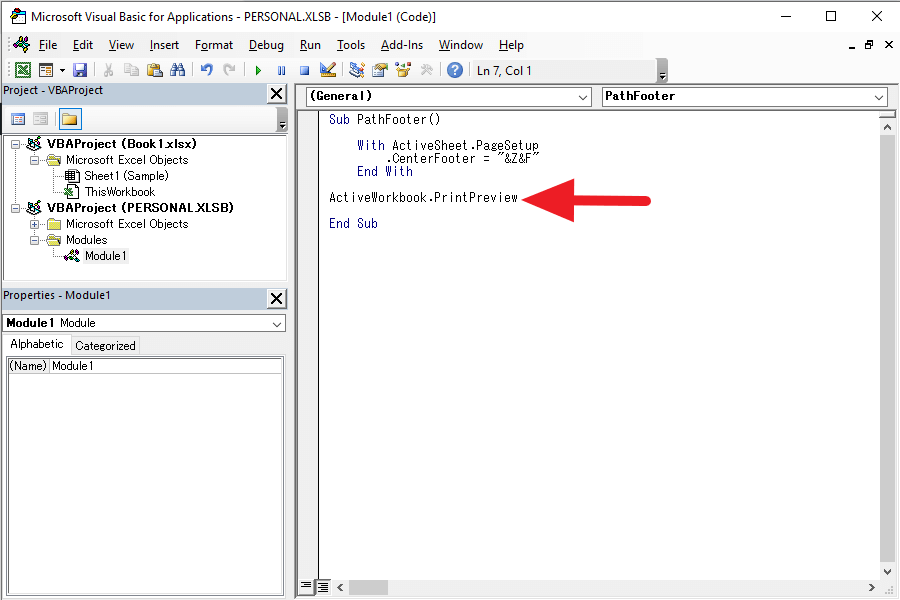
Next, add the following code to display the print preview just before the code “End Sub.”
1 | ActiveWorkbook.PrintPreview |
Click the “x” in the upper right corner to close VBE.
Step 3: Place the button on the Quick Access Toolbar
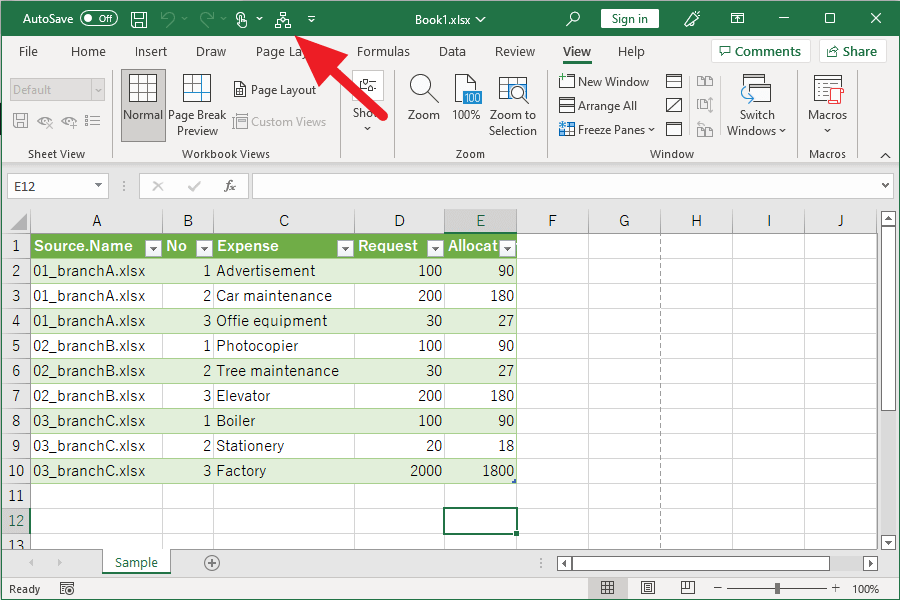
Click the icon on the Quick Access Toolbar and click More Commands.
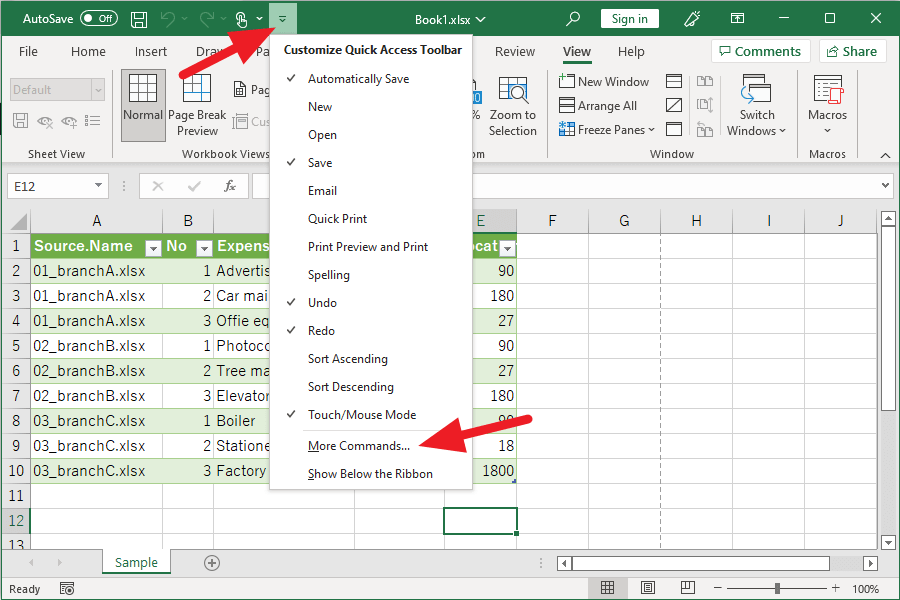
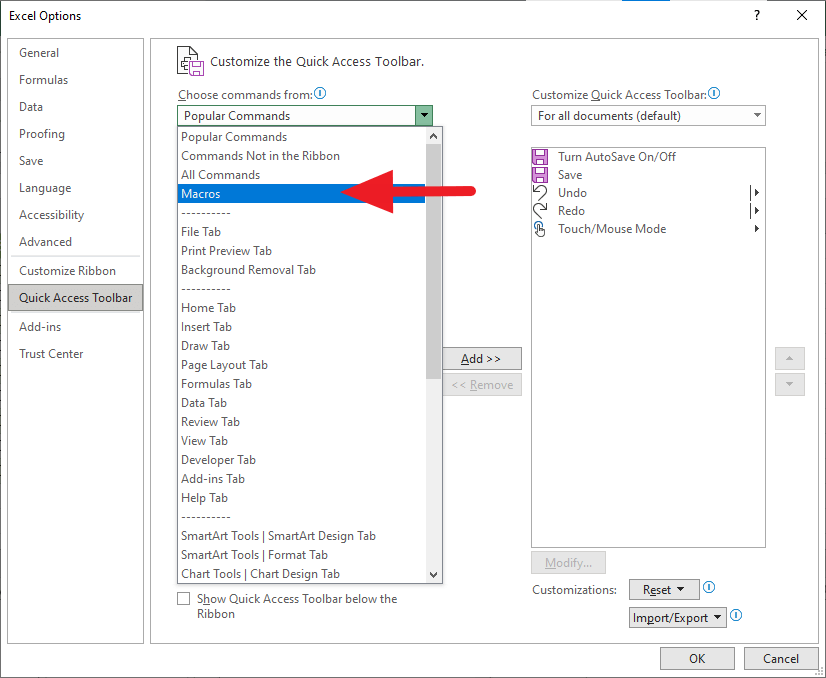
The Excel Options window will open with a screen for customizing the Quick Access Toolbar. Among these, click the pull-down button of “Choose commands from:.”

Click on Macros in the list that appears
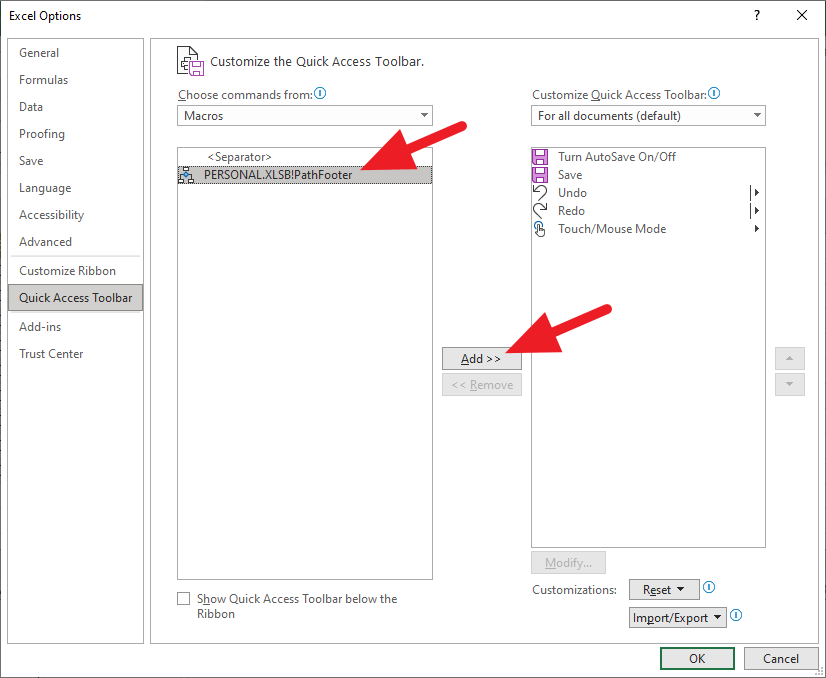
Select “PERSONAL.XLSB!PathFooter” and click the Add button.
Click the OK button.
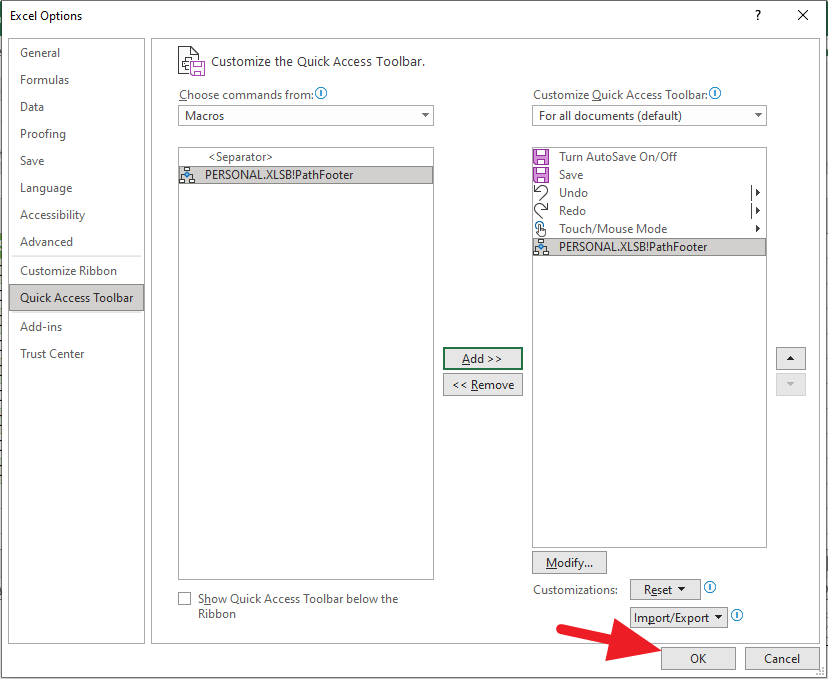
A macro icon has been added to the Quick Access Toolbar.
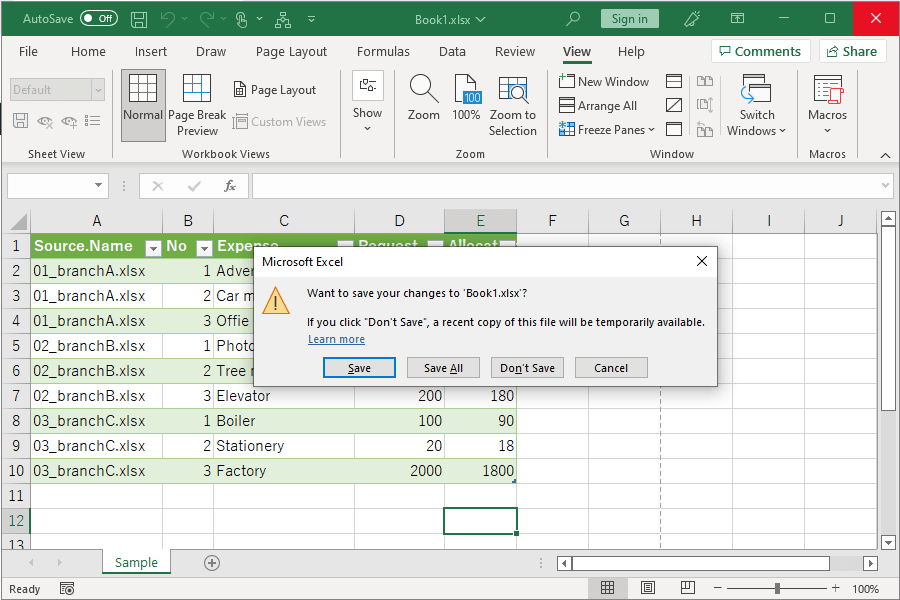
Click the “x” in the upper right corner and click Save to save the Excel book.
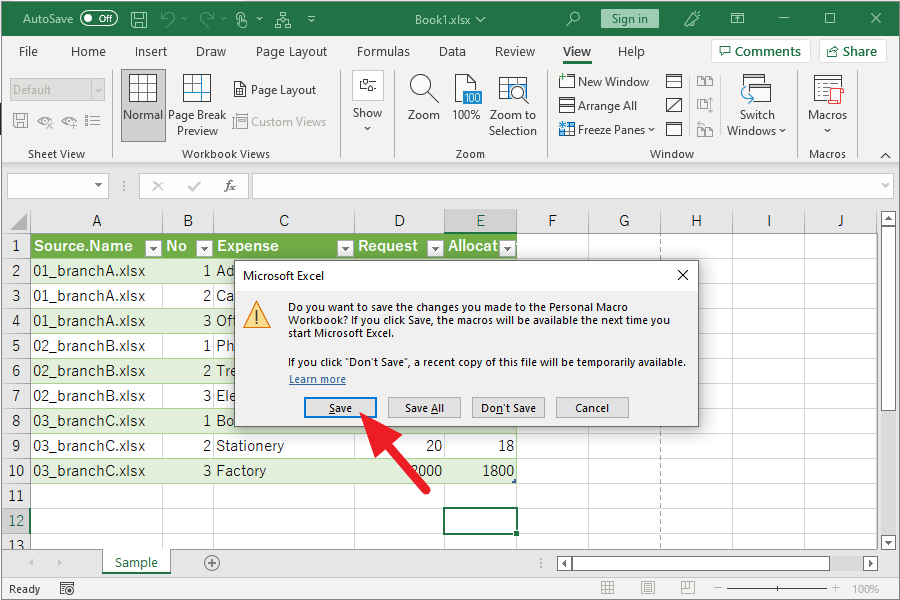
A dialog box will then appear regarding Personal Macro Workbook and click Save.
That’s it!!
How to use
From now on, Excel will have an icon for the macro in the Quick Access Toolbar, so click on it when printing.
The file path is filled in the footer and a print preview is displayed.
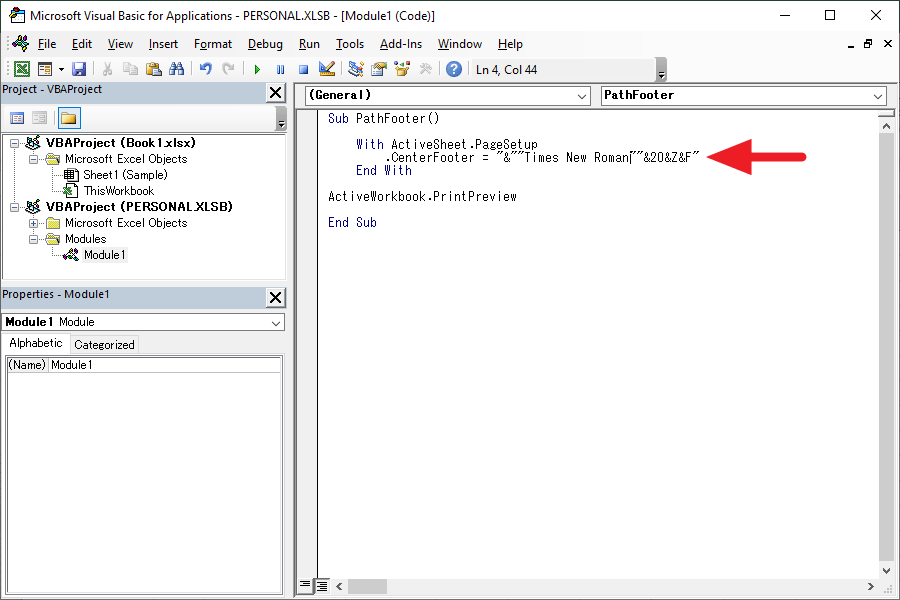
If you want to change the font type and size of the footer, press “Alt+F11” on your keyboard and rewrite “.CenterFooter = “&Z&F”” in the code.
For example, to set the font type to “Times New Roman” and the font size to “20”, write the following code.
1 | CenterFooter = "&""Times New Roman""&20&Z&F" |
If you sometimes forget the folder you saved after a while, please try it.
Thank you!