How to combine multiple excel books into one using Power Query and split it again using VBA

This article will show you how to use Power Query to combine data stored in multiple Excel books into a single Excel book. In addition, VBA code for re-splitting the combined Excel book will also be presented.
Who should read this article
If you work at the head office and are following the steps below to receive budget requests from the various branches and respond with the allocated amounts, you should read this article.
- Cut and paste data from each Excel book into one (Combine)
- Enter the allocation amount for the requested amount
- To reply to each branch, copy the combined Excel book as many as the number of branches and manually delete the data of other branches (Split)
Until 2016, it was necessary to write difficult code in VBA to combine data.
However, Power Query was introduced in 2016, and VBA is no longer required to combine data.
The advantage of Power Query over VBA is that it is easy to operate.
Now, read the preconditions and sample files first, as I will show you tutorials.
Preconditions and Sample files
Preconditions
The preconditions for the tutorial introduced this time are as follows:
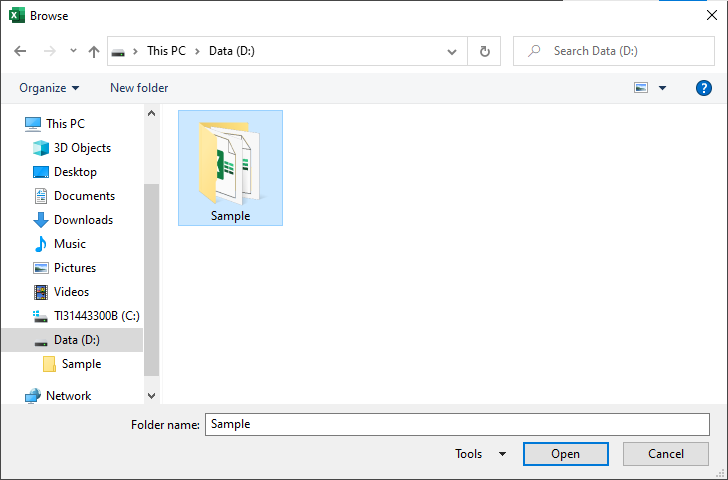
- All excel books are saved in one folder.
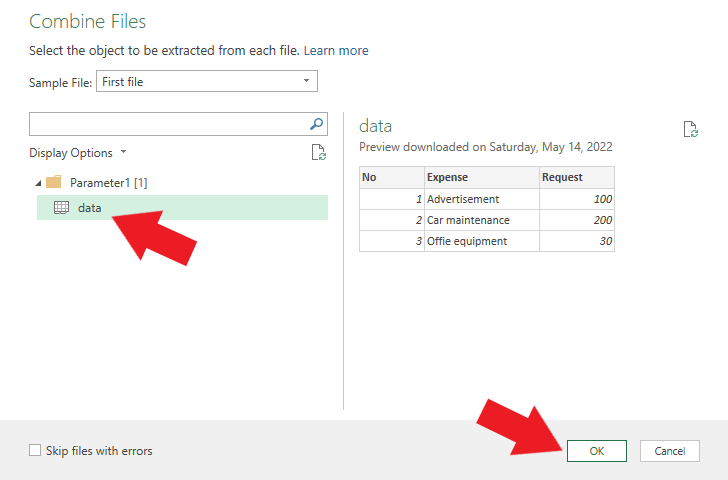
- The sheet name of each excel book with data entered is the same.
Sample files
Download it here.
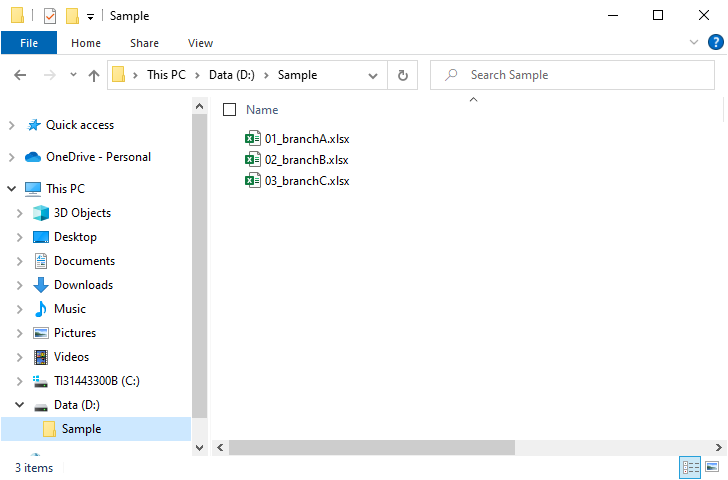
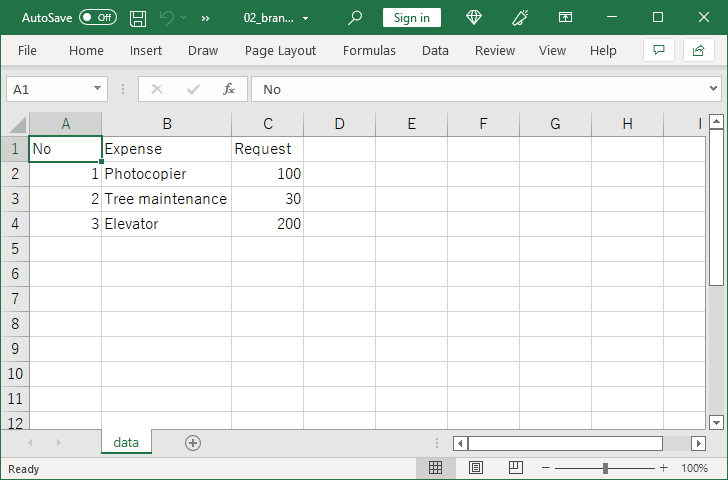
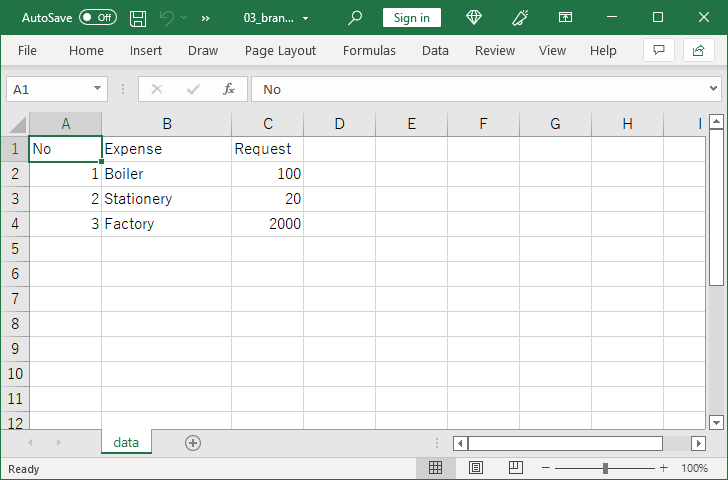
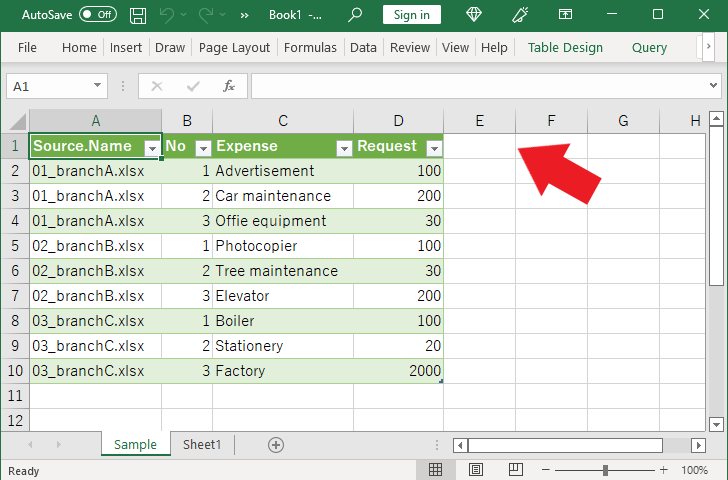
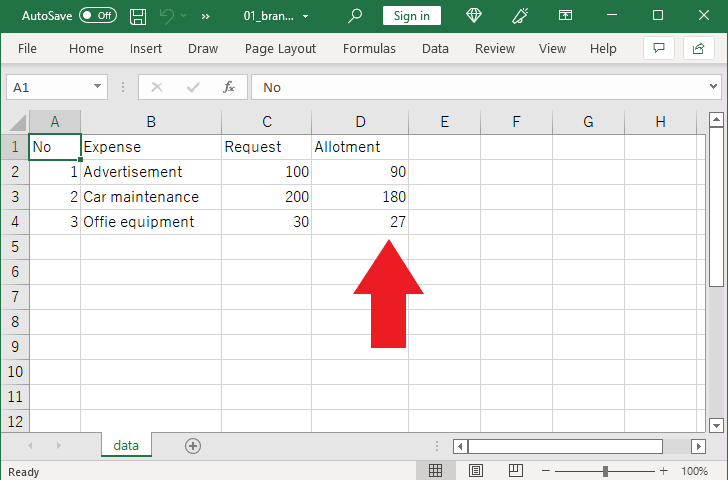
Every workbook has a sheet named “data.”
Each Excel book has data as shown in the figure below.

Tutorials
Overview of tutorials
You work at the head office and want to combine the excel books of budget requests sent from each branch, enter the allocated amounts, and then split the excel books by branch.
In order to implement these tasks, I will show you the following three tasks with the actual screen.
- Combine
- Enter
- Split
Combine using Power Query
First, let’s use Power Query to combine data stored in multiple Excel books.
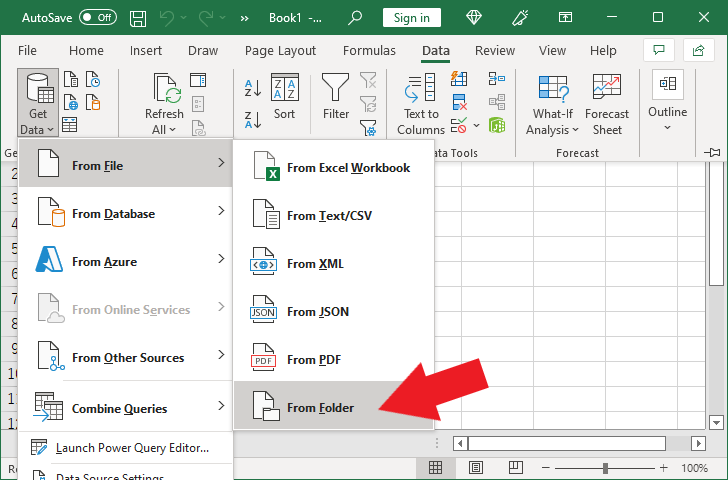
Then click “From File” and “From Folder.”

Enter the amount of allocation
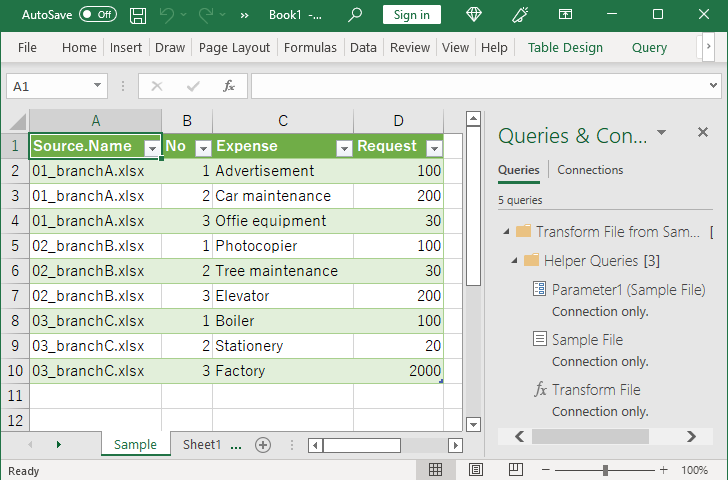
Since the combined data is in a “table”, to enter additional data, simply enter it at the table end.
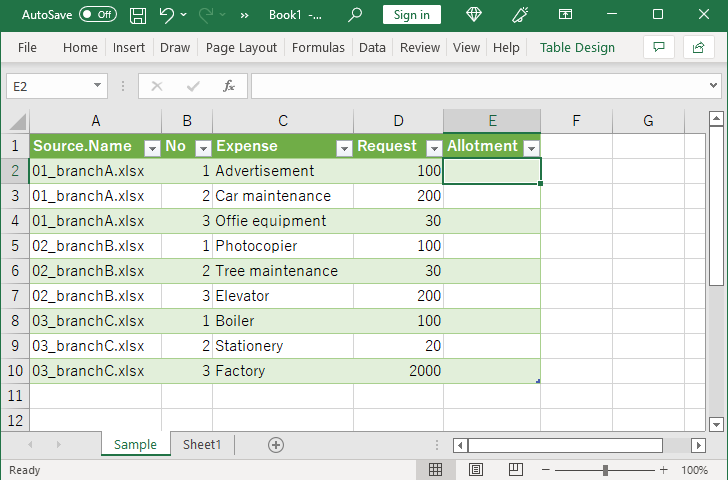
Enter the amount you want to allocate from E2 to the cells E10.

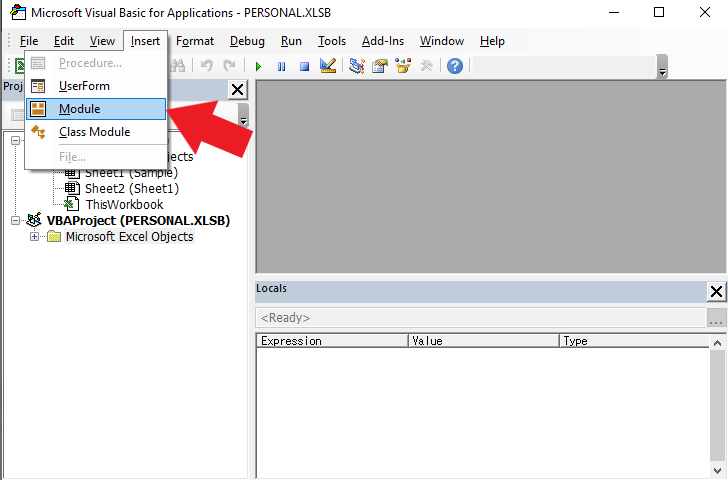
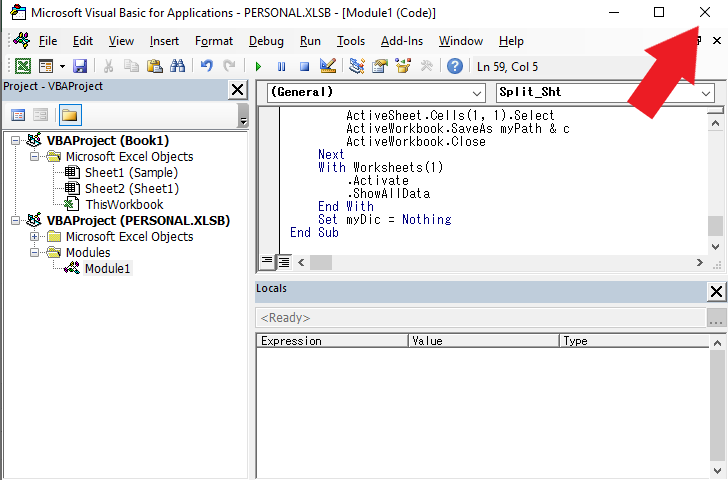
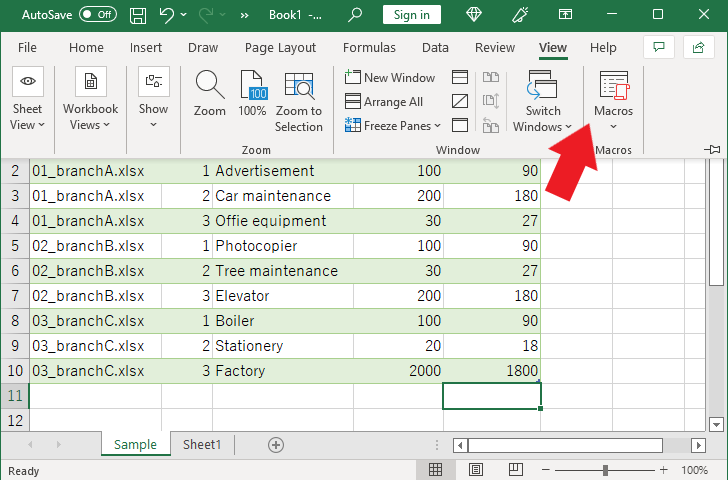
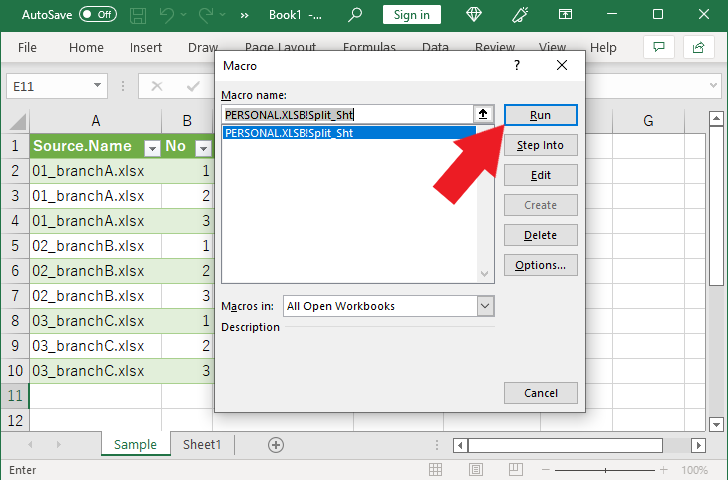
Split using VBA
As far as I can tell, splitting an excel book is only possible with VBA.
Pressing Atl + F11 in Excel will open a VBA window.
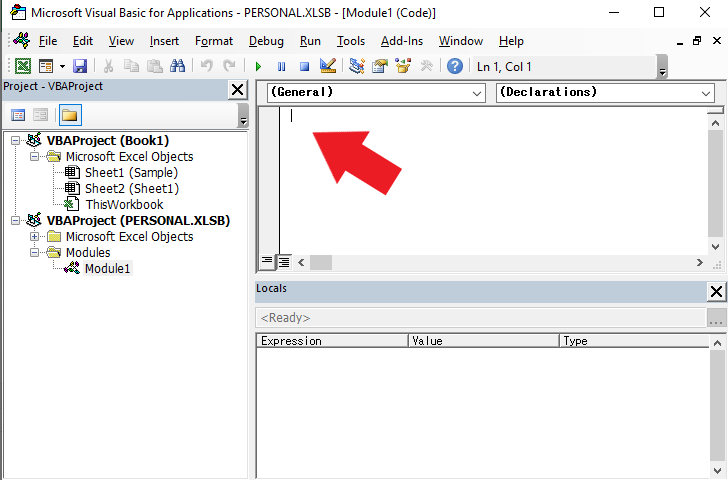
1 | Sub Split_Sht() |
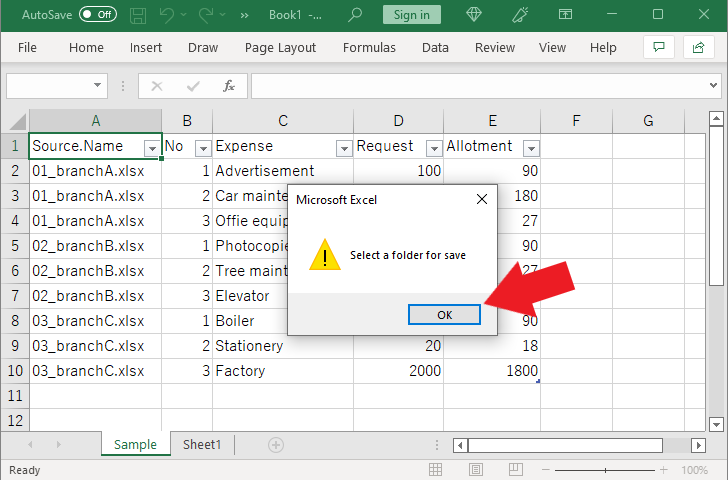
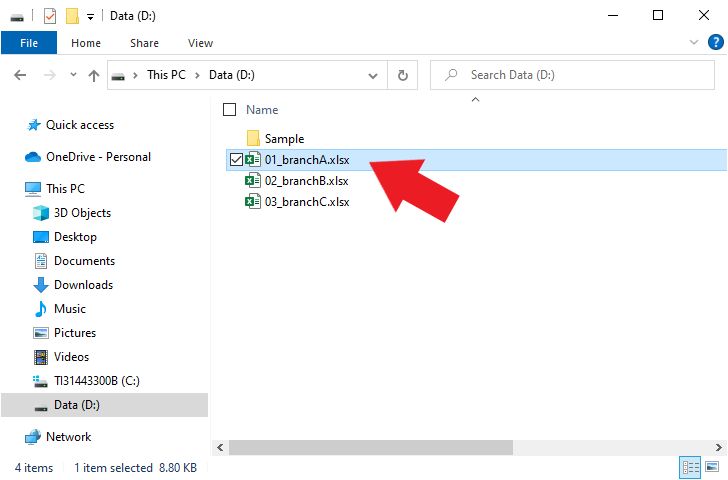
Since the Excel Book has been created, let's try opening "01_branchA .xlsx."
This completes the Excel books that notify each branch of the allocated amount.
Postscript
This method allows for repeated combining and splitting.
In this article, I have only introduced the basic method of combining and splitting an Excel book.
In the future, I would like to introduce various countermeasures such as how to deal with cases where the sheet names are not the same.

Error handling when combining sheets with different names in Power Query
One of the prerequisites for merging Excel books in a power query is that all sheets must have the same name. This article outlines the errors that occur when sheet names are different and how to deal