How to optimize images to reduce document file size in MS Word

This article examines how to insert images in a Microsoft Word document so that the file size of it is smaller.
The conclusion is that the following four points are important to reduce the file size while keeping the image from being too blurry.
- How to choose a format
- Image width should be 640px
- The working order should be as follows: 1. Crop / Resize, 2. Compress, 3. Insert into MS Word
- Check MS Word option "Do not compress images in file"
How to choose a format
As a result of the experiment, I found that the best way to reduce file size is to use two image formats: JPG and PNG.
JPG is suitable for photographs and illustrations with gradients.
Of the various image formats, JPG offers the smallest file size for photos while minimizing image degradation.
Compressing JPGs at less than 100 quality results in smaller file size but degrades the image. So I always choose 100 quality.
PNG is the format to use for illustrations without gradients.
PNG files tend to be larger than JPG files, but if the illustration has no gradients, it can reduce the file size of PNG while suppressing image quality degradation even if it is resized.
Also, PNGs do not blur images due to resizing as JPGs do.
WebP file size is smaller than JPG and PNG, but when I insert WebP into MS Word, the file size of the document is larger than when I insert JPG or PNG.
WebP was developed for websites and seems unsuitable for other uses.
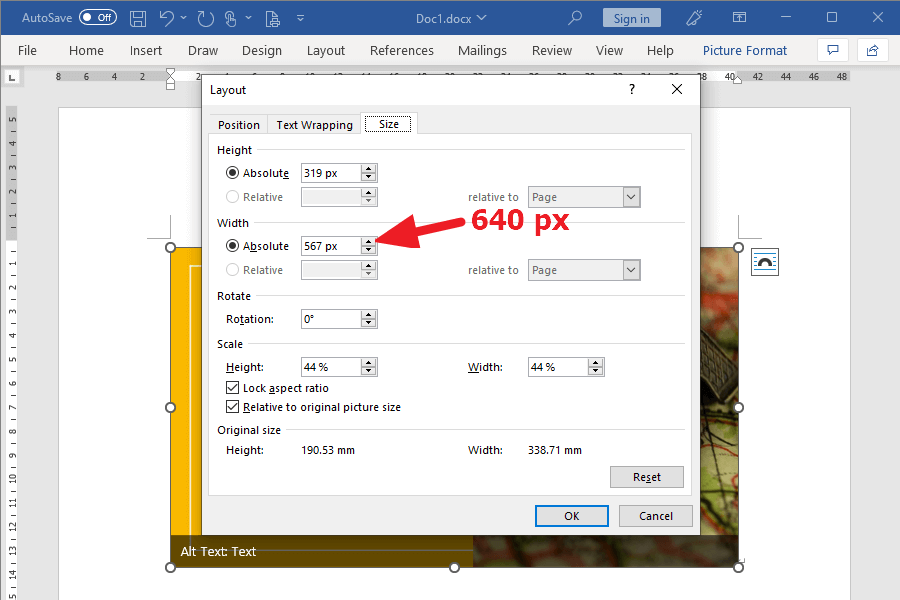
Image width should be 640px
MS Word’s default setting for A4 is 794px wide (1123px tall) and 567px wide (877px tall) excluding margins.

When trying to reduce the file size of the image as much as possible while leaving some margins, I concluded that 640px width is a reasonable size.
An image of this width can minimize image deterioration when placed on A4 paper in portrait orientation.
If you can tolerate the deterioration of the image, you can reduce the file size by setting the width to less than 640px.
The order should be 1. Crop / Resize, 2. Compress, 3. Insert into MS Word
My experiments have shown that the following workflow results in the smallest document file size with the least image degradation.
- Crop / Resize
- Compress
- Insert into MS Word
The following is an explanation of the experiment that led to this conclusion.
Experiments on the order of “Crop / Resize” and “Compress”
Of the three tasks, Crop, Resize, and Compress, we will experiment with Resize and Compress because the order of Crop and Resize does not affect file size.
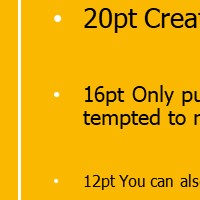
The image used for the experiment is 1,071KB (1280x720) in PNG format below.
“Resize -> Compress” 82KB
First, I resized it to 50% (640x360) using the following web service.
The file size has been reduced from 1,071KB to 279KB.

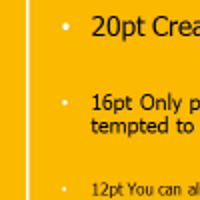
If you zoom in on the small text in the lower left corner of the image, the image quality is a bit rough.
Compressing this with TinyPNG reduced the size from 279KB to 82KB.

If you zoom in on the lower left of each image before and after compression, there is no difference in image quality.

Compressing with TinyPNG does not degrade image quality.
“Compress -> Resize”283KB
Next, I reversed the order and “compress the image and resized it to 50%”. Here are the results:
1,071 KB -> 250 KB (after compression) -> 283 KB (after resizing)
If you compress it again, it will be 82KB.
This is probably because the effect of compression disappears when resizing.
As shown above, the file size of the resized and then compressed image resulted in a smaller file size than the file size of the image processed in reverse order.
Note: JPG may be minimal with “compression only”
When I was experimenting with various images, there was a case where the file size was smaller by compressing JPG without resizing it than by resizing it and then compressing it.
Since JPG itself is a compressed format, resizing or compressing a JPG seems to have different results depending on the image settings.
In other words, you will not know which will result in a smaller file size, resizing and then compressing or just compressing, until you try it.
However, the difference in file size between them was slight. It may be more efficient to decide to “resize and then compress” like PNG, rather than spending time checking each one.
Experiment that “Insert into MS Word” should be first or last
I experimented with which file size is smaller when inserting images into MS Word before “crop / resize” and “compress” or after.
“Resize -> Compress -> Insert” results in 94KB
As mentioned earlier, the image was resized to 50% (640x360) and compressed with TinyPNG, resulting in a file size of 82 KB.
When I inserted this into MS Word, the document file size was 94KB.
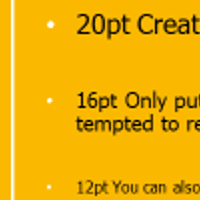
As you can see below, if you zoom in on the lower left corner of the image, the quality of the image is the same as before it was inserted into Word.
“Insert -> Resize -> Compress” results in 320KB
First, insert a 1,071KB (1280x720) unresized PNG image into Word. After that, resize it to “640x360” using Word’s function and compress it with a resolution of 96ppi.
I will use the image below.
First, insert an image into MS Word, click the icon in the upper right corner of the image, and then click “See more…”
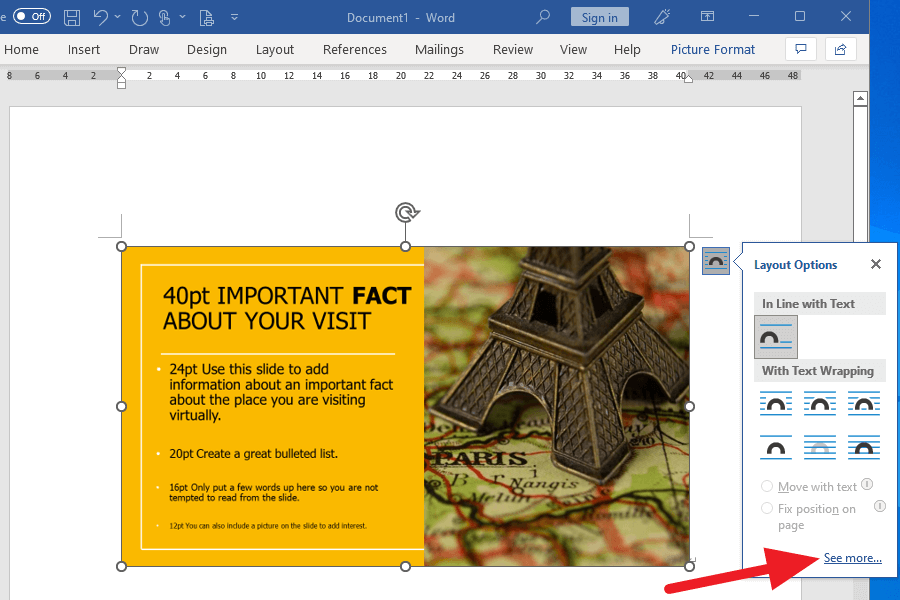
In the dialog that appears, select the tab “Size” and change the width to 640px.
When the image is smaller, click the icon for compression from the tab “Picture Format”.

From the Compress Pictures dialog, select “E-mail (96 ppi).

When I saved this word document, the file size was 320KB.
As shown in the figure above, when I checked the lower left of the image in the document, “Resize → Compress → Insert” and “Insert → Resize → Compress at 96ppi resolution” had the same deterioration.
And the file sizes are now 94KB and 320KB respectively.
As described above, the results show that “Resize -> Compress -> Insert into MS Word” should be done to reduce the file size more while minimizing image degradation.
By the way, even when I experimented with JPG, the results were the same as with PNG.
Check MS Word option “Do not compress images in file”
Among the settings related to images in MS Word, “Do not compress images in file” is turned off by default.
In this setting, when you resize the JPG images in MS Word and save the document, the images could be compressed and degraded.
Inserting JPG images, you should turn on this option.
PNGs, on the other hand, do not degrade the images regardless of whether the option is on or off.
Here are the steps to turn on this option.
Click on “Options” in the left panel “More…” on the File tab.

Next, check “Do not compress images in file” in “Advanced.”
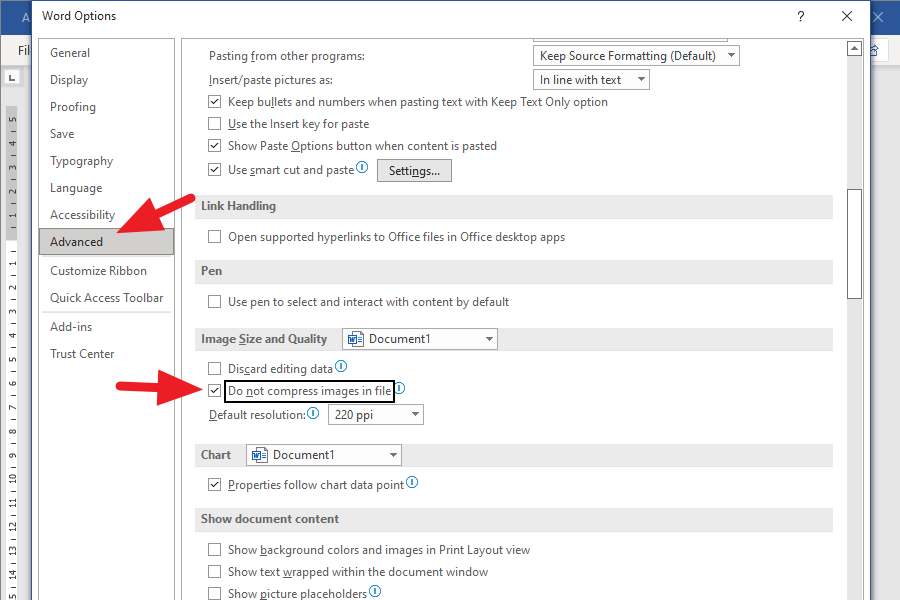
Resizing an image within MS Word will not degrade the image by compressing it, nor will it change the file size, as long as the Word option “Do not compress images in file” is checked.
Wrapping up
The following four points are important in how to insert images to make the file size of MS Word smaller.
- How to choose a format: JPG for photos, PNG for illustrations
- Image width should be 640px
- The working order should be as follows: 1. Crop / Resize, 2. Compress, 3. Insert into MS Word
- Check MS Word option "Do not compress images in file"
Creating this article took a great deal of time.
I experimented with all kinds of patterns, but only JPG compression did not give me the results I expected.
If I find a way to better control the JPG file size, I will add it to this article.
Thank you!