How to add table of contents and page numbers in Microsoft Word

This article describes how to add a table of contents and page numbers to a document created in Microsoft Word.
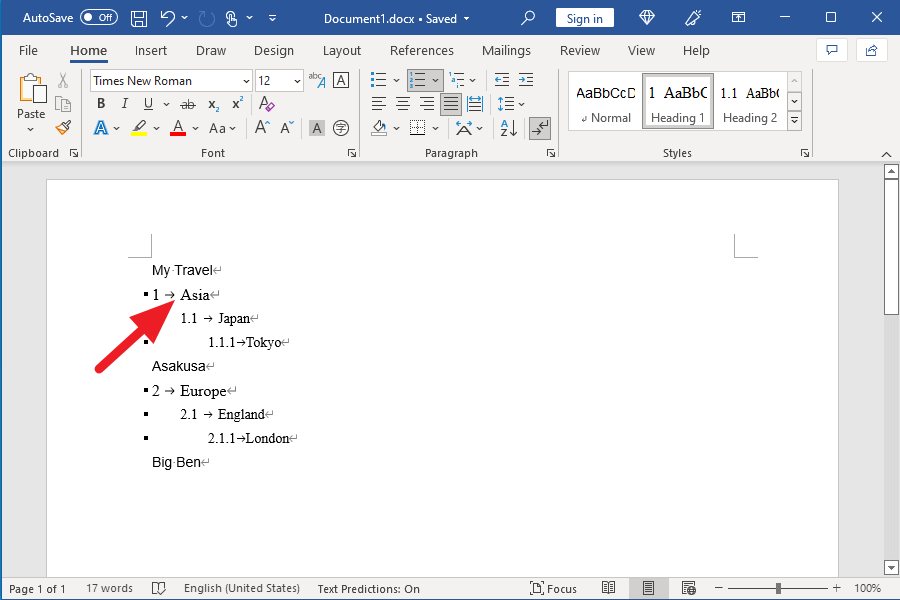
Note that in order to create a table of contents, the style “Heading” must be applied to the paragraph that should be the heading.
The following article shows how to set the style “Heading.”

How to number headings in a Word document using styles and multilevel lists
When writing "headings" in a document created in Microsoft Word, using styles and multilevel lists to number the "headings" will not only make it easier to keep the appearance of the document consiste
I will explain using the document created in the above article, so if you have not read it, please read the article first.
The version used in this post is Word 2016.
Add a table of contents
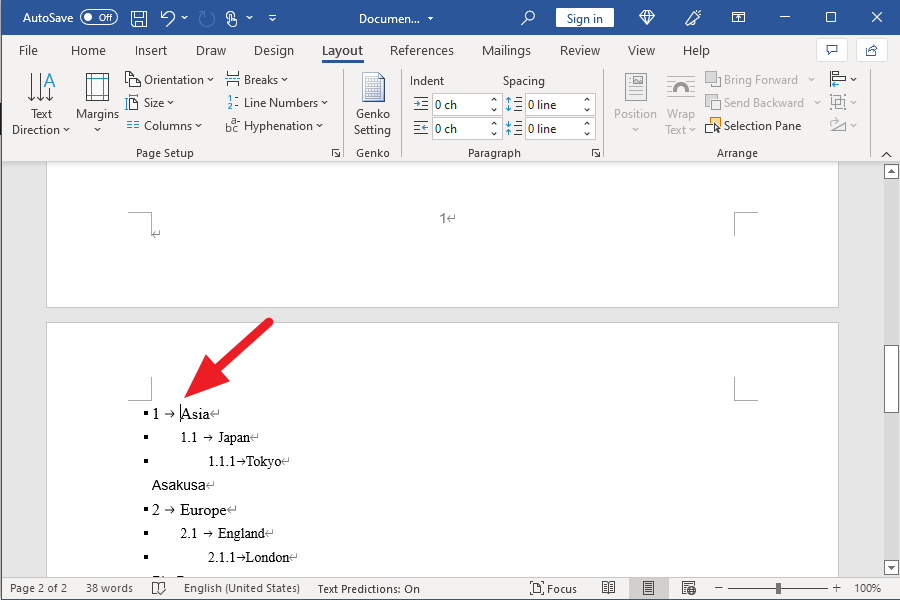
Move the cursor to the beginning of the first heading “Asia.”
Click on the tab “Reference” and click on “Table of Contents.”
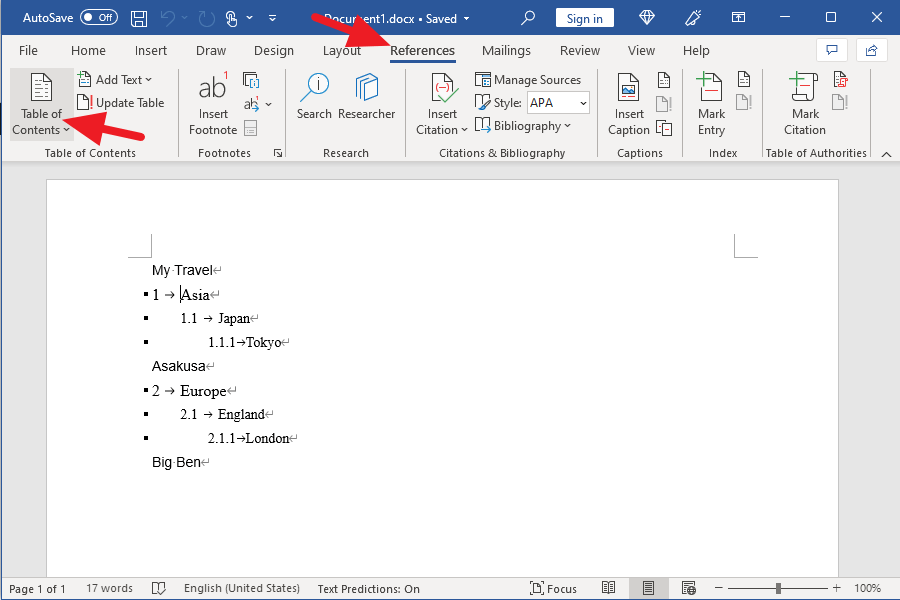
Click the second item from the top of the “table of contents” menu.

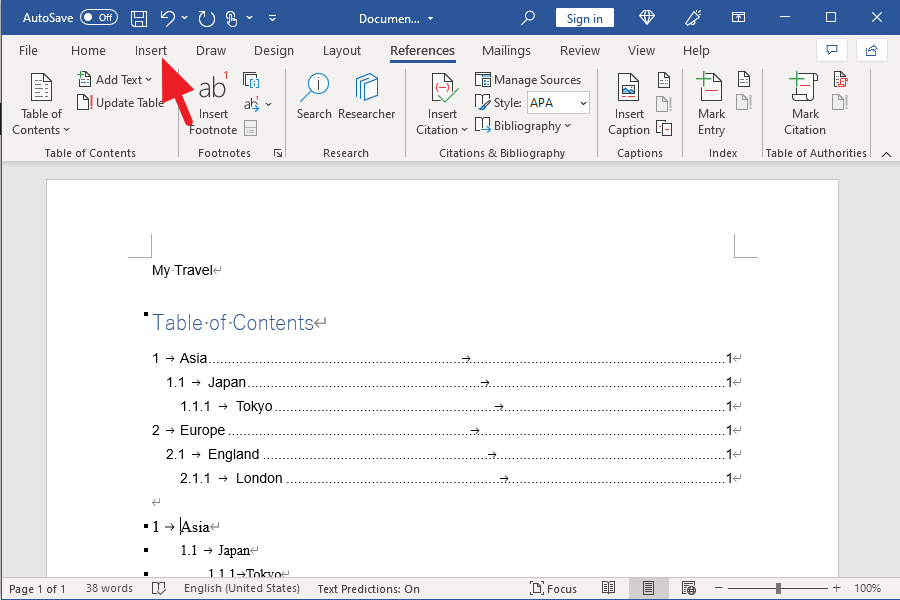
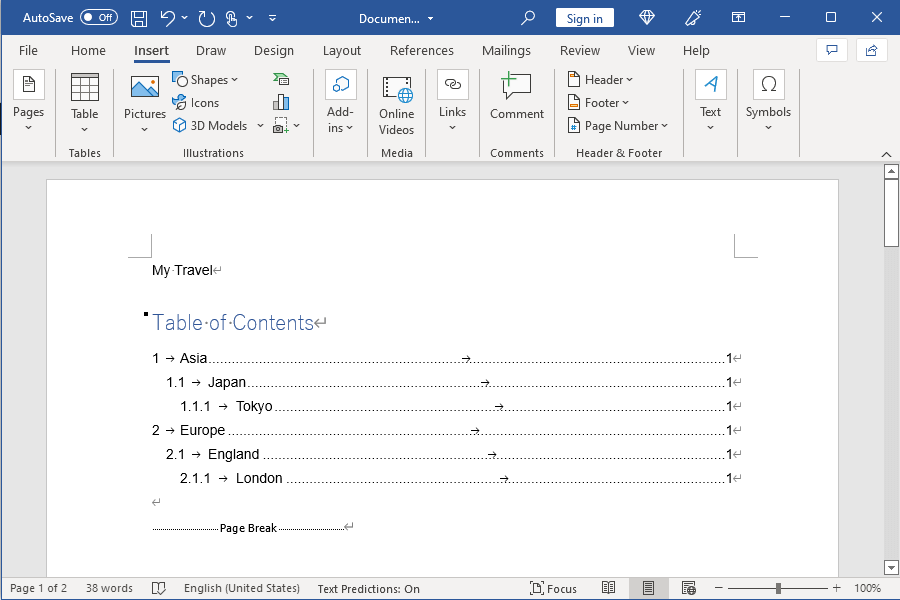
A table of contents has been inserted between the title “My Trip” and the heading “Asia”. To insert a page break between the table of contents and the heading “Asia,” click on the tab “Insert
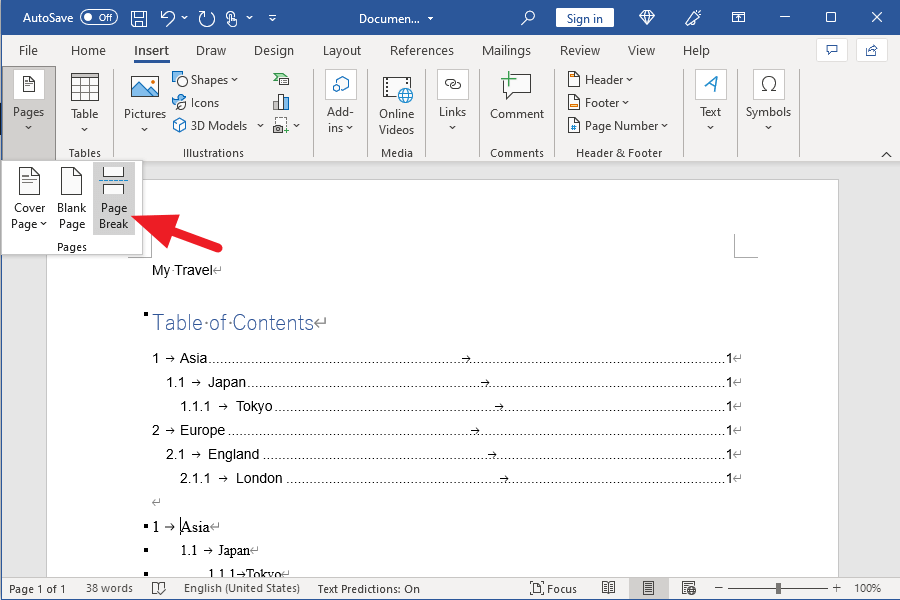
Click on “Page Break” on the far left.
A “Page Break” appears under the table of contents and the heading “Asia” moves to the next page.
If “Page Break” is not displayed, click “Options” in “More” at the bottom left of the File tab. When the Word Options window opens, click “Display” from the menu on the left and turn on “Show all formatting marks.” You will now see “Page Break.”
Add page numbers
Click “Bottom of Page” of “Page Number” in the tab “Insert,” and click the second from the top.
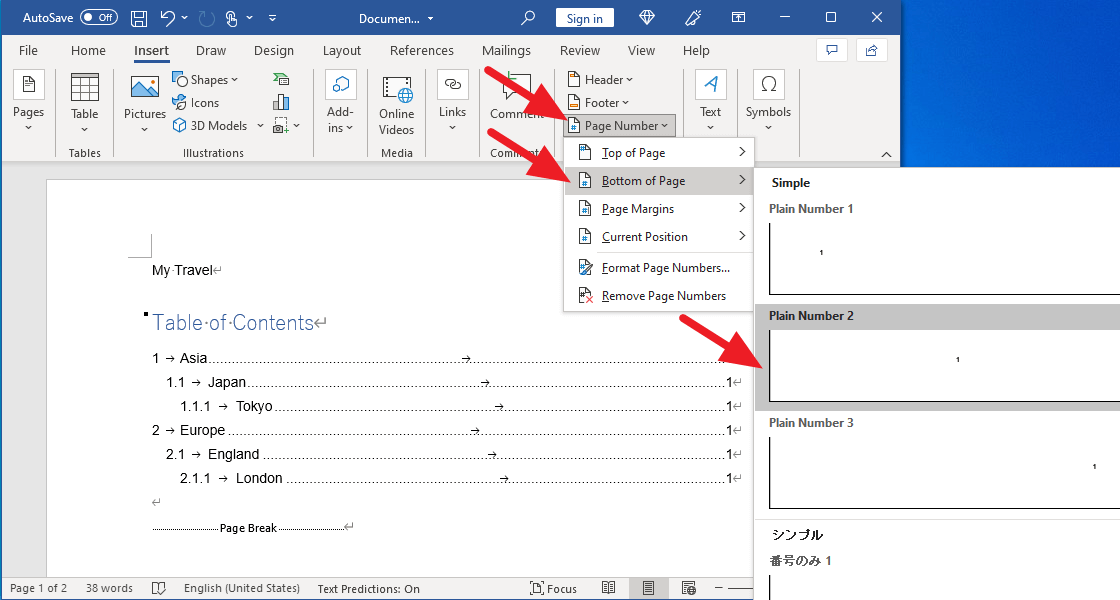
Page numbers have been added in the “footer” at the bottom of every page.
Remove the page number from the page with title and table of contents
The page number is also added to the first page, which contains the title and table of contents, so let’s remove it.
Move the cursor to the beginning of the first heading “Asia.”
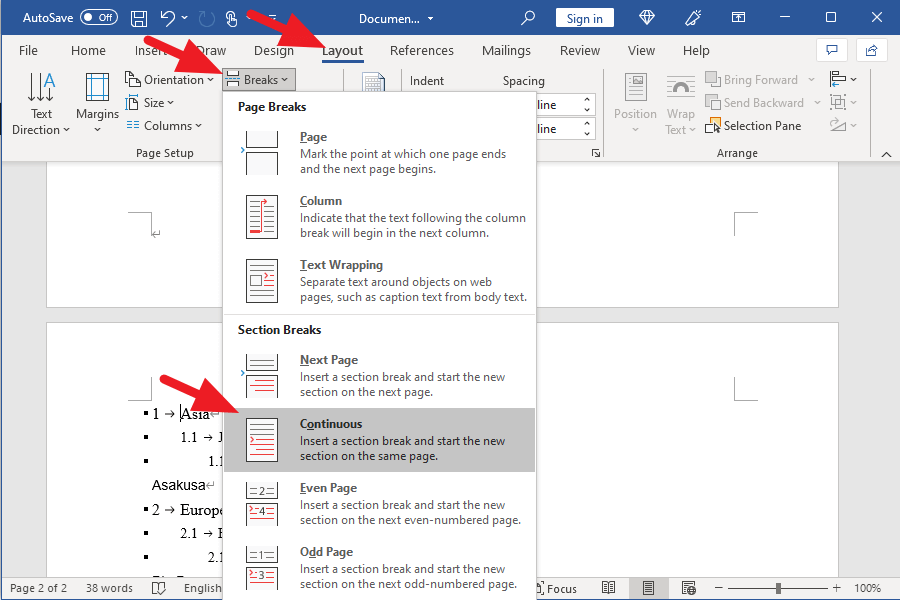
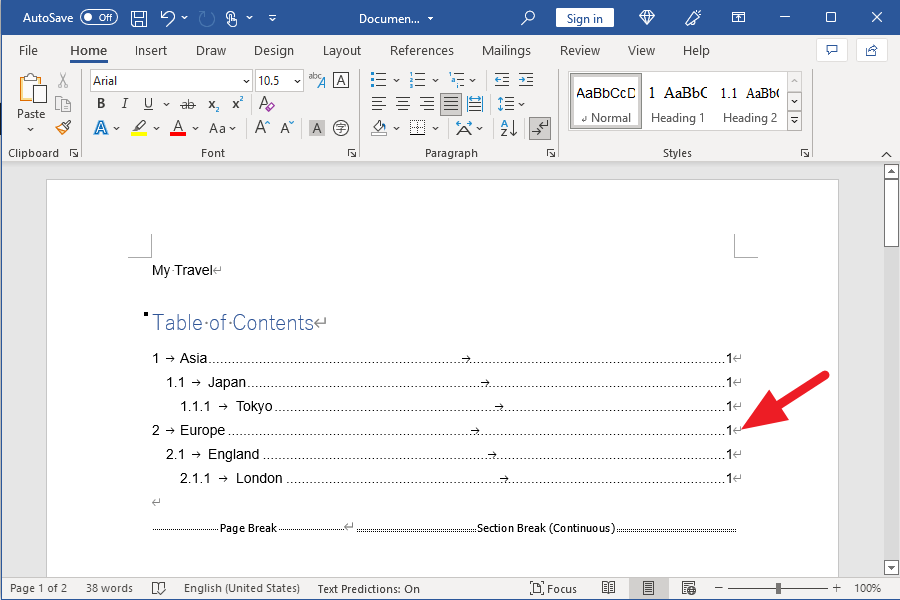
Click the “Breaks” pull-down button on the tab “Layout” and click “Continuous” among the “Section Breaks.”
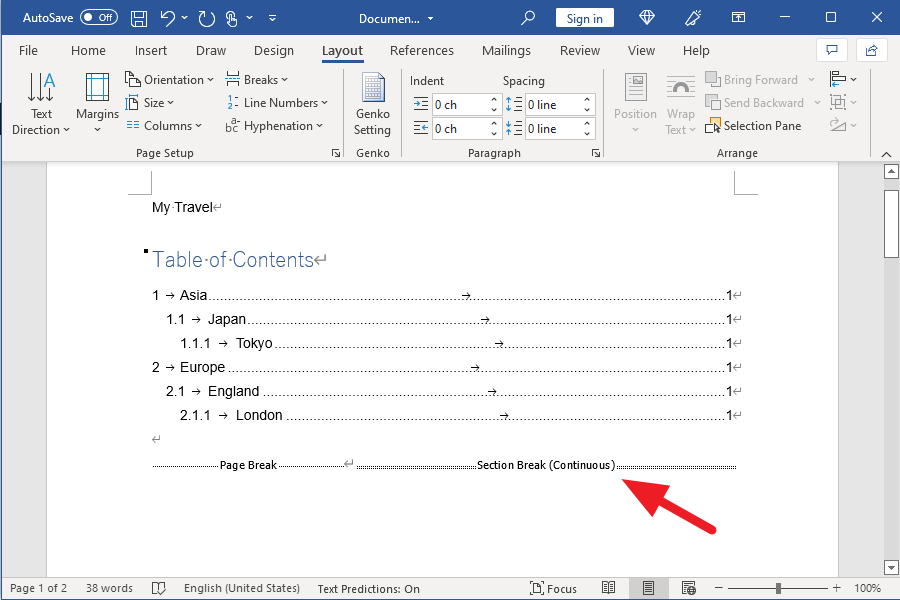
“Section Break (Continuous)” now appear next to “Page Break” under the table of contents.
| 📌NOTE |
|---|
|
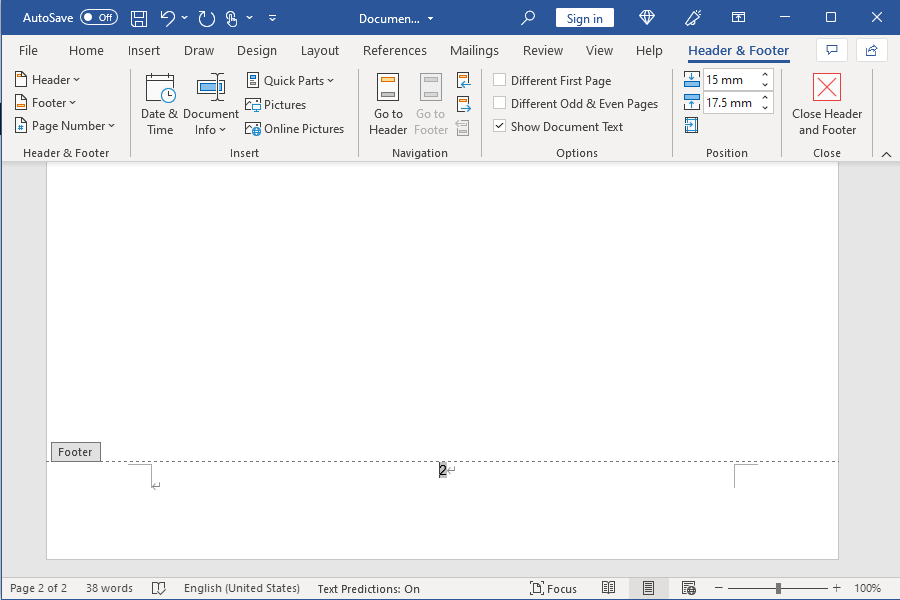
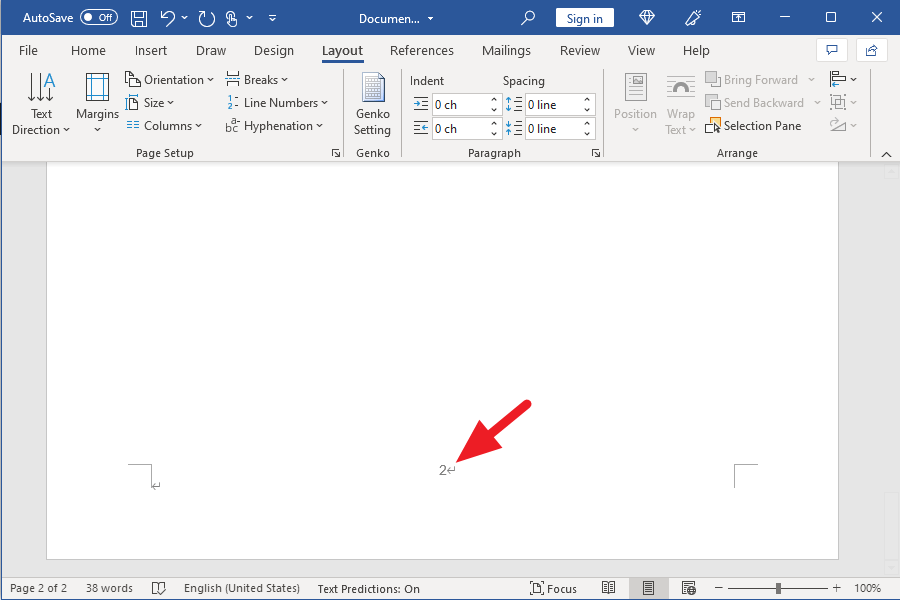
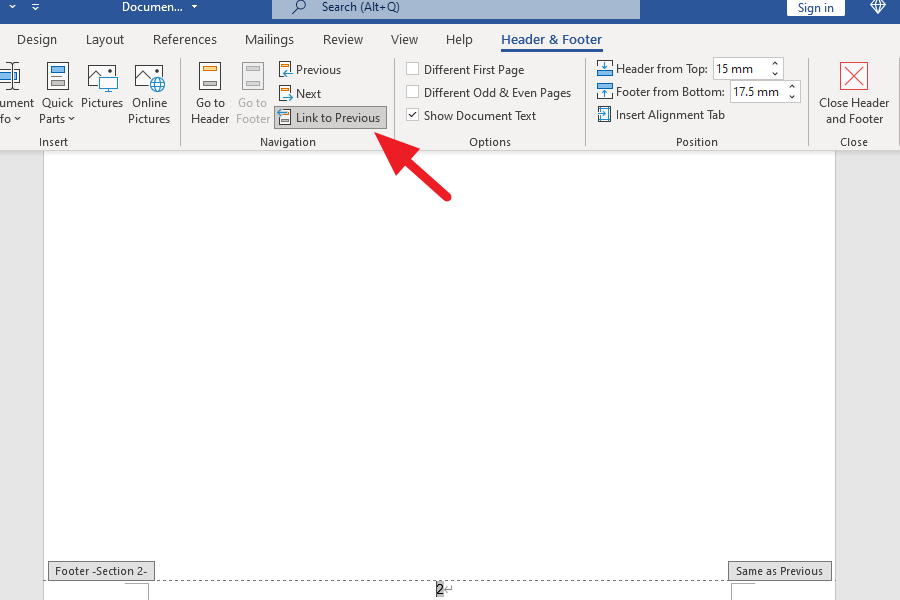
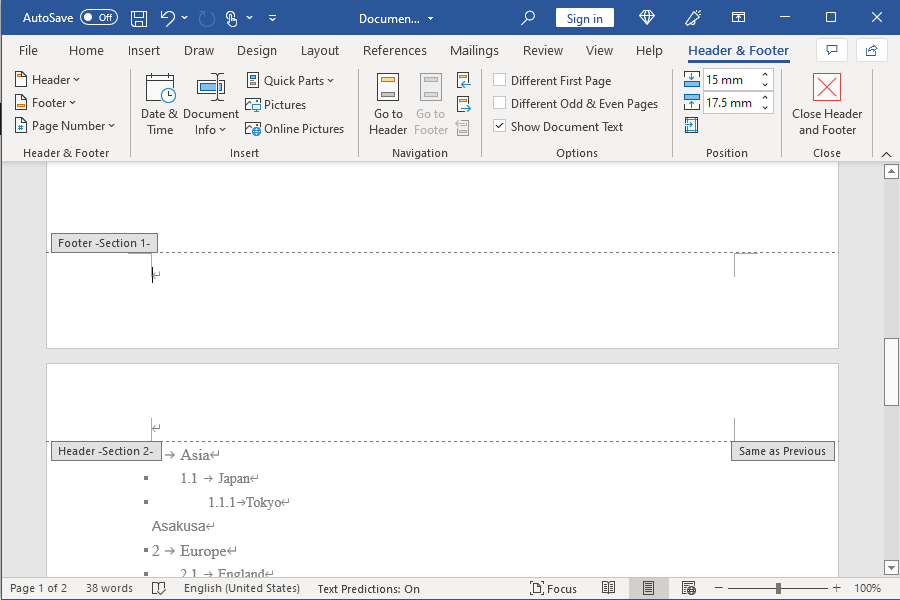
Double-click on the page number at the bottom of the second page.
When you switch to the edit menu for the Header & Footer, click on “Link to Previous” to turn it off.
| 📌NOTE |
|---|
|
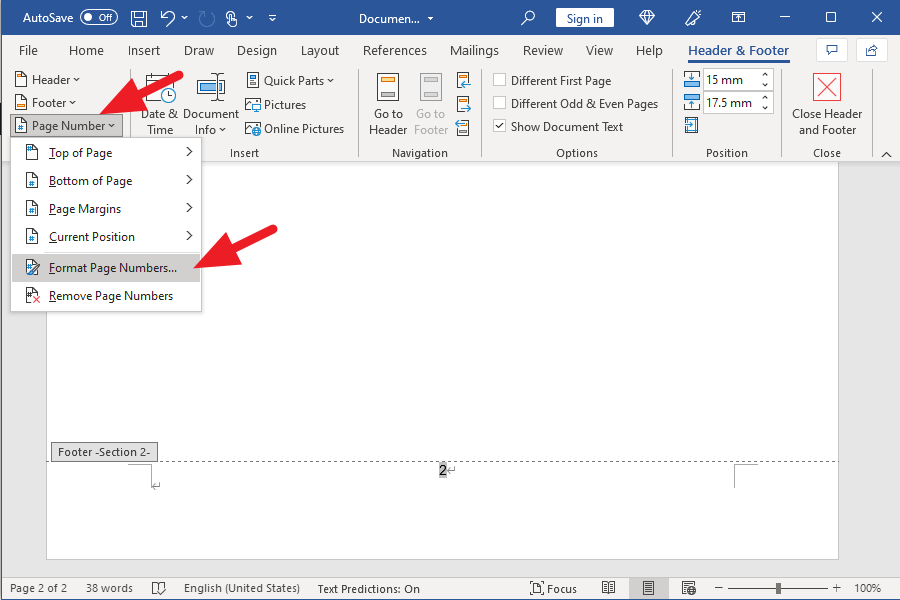
The page number is still “2”, so click “Page Number” and then click “Format Page Numbers.”
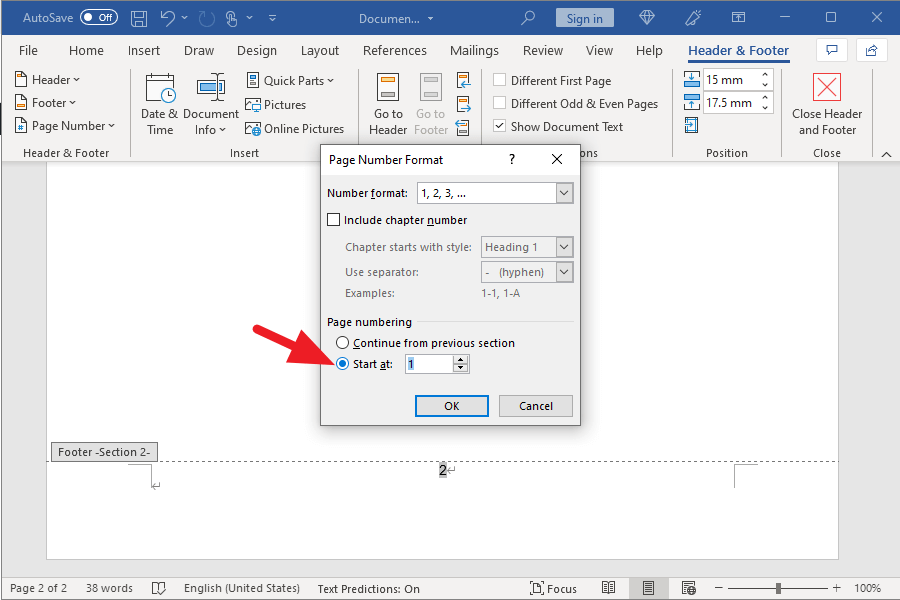
When the “Page Numbering Format” window opens, turn on “Start at:” and set the number to “1”.
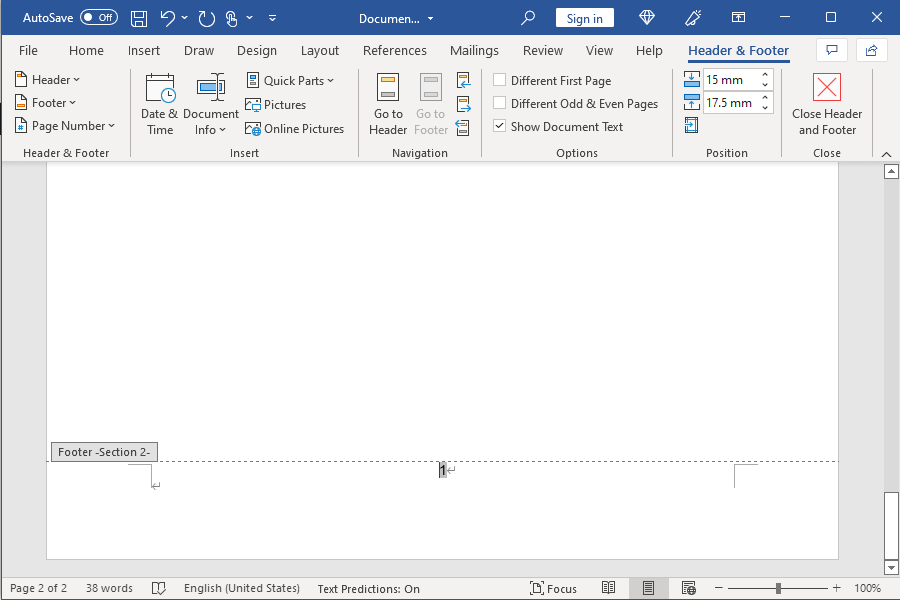
The page number has now changed from “2” to “1.”
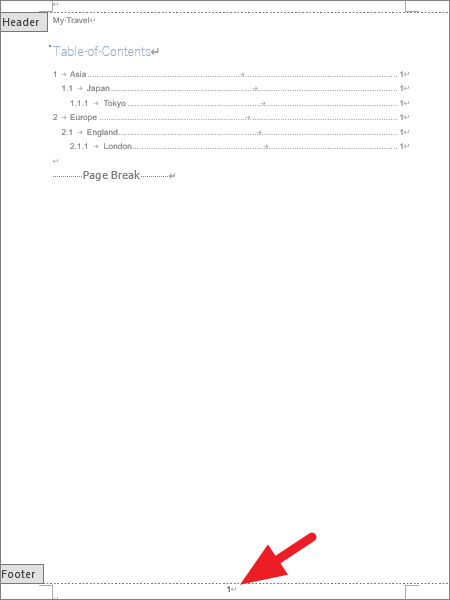
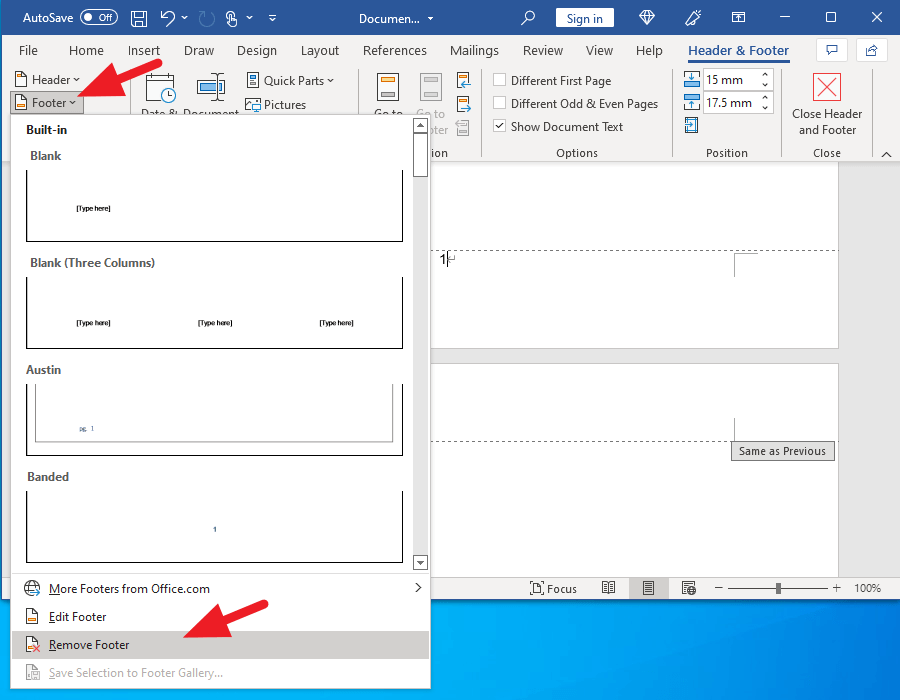
Page number “1” remains on the Title and Table of Contents page, so move the cursor to that “1.”

Click Footer, then click Remove Footer.
| 📌NOTE |
|---|
|
The page number of the table of contents page has now disappeared.
Update table of contents
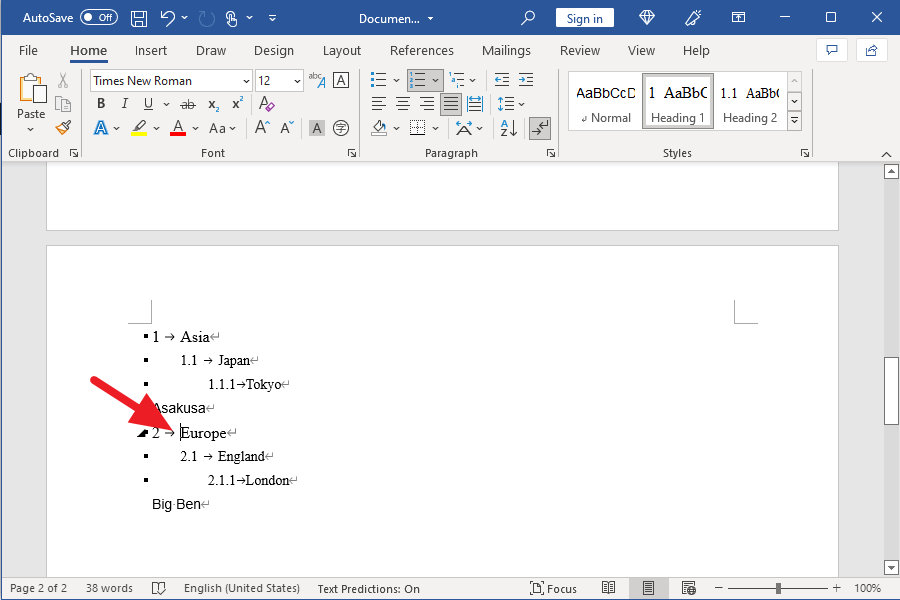
As shown in the figure below, all pages have been set to “1” so far.
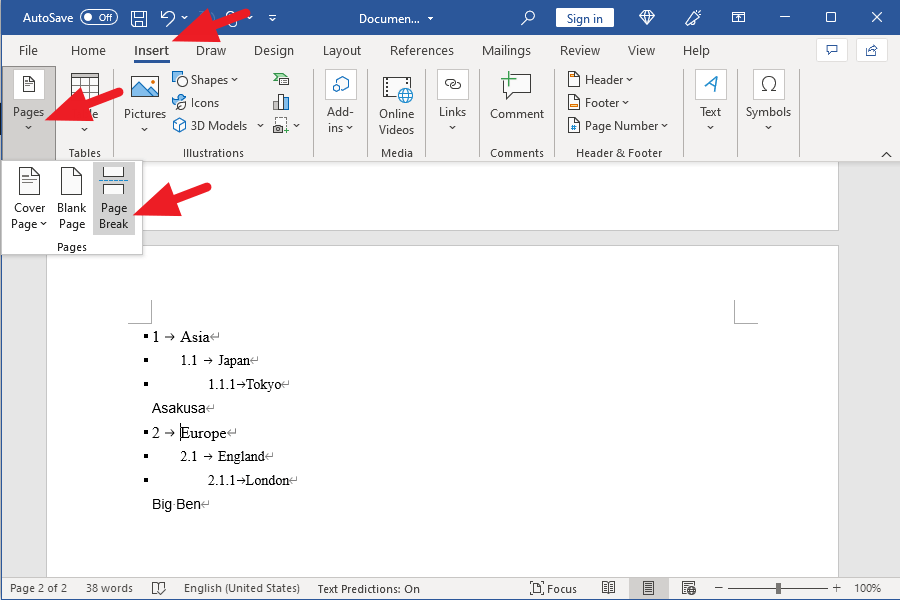
Move the cursor to the beginning of the heading “Europe.”
Click “Page Break” on the tab “Insert.”
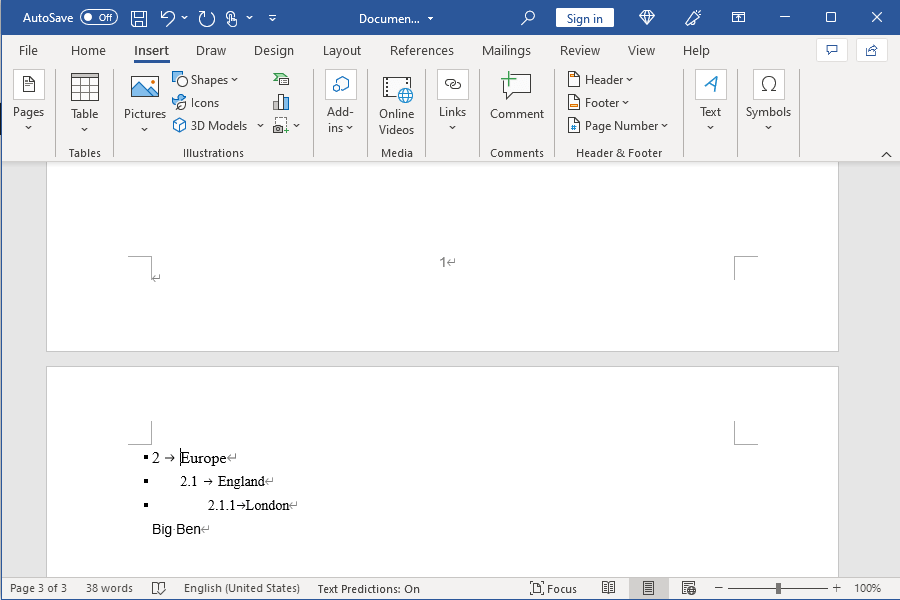
Europe is on the second page.
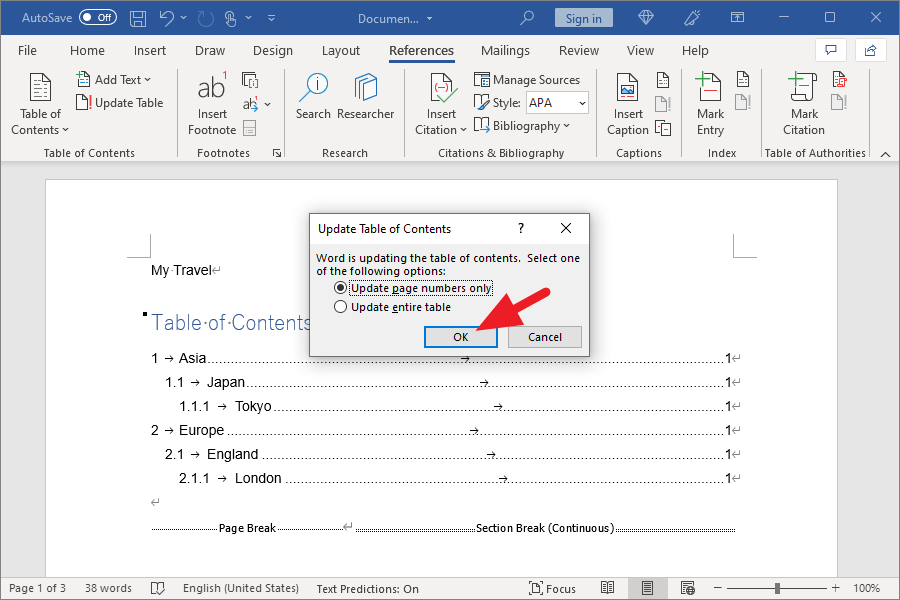
If you go back to the Table of Contents, you will see that the page number for Europe still appears in the Table of Contents as “1”. Click on “Update Table” under the tab “References.”

When the “Update Table of Contents” window opens, click OK.
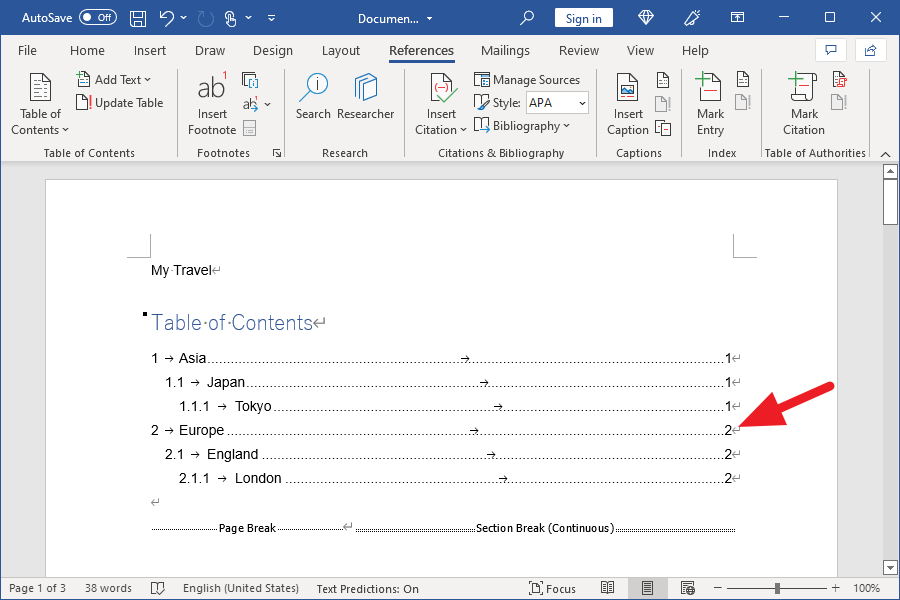
The page number in Europe has been changed from “1” to “2.”
Thank you!