How to use the Pen Tool in Amadine for iOS

This section describes the Pen tool, which is the basis of vector graphic tools and is difficult for beginners, and the Bezier curve created by the Pen tool.
What is a Bezier curve?
It is a method of drawing a curve with vector graphic software such as Adobe Illustrator, Inkscape, etc.
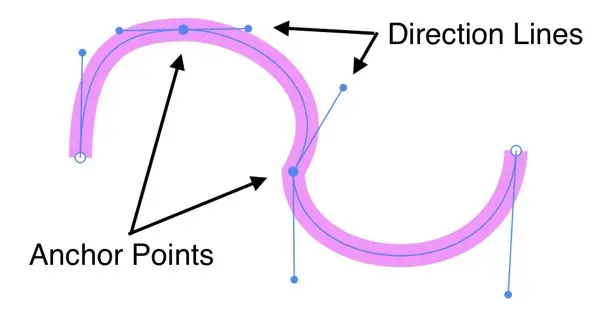
As shown in the figure below, a curved “Path” is drawn by adjusting the positions of the points “Anchor Points” and the “Direction Lines” attached to the anchor.
Pen tool type
The Pen tool is a tool for drawing Bezier curves. As shown in the figure below, there are several options in the Pen tool’s control panel.
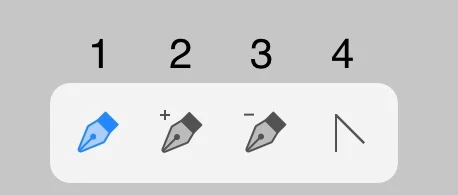
- Draw a path
- Add an anchor point
- Delete an anchor point
- Change the type of an anchor point from smooth to corner, and vice versa
Now, let’s practice the pen tool.
Step 1: Trace the illustration using only the straight lines of the Pen tool
First, trace the image of the house drawn in straight lines with the Pen tool.

Please download the above jpeg file (size 600*600).
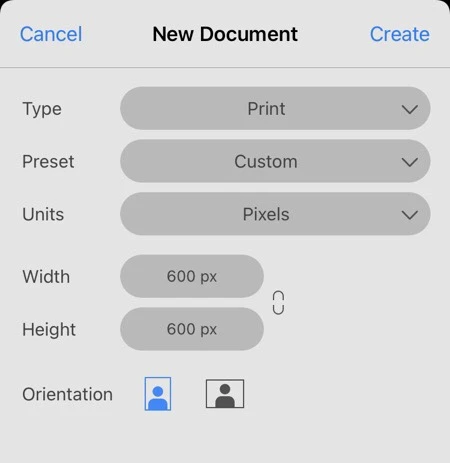
Launch Amadine, select “Create Document”, and create a New Document with the size of Width “600px” and Height “600px”.
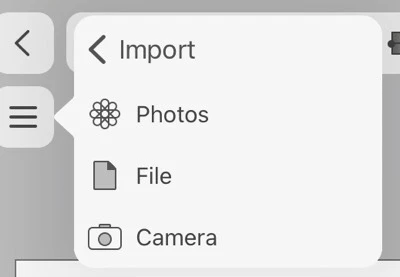
To import the downloaded image for tracing, tap “Import” from the menu.
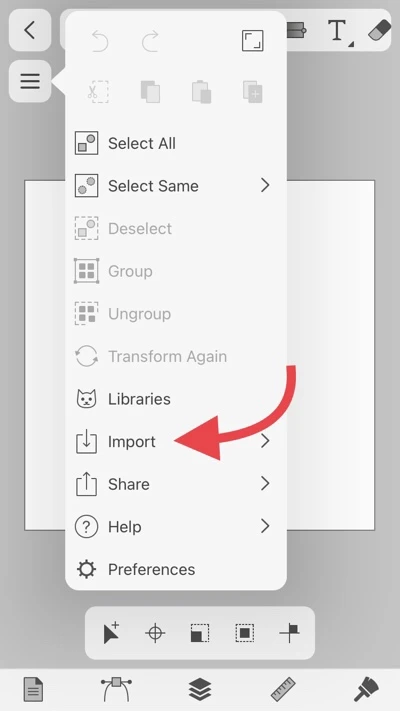
Select where you saved the image. Select “Photos” if you saved the image in the Photos app, or “File” if you saved it in the Files app or Dropbox.
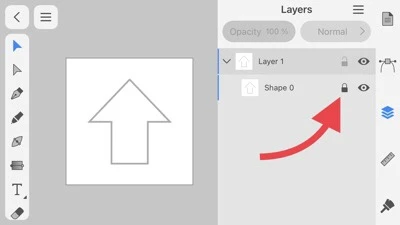
After capturing the sketch image, tap the Layers panel to lock the layer containing the sketch image.
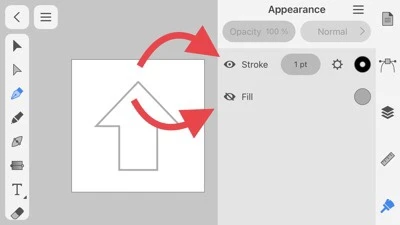
Change the pen settings to make the traced lines easier to recognize.
Tap the eye icon to the left of Stroke in the Appearance panel to “Show” and set Fill to “Hide.”
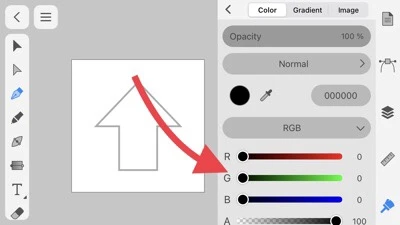
Tap Color Settings on the right end of Stroke.
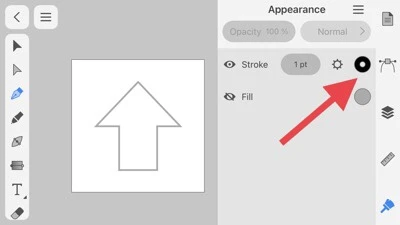
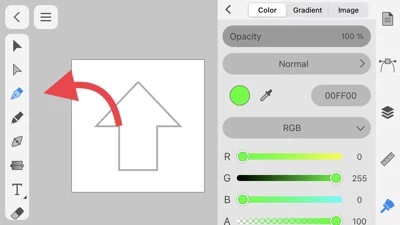
In the Color panel, slide the G slider to the right edge in order to set the pen color to green.
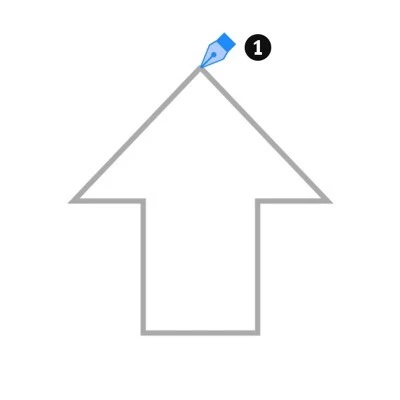
Now that you’re ready to use the Pen tool, tap the Pen tool.
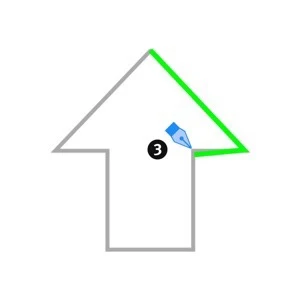
First, tap the top of the roof.
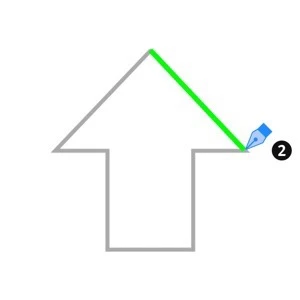
Then tap the vertices in turn to connect the straight lines.
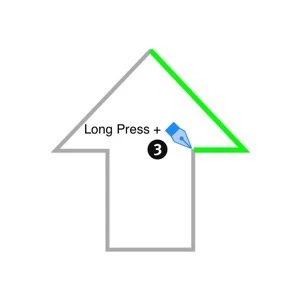
When drawing horizontal or vertical lines, they may shift as follows.
To undo, tap the screen with two fingers. When draw a horizontal line, press and hold somewhere on the screen and tap the vertex to level the line.
| 📌NOTE |
|---|
|
Tap the remaining vertices in the right order to complete.

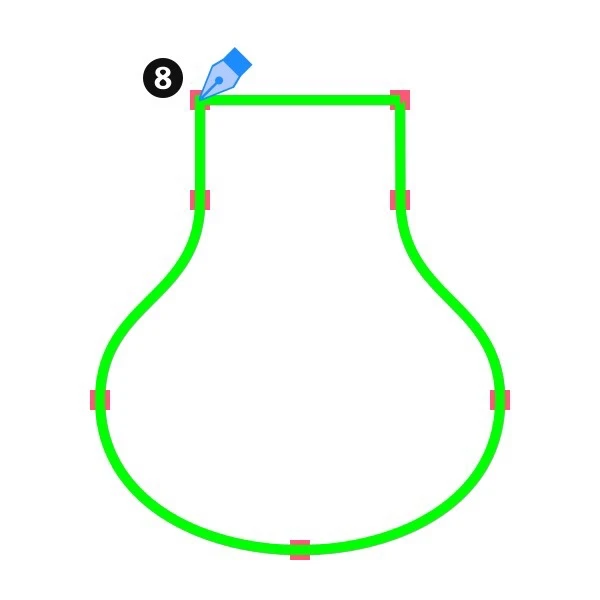
Step 2:Trace the illustration with the curves of the Pen tool
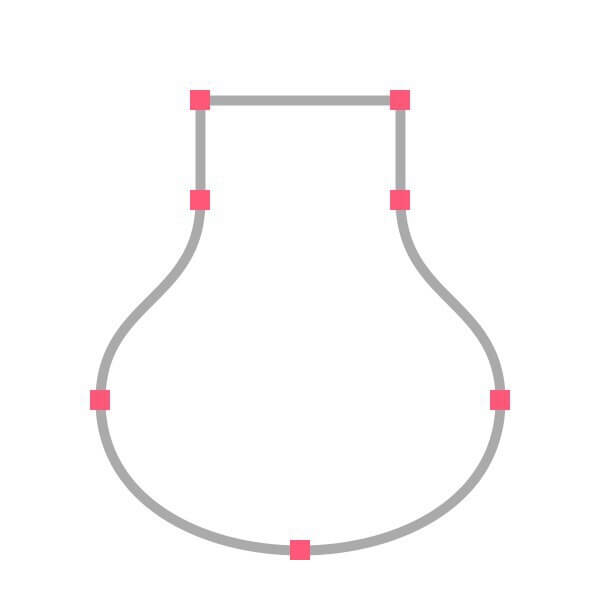
Download the above image in the same way as before and import it as a sketch.
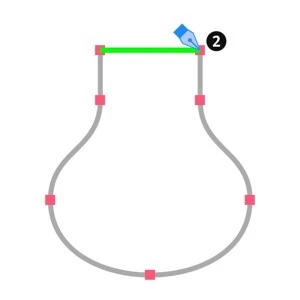
Start from the top-left vertex.
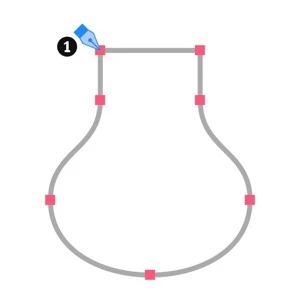
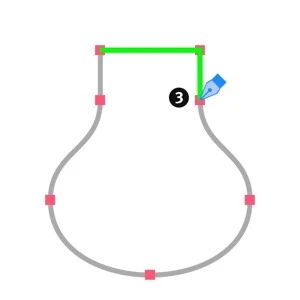
For the straight line, tap a vertex while pressing down somewhere.
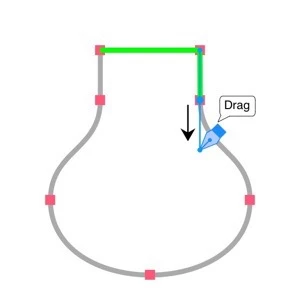
Now it’s time to draw a curve. Tap the point where the curve starts, and drag it downward.
When the direction line appears, release your finger.
Tap the next vertex and drag it down to draw a smooth curve.
Then tap and drag each vertex in the same way to draw a curve.
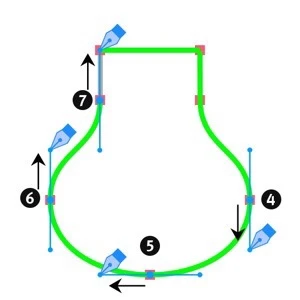
It will return to the starting point. Since it is a straight line, so don’t drag it, just tap it to finish.
I hope you now understand how to draw lines.
In the next article, I will show you how to modify the lines.
Thank you for reading to the end.