How to draw a Symmetrical Face in Amadine for iOS

Let’s draw a bear face using the three methods introduced in the article below: “The Symmetrical Distort Tool”, “Flip, Copy and Join”, and “The Path Width Tool”.
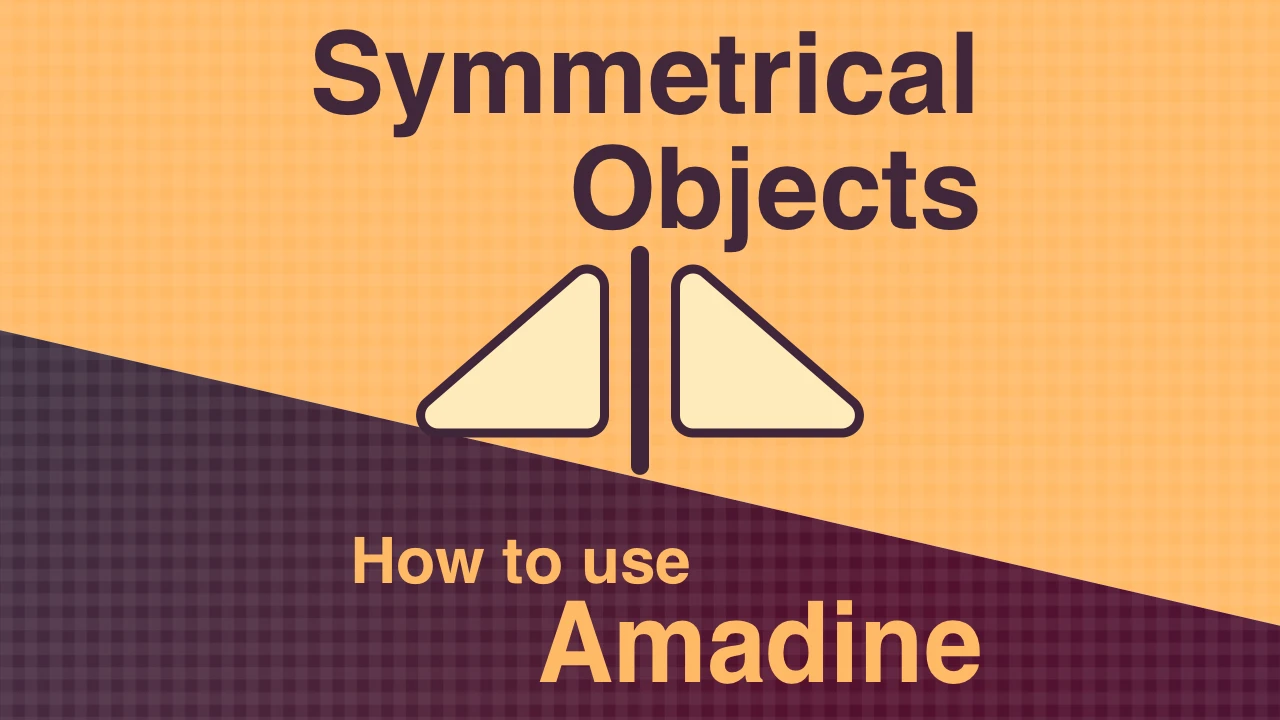
How to draw symmetrical objects in Amadine for iOS
This article shows you three ways to draw symmetrical shapes other than the basic shapes such as circles and squares.
We will draw a bear face shown below.

Place a Vertical Guide Line
Guide Lines, which are the axes of symmetry, help you draw symmetrical shapes.
Please refer to the following article for information on how to draw vertical guide lines.
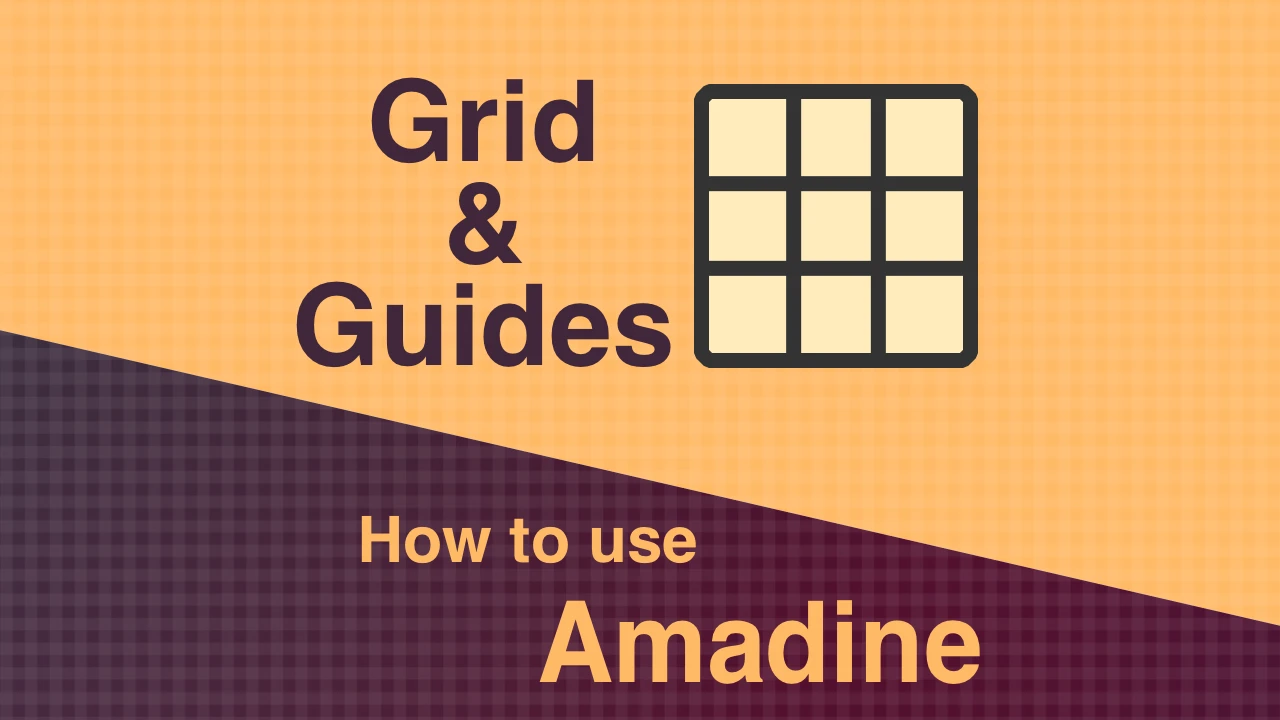
How to use the Grid and Guides in Amadine for iOS
In this article, I will explain the grid and guides that will help you draw illustrations.
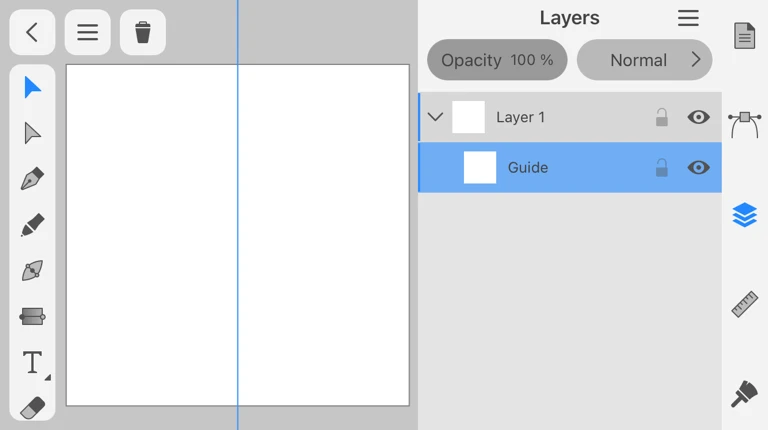
I placed a vertical guide in the middle of a 600pt x 600pt sheet.
Draw the outline of the face with “the Symmetric Distort Tool”
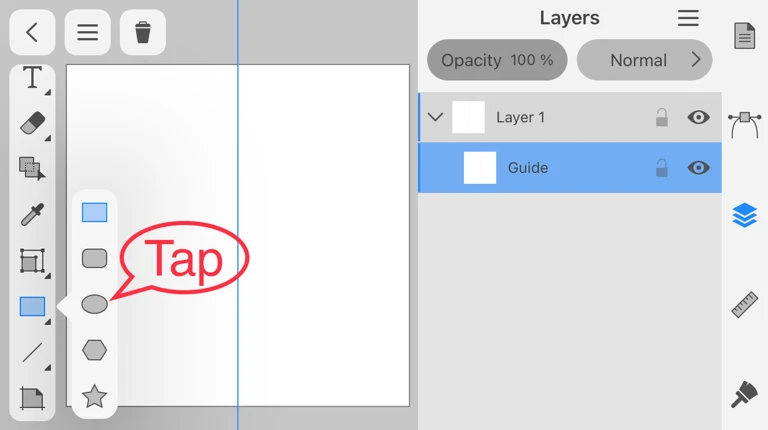
Let's draw a circle to draw the outline of the face.
Press and hold the Rectangle tool and tap the Ellipse tool.
Press and hold the Rectangle tool and tap the Ellipse tool.
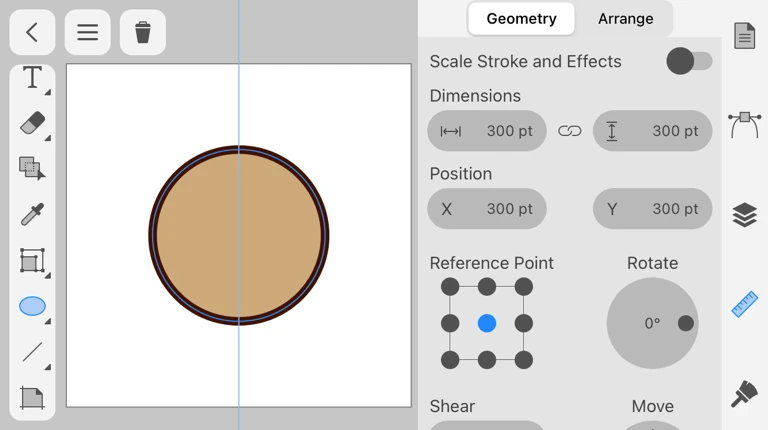
Draw a circle with a diameter of 300 pt and a center position of X:300 pt, Y:300 pt.

Press and hold the Free Transform tool and tap the Symmetrical Distort tool.

Drag the lower-right handle of the bounding box to the right.
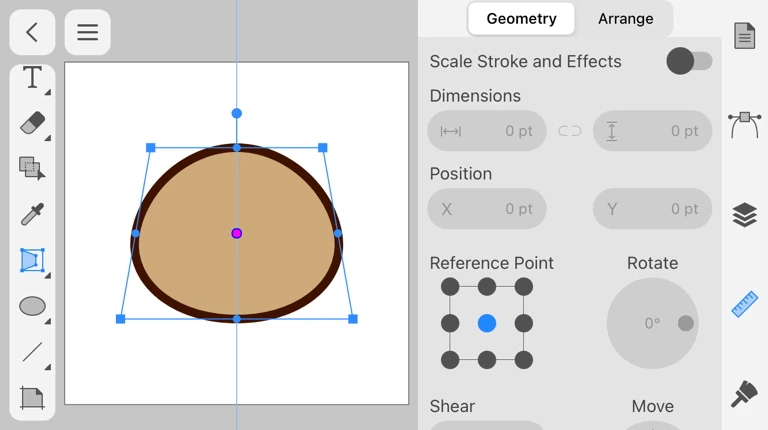
The outline of the face is completed.
Draw mouth, eyes and ears with “Flip, Copy and Join”
Draw the left half of each part
First, let's draw the left half around the mouth with the Pen tool.
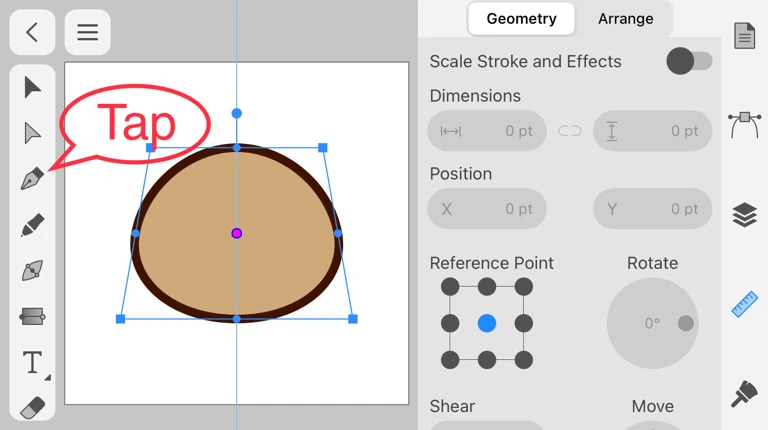
Tap the Pen tool.
Tap the Pen tool.
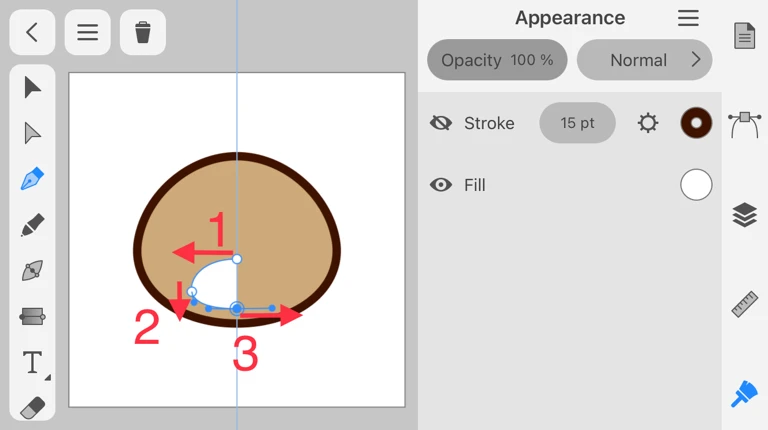
Draw a curve so that both the start and end points are above the guide line.
Draw the left half of the mouth with the Pen tool.
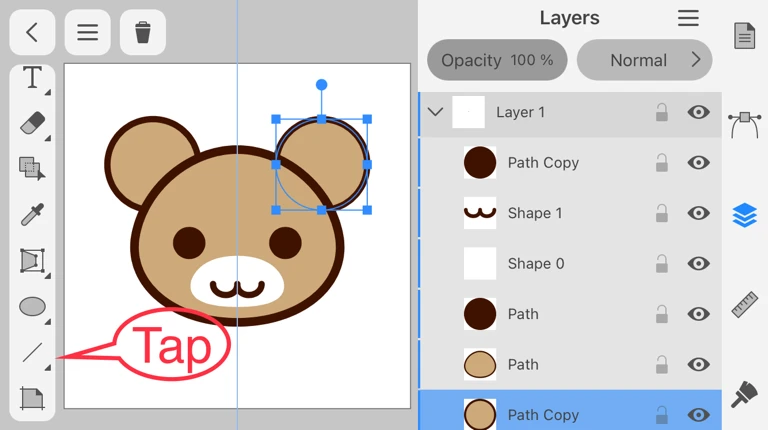
Tap the Ellipse Tool to draw an eye and an ear.
Draw an eye.
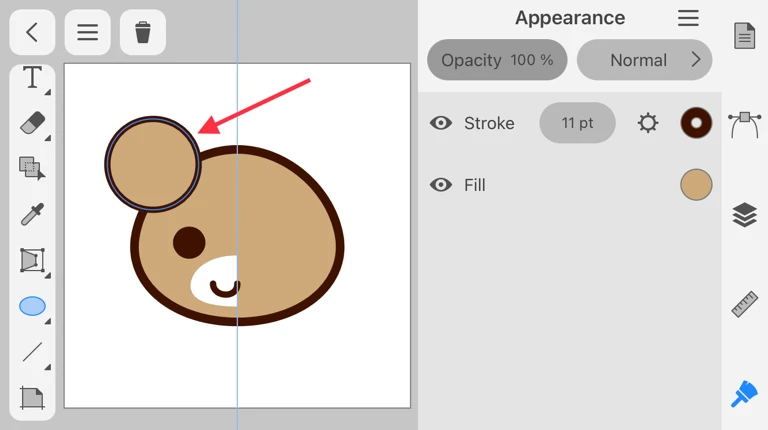
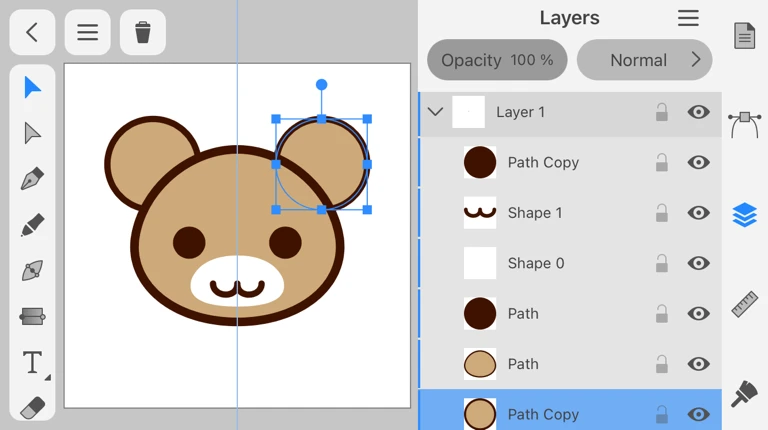
Draw an ear.
Flip and Copy
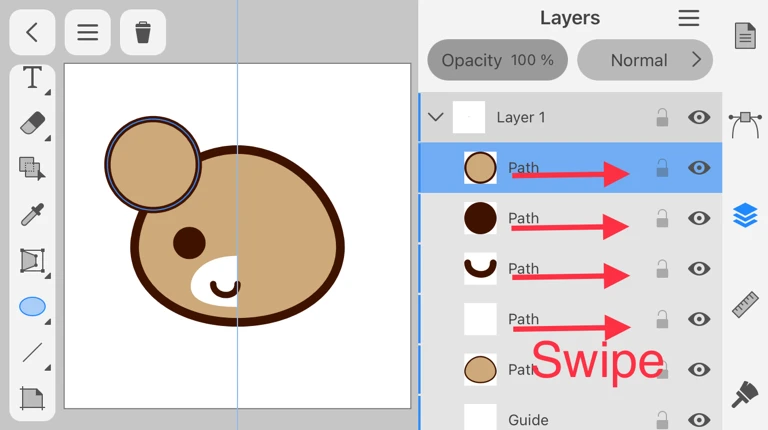
Select the mouth, eyes, and ears you have drawn so far by swiping them in the Layers panel.
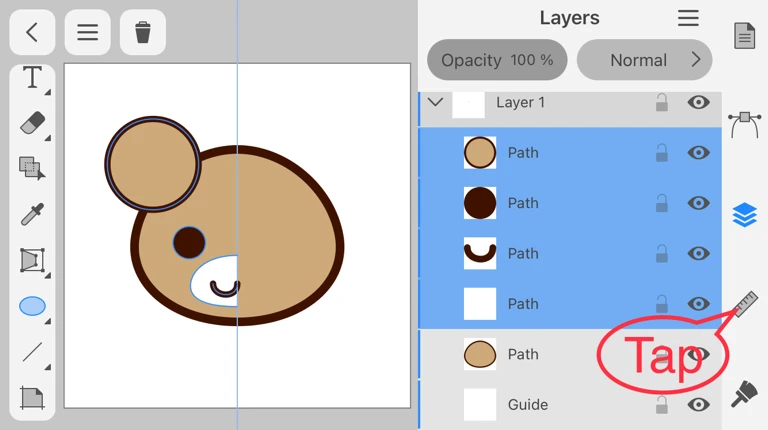
Tap the Geometry panel.
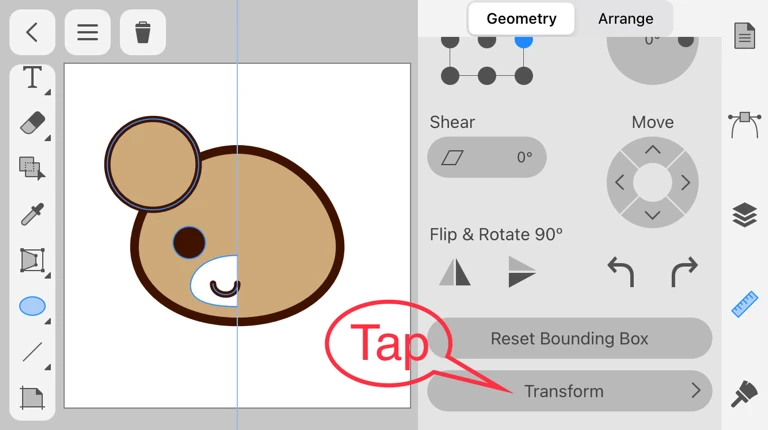
Tap the Transform button at the bottom of the Geometry panel.
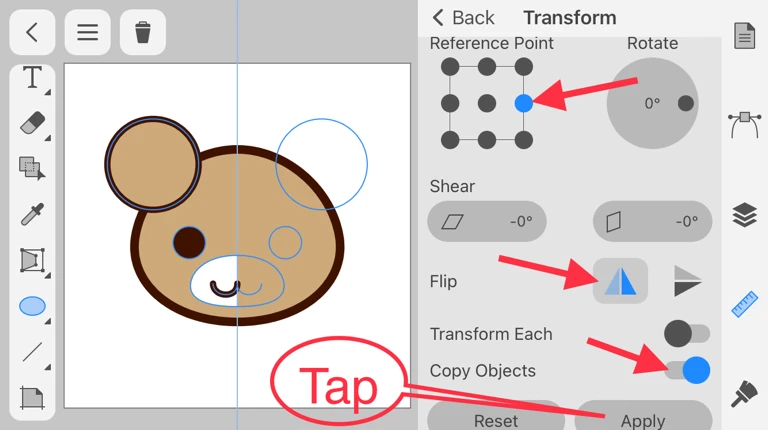
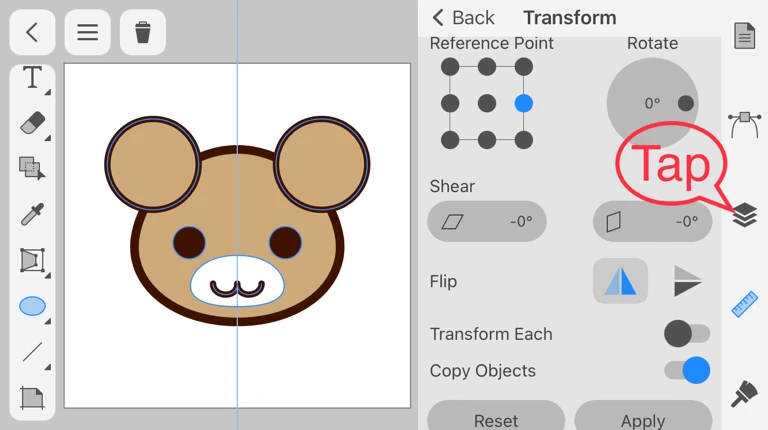
Change the Reference Point to the right center and tap the left icon for Flip.
Turn on Copy Objects and tap the Apply button.
Turn on Copy Objects and tap the Apply button.
Join
Join the objects around the mouth.
Tap the Layers panel.
Tap the Layers panel.
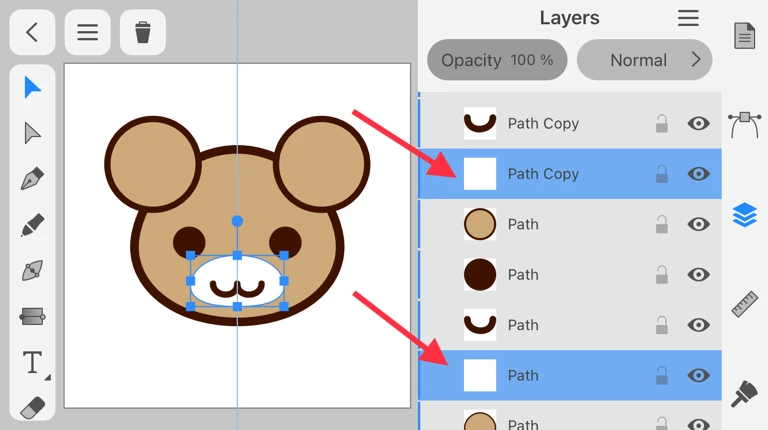
Select the source object and the copied object around the mouth.
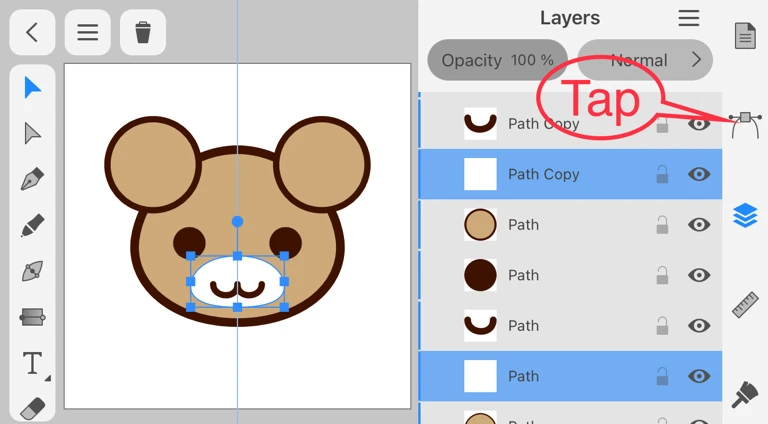
Tap the Path panel.
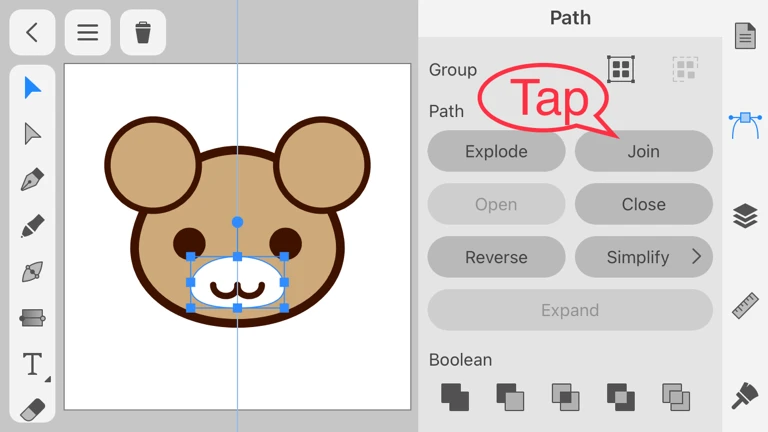
Tap the Join button.
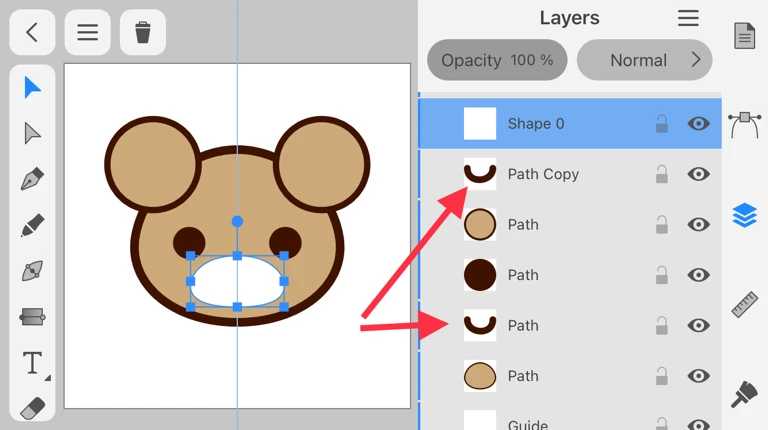
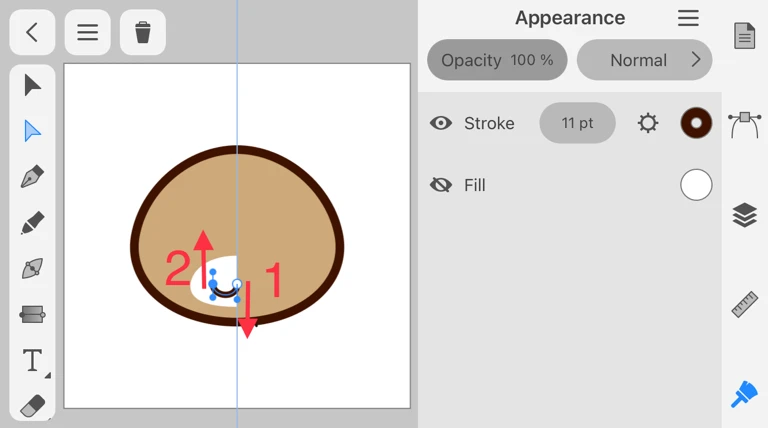
Objects around the mouth is now joined. Let's join the mouth objects in the same way.
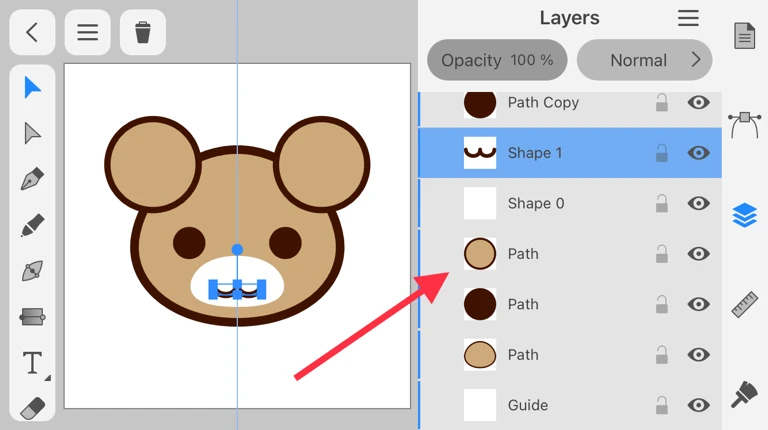
The ears are placed in front of the face outline, so let's move them back.
Select an ear object.
Select an ear object.
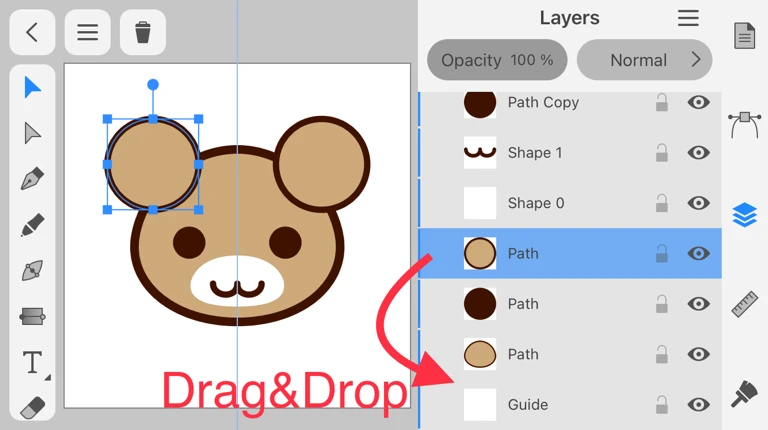
Drag and drop the selected ear object under the face outline object.
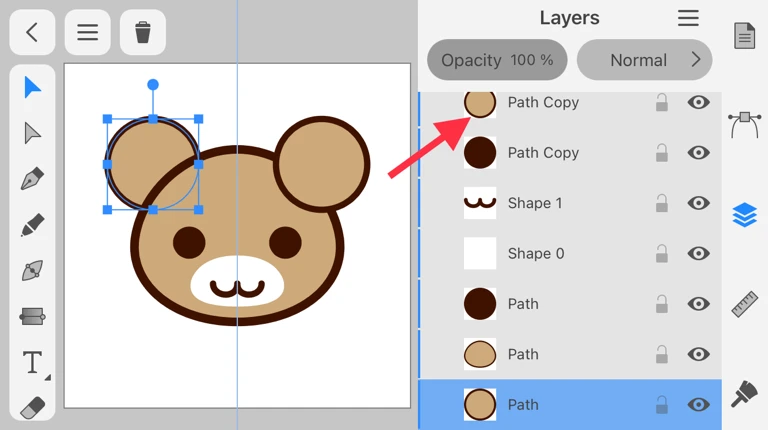
Move the other ear under the face outline in the same way.
Now all parts except the nose are completed.
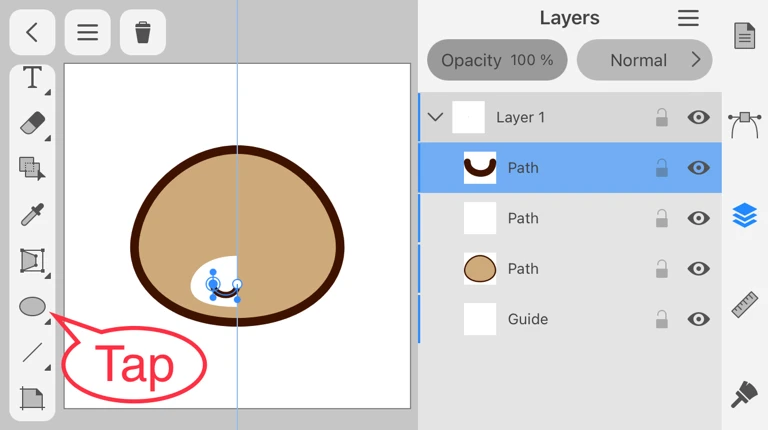
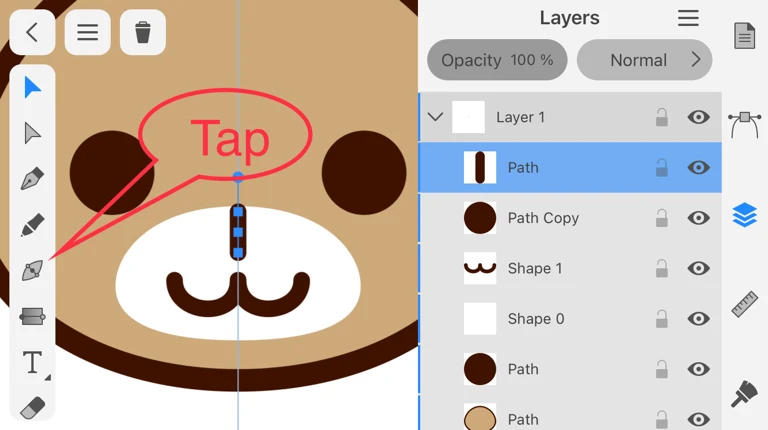
Draw the nose with the “the Path Width Tool”
Tap the Line tool.

Draw a straight line on the guide line.
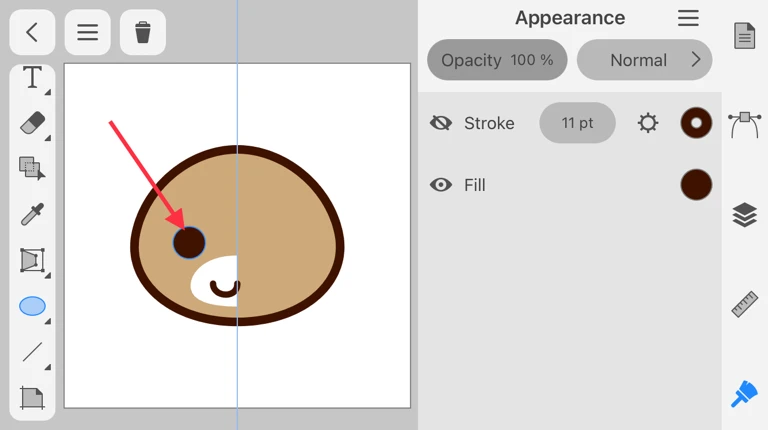
Tap the Path Width tool.
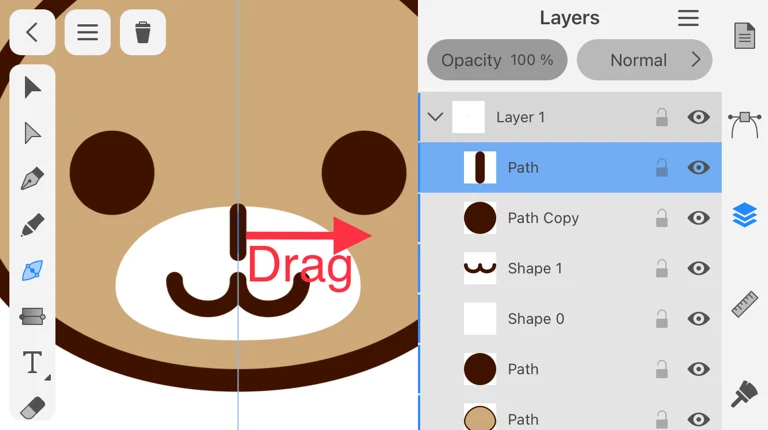
Drag the center of the line to the right.
The width of the middle part of the straight line has been increased.
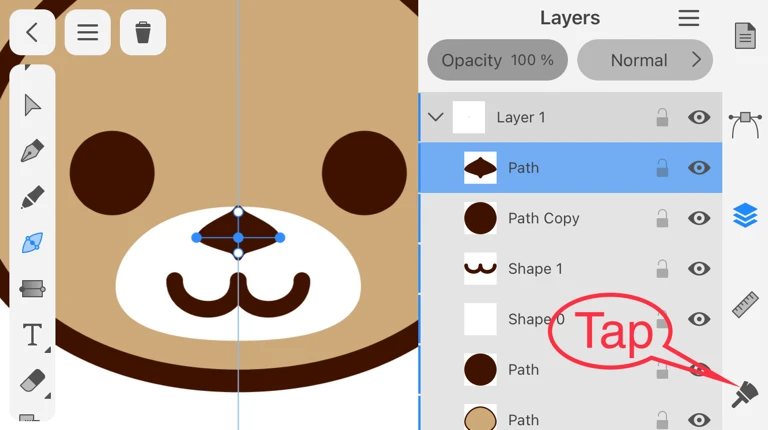
Let's remove any bumps above and below your nose. Tap the Appearance panel.
Let's remove any bumps above and below your nose. Tap the Appearance panel.
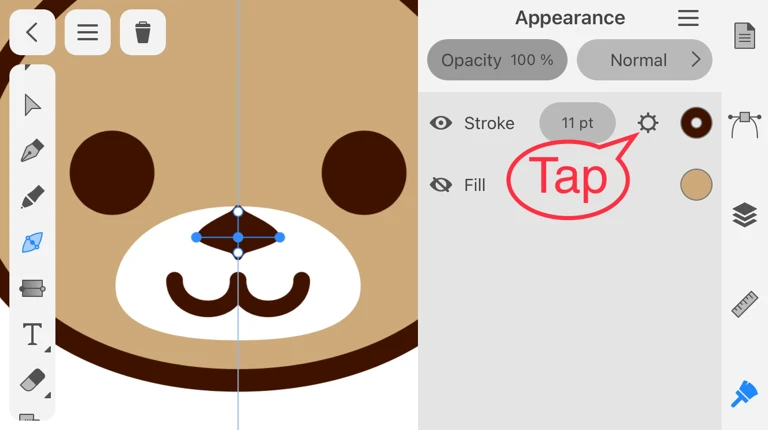
Tap the gear icon in Stroke.

Tap the left icon among the Cap options.
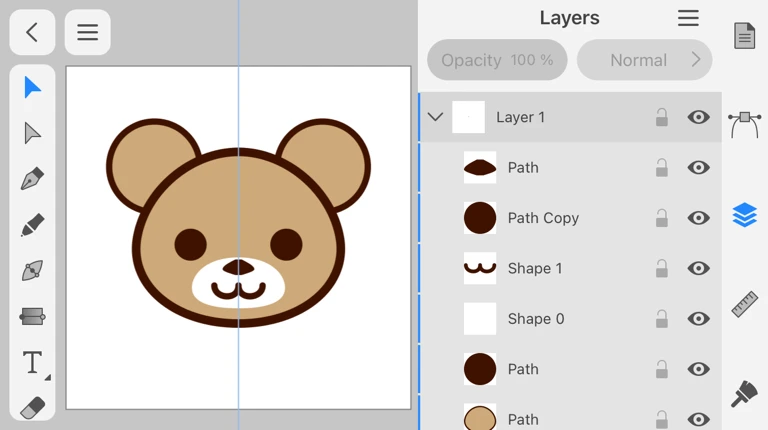
That's it!
If you use the three methods well, I think you will be able to draw not only faces but also many other kinds of pictures.
Thank you.
Thank you.
Related Articles
2022-03-25
How to use the Boolean Operations in Amadine for iOS
Learn about the Boolean Operations that merge and break apart overlapping objects.
2022-09-14
How to draw symmetrical objects in Amadine for iOS
This article shows you three ways to draw symmetrical shapes other than the basic shapes such as circles and squares.
2022-03-10
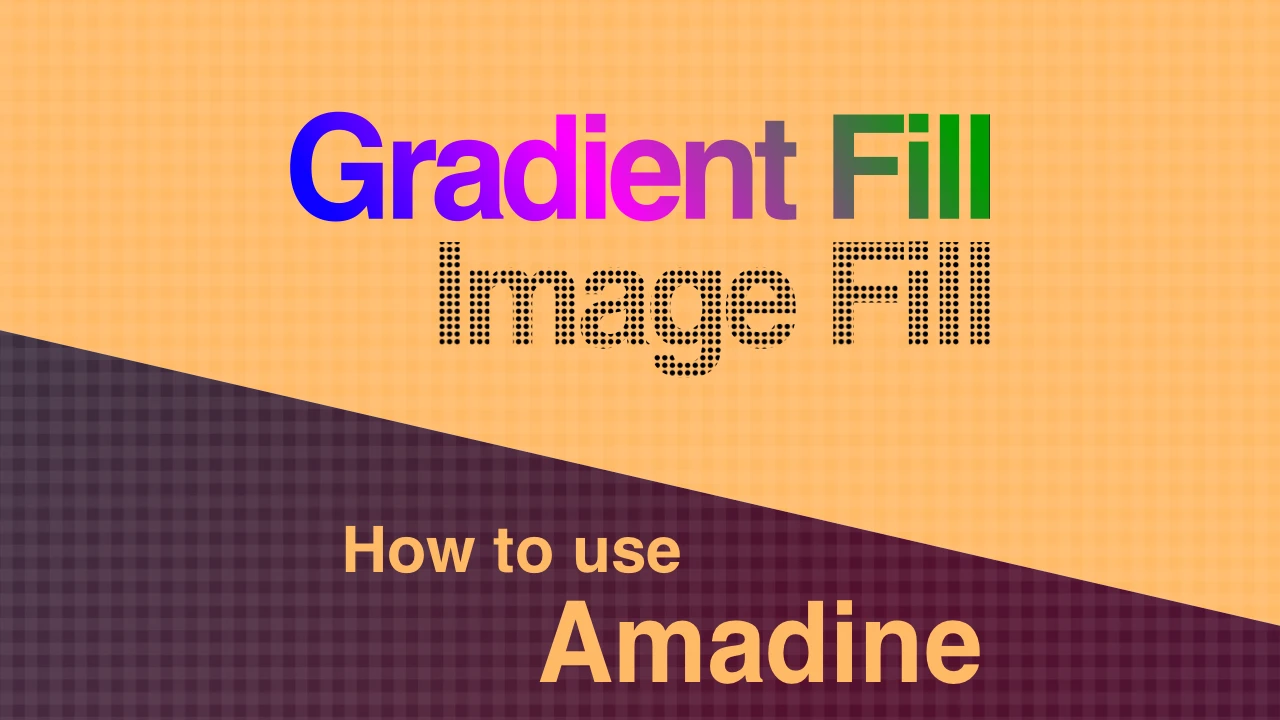
Gradient fill and Image fill in Amadine for iOS
In addition to plain coloring, Amadine for iOS offers "Gradient," a gradual color change, and "Image fill," which fills in with a photo or shape.
2022-03-04
How to use the Grid and Guides in Amadine for iOS
In this article, I will explain the grid and guides that will help you draw illustrations.
2022-03-17
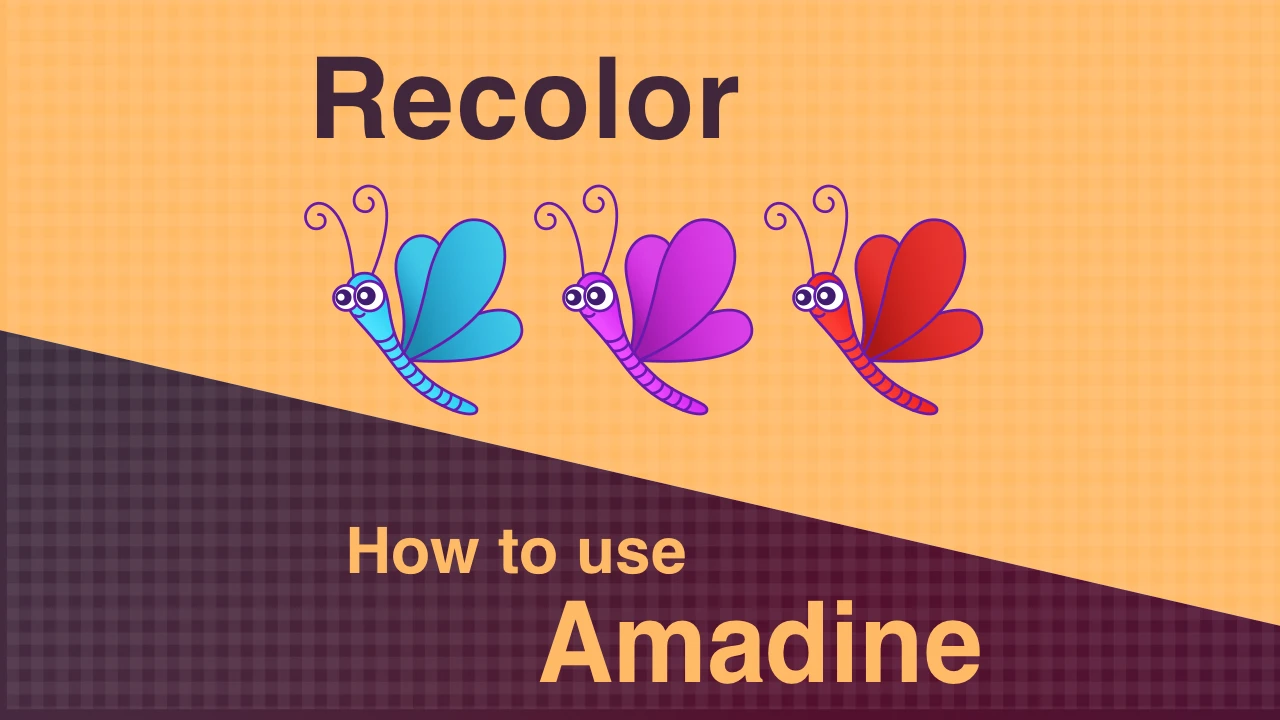
How to use the Recolor in Amadine for iOS
Learn how to use the Recolor function to change the color of some objects at the same time.
2022-09-06
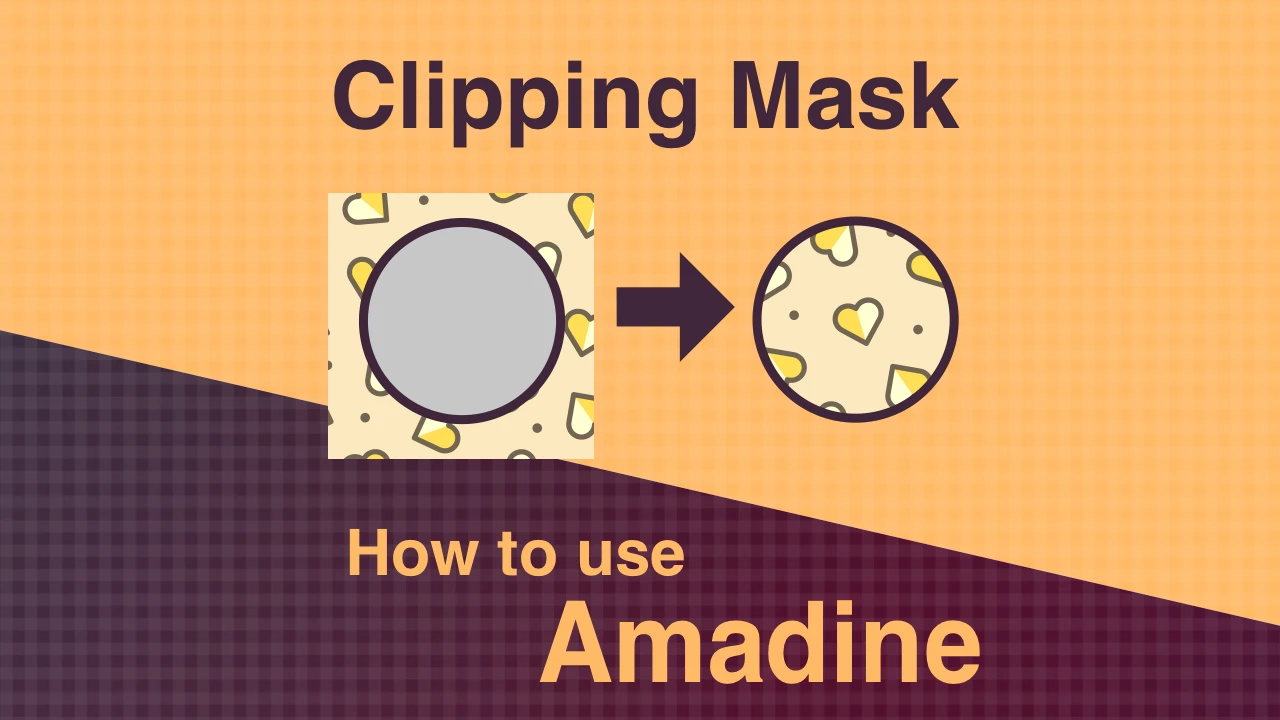
How to use the Clipping Mask in Amadine for iOS
This article describes "clipping mask," a function that makes objects appear cropped.