Apps I use for blogging

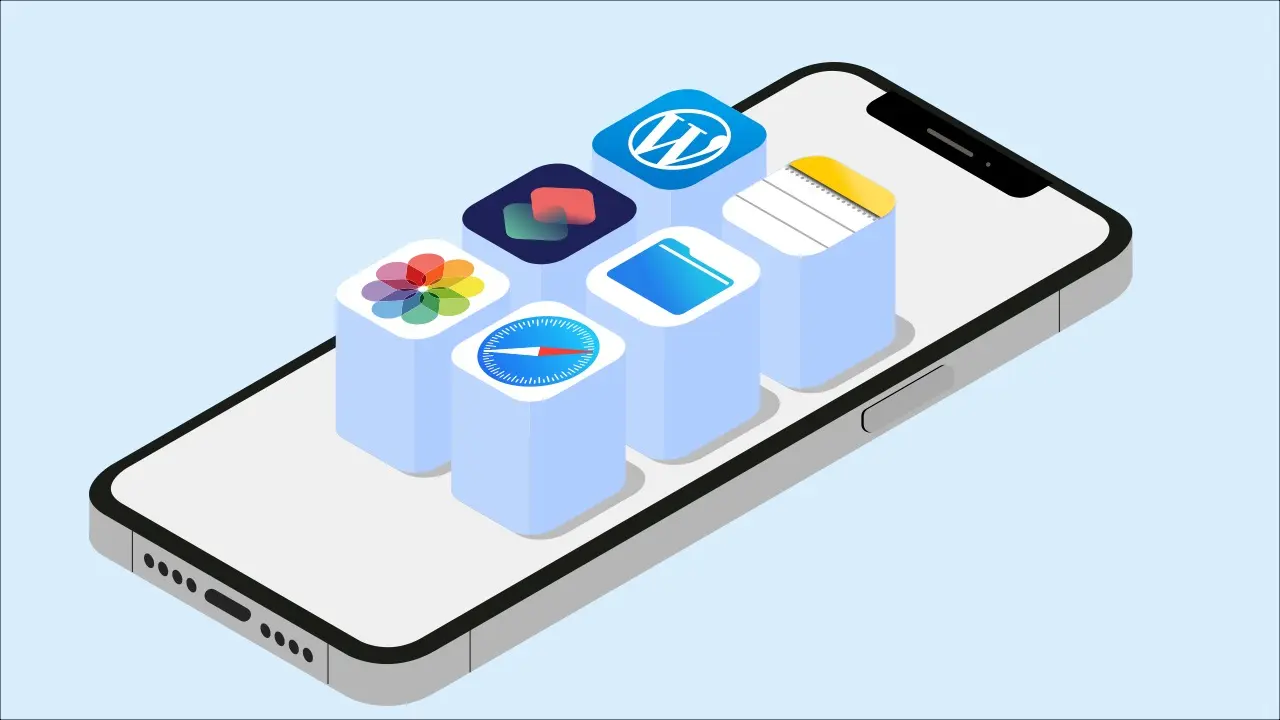
I write my blog posts using only my iPhone. In this post, I’ll show you the apps I use and the whole process.
Apps for writing multiple articles
Dynalist(Data Bank)
First of all, I write a short sentence in my idea notebook that will be the material of the blog post.
The app I use is “Dynalist”, an outliner app.
https://apps.apple.com/app/dynalist/id1195392808
Two of the most popular outliner apps available for iOS are Dynalist and Workflowy.
Of these, Dynalist is available for free and there is no limit to the amount of input you can enter.
It does not support English only, wo the manual is only in English.
Workflowy (Elaboration of Titles and Headings)
To figure out the relationship between the title of the article and the headline, I use the outliner application Workflowy.
https://apps.apple.com/app/workflowy-note-list-outline/id551139514
Write the titles and headings of multiple articles side by side so that the contents do not overlap, and work on rearranging the titles and headings between articles so that it is easier to see the connections between them.
Workflowy is also a free outliner app, but it has a limit. If you exceed 250 items per month, you will get a lot of emails asking you to apply for pro version.
However, if you erase the items you have entered, the count will be reduced. So if you just think about the article titles and headings, you will not exceed 250 items in a month.
Since it is an outliner app, unlike a memo app, you can collapse each heading so that the lower level is hidden, making it easy to grasp the whole of the article on the iPhone’s small screen.
Once editing the title and headings of each article are completed, transcribe them into the Notes app for each article to be posted and write the article.
When I started blogging, I wrote headings with markdown syntax, but now, as described in the following article, I don’t write them with markdown, but use shortcuts to convert them to markdown and output them to the Notes app.

Updated Shortcut to export Workflowy data in Markdown
This is an improved shortcut for exporting Workflowy data in markdown, which we introduced in the previous post so that the shortcut distinguishes “Heading 3” from “Paragraph” under “Heading 2” .
The steps to enter are as follows.
- While looking at the idea notes in Dynalist, I bullet point words or short sentences in Workflowy that could be the title of my blog.
- Assuming the content of each article, the title is rewrote by sorting words and short sentences so that the order of the articles can be easily understood. Workflowy is useful because this "sort" can be easily done on iOS.
- After having completed some titles, I write words and short sentences that will be "heading 2" of the content in the hierarchy below each title.
- Once I have finished writing Heading 2, write Heading 3. It's rare to write "Heading 4." Even with the above shortcut, the markdown symbol will not be appended to "Heading 4".
- Complete the titles and headings of several articles by balancing them throughout several articles and replacing or rewriting the headings.
- Use shortcuts to convert to markdown and output to the Notes app.
Notes (Main text writing)
After having created titles and headings in Workflowy, the body of the text will be created in the Notes app.
I feel that the Notes app on iOS is nimble in operation and is highly worth using for blog writing.
I connect the Bluetooth keyboard to my iPhone and write it in markdown syntax.
When entering sentences, I write up at once without worrying about typos, and then correct it.
Since the keyboard is unnecessary if it is a correction work, rewrite it little by little in the gap time.
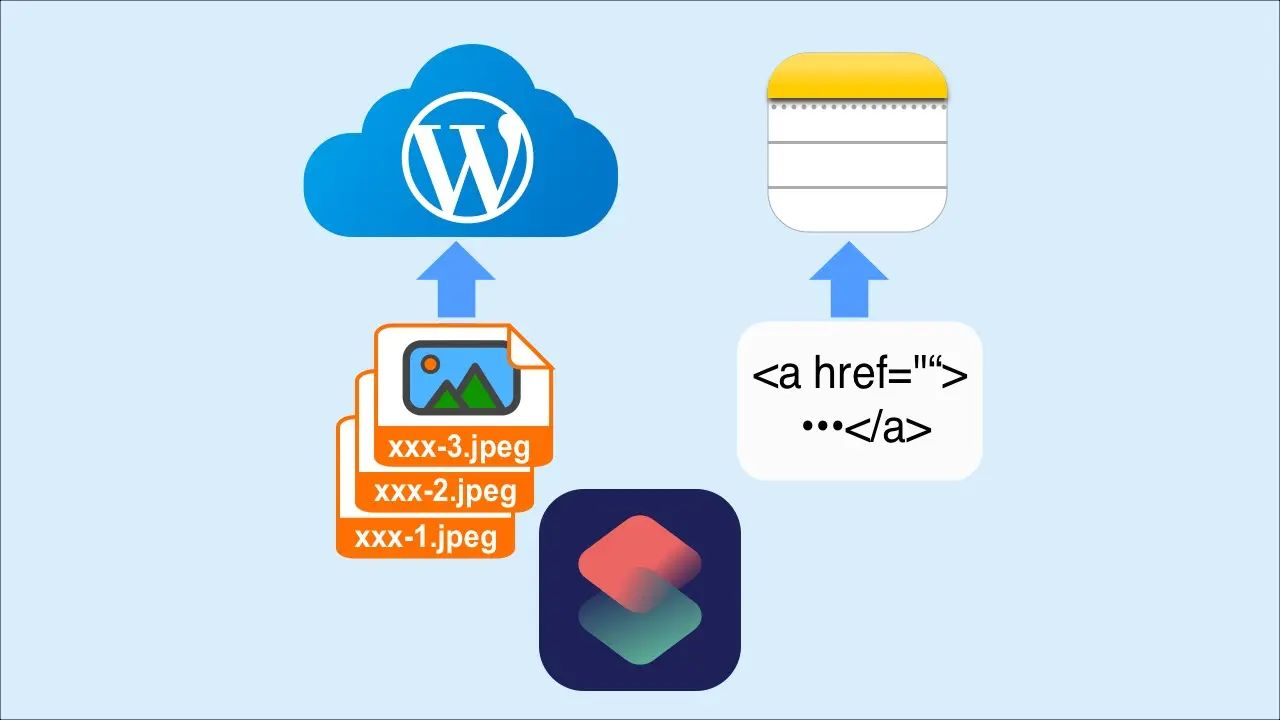
Note that you can also paste images into the Notes app, but when you post with the shortcut app, only the text will be uploaded.
I don’t paste the image into the Notes app, but use the shortcut as follows to append the URL to the Notes app.
Shortcuts (Editing Image and Posting)
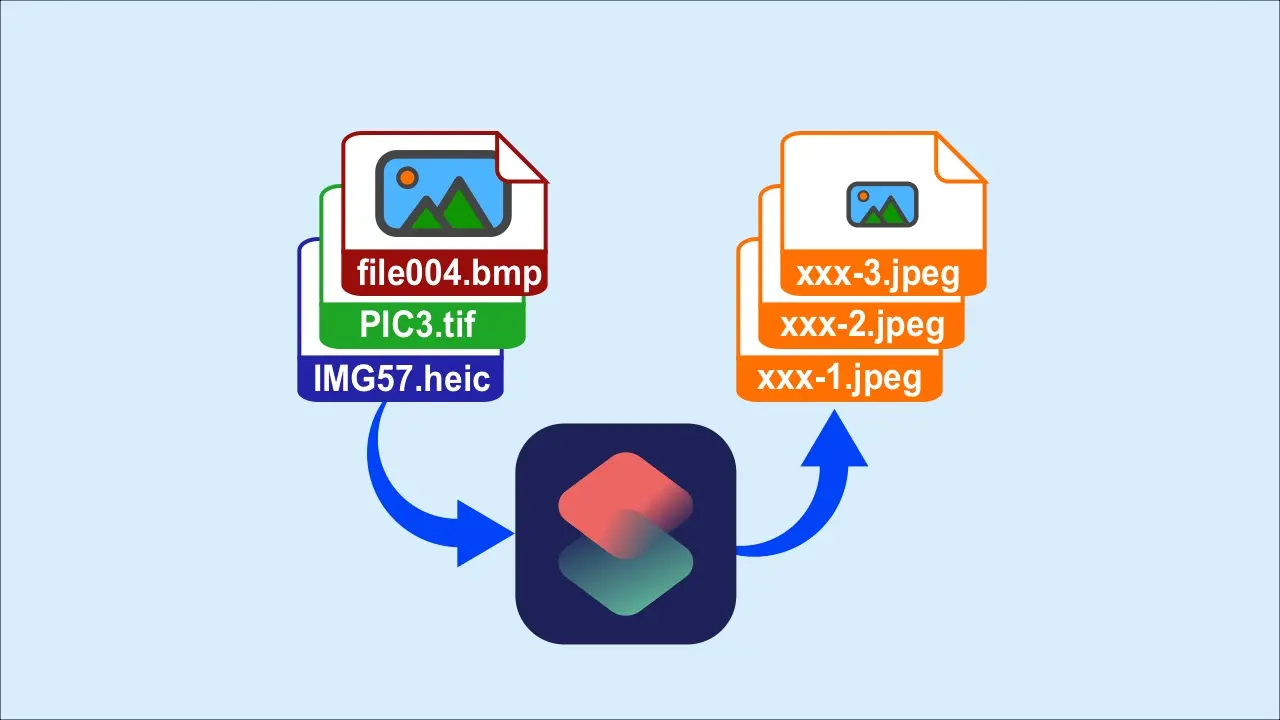
Prepare the featured image and images to be pasted into the article while working on the body of the text.
After saving the images in the Photos app on iOS, I use the three shortcuts introduced in the following article.
Connecting and using conventional shortcuts, the manuscript of the memo app and the image of the photo app are flowed and posted to WordPress
We will introduce the image-related shortcuts in the iPhone photo app introduced in the past article and the shortcuts to post the manuscript text in Notes app to WordPress by connecting and using the
Using shortcuts on iPhone can edit and post images easier than using PC.
However, with markdown alone, article decoration is minimal.
For this reason, the next step is to use the browser.
Safari (Decorating and Publishing)
If you use the above shortcut, the browser Safari will start automatically, so open the edit screen and decorate the article.
Now that wordpress editor is Gutenberg, articles you post with shortcuts will show “Classic” at the top of the editor.
When you tap the “Classic”, a menu “Convert to Block” will appear, so tap to convert it to a block.
Once converted to a block, I correct the position of the image and decorate it with text colors.
When all the decorations are finished, it is a time to publish them.
Apps for writing articles that do not link to other articles
Drafts
Basically, it’s the same as when writing multiple articles, but instead of using Workflowy and the Notes app, I use a free editor app called Drafts.
https://apps.apple.com/app/drafts/id1236254471
Drafs has a rich menu for writing with markdown, and the headings are automatically colored, so it is easier to use than the Notes app.
Drafts also has a function to convert markdown to HTML, so you can post tables created by Markdown.
Drafts has an action to post to WordPress by default, but when you actually post, it is posted as a “quote” in one block.
This is probably because it is not support Gutenberg.
However, with a little modification of the shortcut to post to WordPress from the notes app I created before, I was able to post correctly.
The shortcut is shown in the following article.
Shortcut for posting to WordPress from the editor app Drafts
I made a shortcut on iPhone to post manuscripts written in the editor app Drafts to WordPress.
Flow of article creation
- Write headings using Markdown.
- Write the main body text.
- Post with shortcuts.
- Make it look good in Safari and publish it.
If it is an article that does not link multiple articles, I thought that the official WordPress iOS application would be fine, but I think Drafts is the best for ease of input and sentence replacement.
How to choose apps for stable blog management
I choose the apps I use from the perspective of whether they will be stable and continue to be used.
There are many editor applications for blogs created by Japanese people that are introduced on various websites, but some of them become unusable after a few years.
I think that the specification change of iOS and WordPress is too often, and the update of the apps cannot catch up.
The editor app called Bear seems to be widespread, and until iOS 14 there were actions for Bear with Shortcuts app, but for some reason the action disappeared in iOS 15.
Even with popular apps, we should pay attention that apple specification changes might lose convenience.
Dynalist, Workflowy and Drafts are not the default apps on iPhones among the apps introduced this time.
However, I use different apps for the core of my blog writing, which are the Notes app, Shortcuts, and Safari.
In order to ensure a robust writing environment, I think it is best to put up with a certain amount of lack of functionality and choose the default iOS app to continue blogging, which will contribute to stable blogging.