Updated Shortcut to export Workflowy data in Markdown

This is an improved shortcut for exporting Workflowy data in markdown, which we introduced in the previous post so that the shortcut distinguishes “Heading 3” from “Paragraph” under “Heading 2” .
Results and problems in the previous article
If you arrived at this article without reading the previous article, please read the following article first.

Export Workflowy data in Markdown using iPhone’s Shortcuts App
We will show you how to export texts written in the outliner app Workflowy in markdown syntax, creating it with the Shortcuts app in iOS 15.1.
In the shortcut created last time, all hierarchies under heading 2 “##” become heading 3 “###”.
The problem with this was that even if you want to put a paragraph under heading 2, it would inevitable to become heading 3 only.
So the goal of this shortcut is to distinguish headings from paragraphs, and to add the markdown “##” or “###” for headings only using conditional branches.
In addition, we will create a “excerpt” of the blog post included in the paragraph following the title of the Workflowy data.
Picking up the excerpt will help you to take advantage of the methods introduced in the following articles:
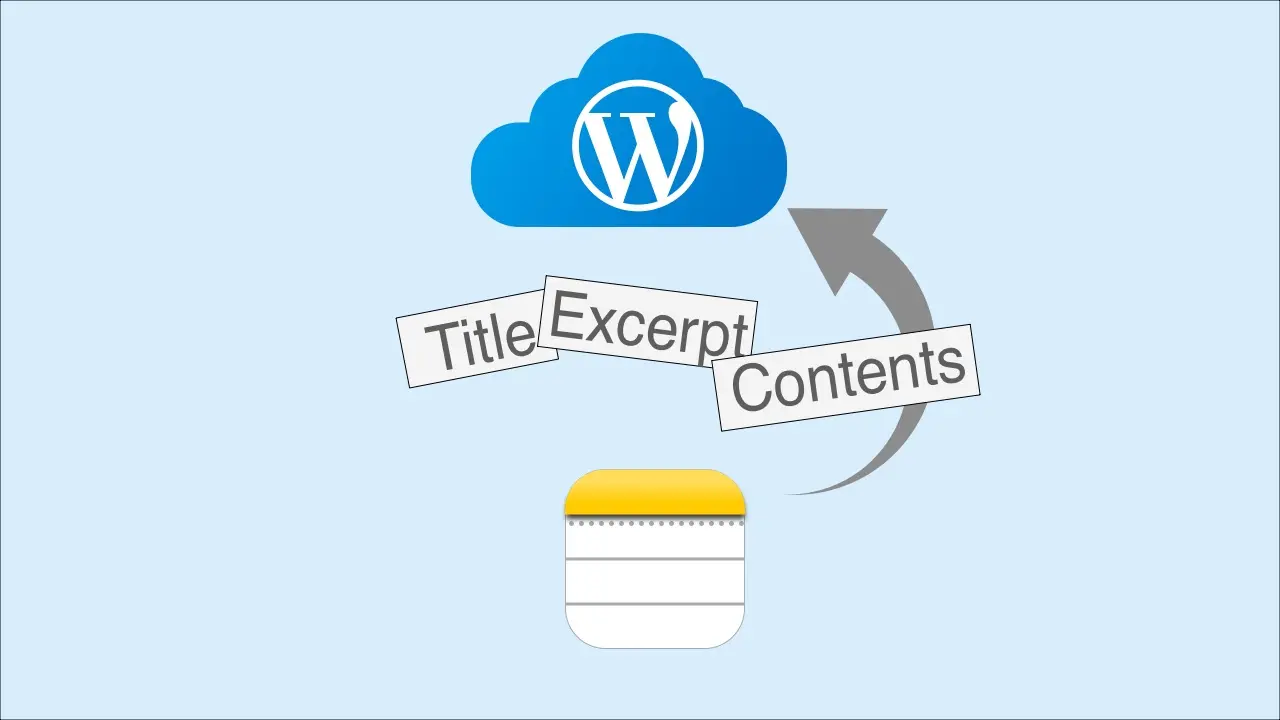
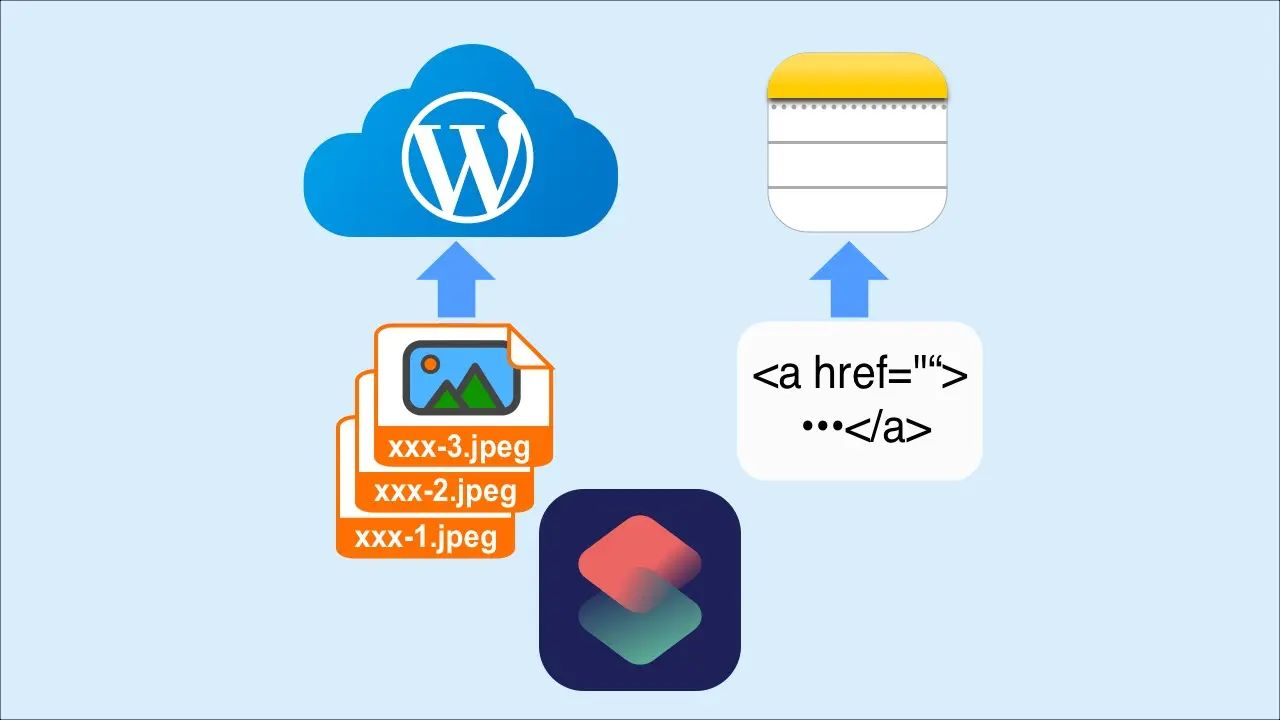
Shortcut for splitting an article written in Notes into title, excerpt, and body and posting it to WordPress
Here is a shortcut to separate the "title" and "excerpt" from the "body" when posting a blog article written in markdown on the iPhone Notes app to WordPress.
Shortcut Recipes
The screen of the shortcut is as follows.

Tips for creating this shortcut
Text for “Line Breaks Only”
In Step6, I prepare the text of only a line break and store it in the variable MyEmpty.
This line break is necessary to clearly separate paragraphs when posting to WordPress after the export to the Notes app.
Without this line break, multiple paragraphs under heading 3 would be combined into one.
Perhaps it is possible to express a “line break” in code called a regular expression, but I think that this expression in text is easier for beginners to understand.
Replace prefix symbol with number
In order to determine the hierarchy of Workflowy and conditional branching, we replaced the prefix with a number.
If you’re a programming expert, you can express this in less code.
How to use
Prerequisites for using shortcuts
The prerequisites are the same as the previous article.
The following conditions are stated in Workflowy:
- The 1st level is described as “title”.
- The 2nd level is as “heading”.
- Tier 3rd level is as “subheading” or “paragraph”.
- Tier 4th level is as “paragraph”.
Working with Workflowy
From the hierarchical Workflowy data, tap the leftmost circle of the item you want to title.
The screen switches, the title appears at the top, and the hierarchy data below is displayed.
Flick the title to the left to bring up the menu, and tap the leftmost icon.
Tap “Share content” from the menu that appears.
When you scroll down the screen, you will find the title of the shortcut you created, so tap it to launch the shortcut.
Impressions and future developments
The handling of shortcut apps requires study, but it is convenient if you master it.
Thanks to this shortcut, the process from writing articles in Workflowy to posting them to WordPress has become much smoother.