How to Insert Figures and Captions in Microsoft Word

This article describes how to insert figures into a document created in Microsoft Word. I will also show you how to insert captions linked to heading numbers.
If you make a mistake in the order, it will increase the trouble, so be careful.
Tutorial
Step 1: Set headings with styles and multilevel lists
When setting up captions, headings must be set in the styles and multilevel lists before inserting figures in order to link them to the heading numbers.
The following article shows you how to set them up.

How to number headings in a Word document using styles and multilevel lists
When writing "headings" in a document created in Microsoft Word, using styles and multilevel lists to number the "headings" will not only make it easier to keep the appearance of the document consiste
Step 2: Insert the figures
First, insert the figures before the captions.
If you insert the caption first, the caption is to be “paragraph” instead of “text box”, and you can not group the figure and the caption as described in Step 6, and it becomes difficult to move the figure.
Move the cursor to the end of the second paragraph, as shown below.

Next, click on Pictures from the Insert tab and insert an image.
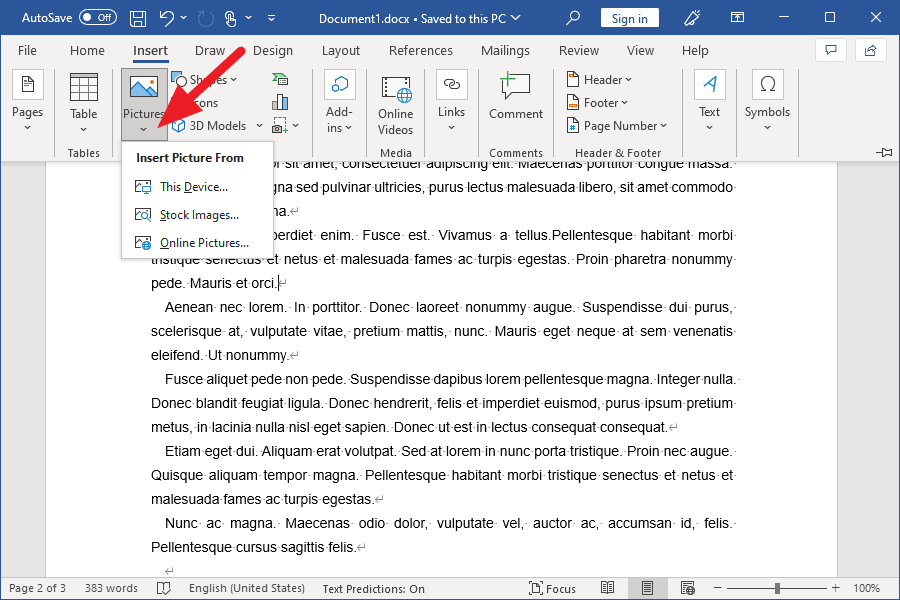
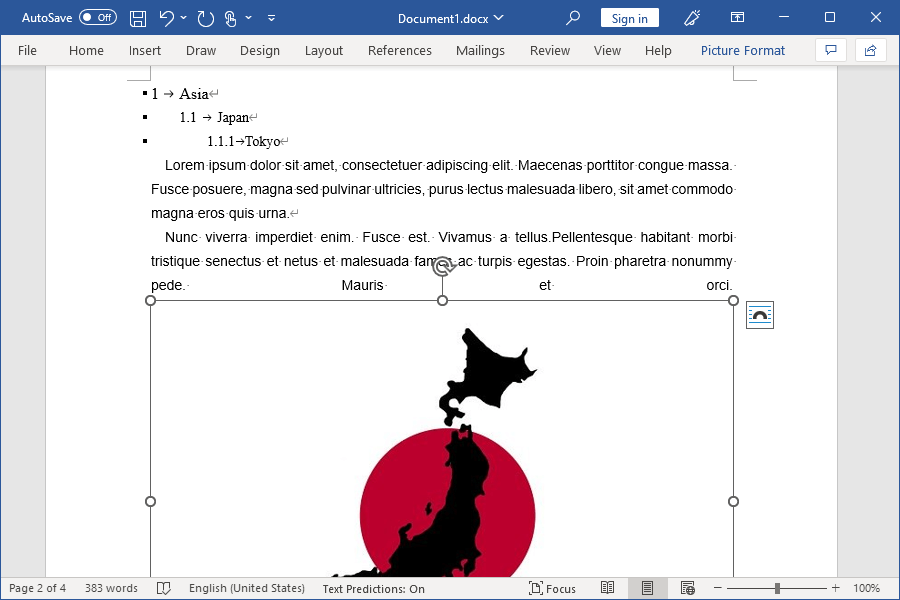
The image has been inserted as shown below.
The following article introduces how to insert an image to reduce the file size, so please read it.

How to optimize images to reduce document file size in MS Word
This article examines how to insert images in a Microsoft Word document so that the file size of it is smaller.
Step 3: Make text wrapping Square
Inserting an image, you should change the text wrap of it to Square.
If you insert the caption without wrapping the text as Square, the caption is to be “paragraph” instead of “text box”, and you can not group the figure and the caption as described in Step 6.
Click on the icon in the upper right corner of the figure, then click on the icon for Square.
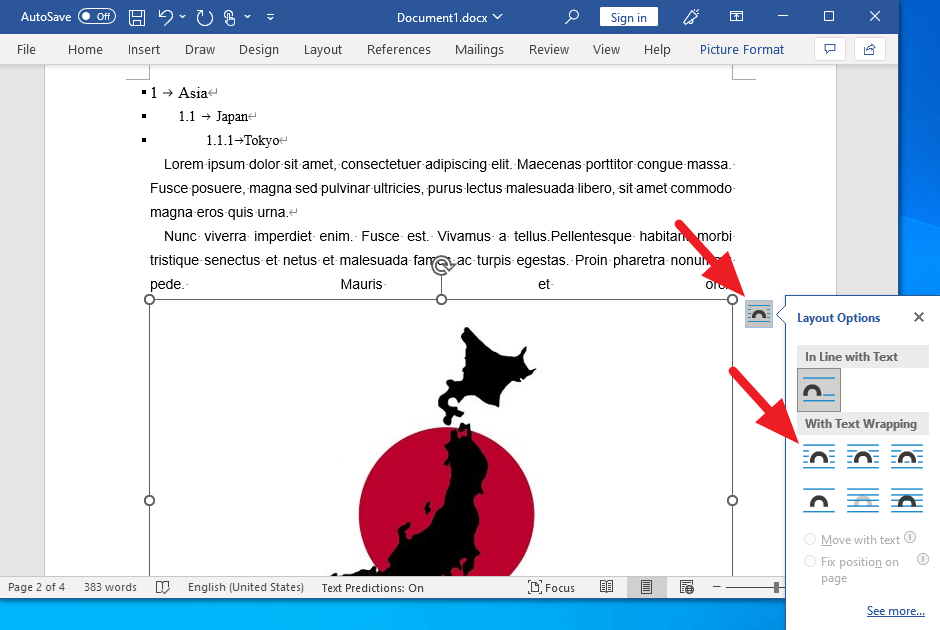
There is no change in appearance, but the text wrapping has changed from In-Line to Square.

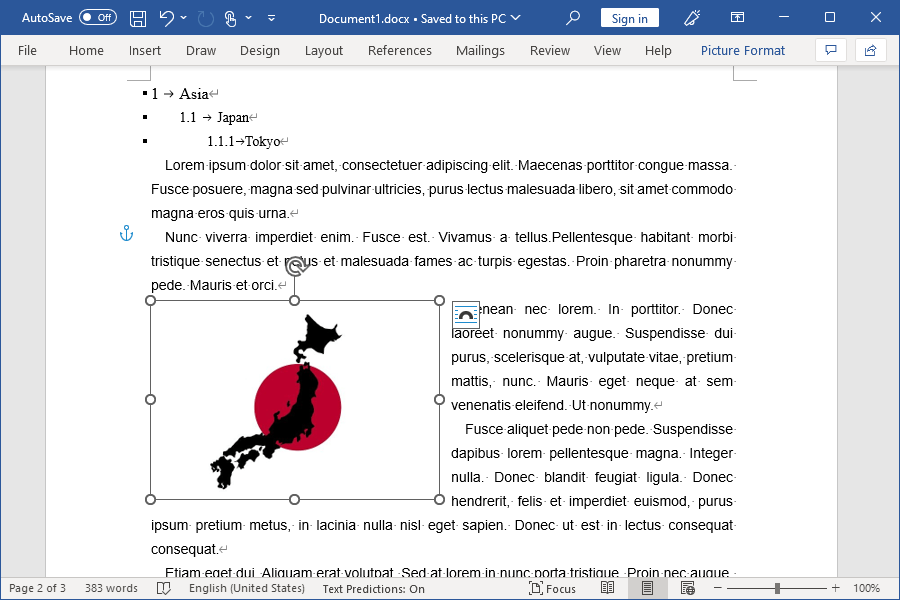
Step 4: Resize the image
You must resize the image first and then insert the chart numbers.
If you insert the caption first and resize it after grouping, the text height of the caption will be insufficient. It means the caption will not be visible.
Now let’s resize the image.
Select the image and drag a corner handle to resize the image. I have roughly halved the size of it.
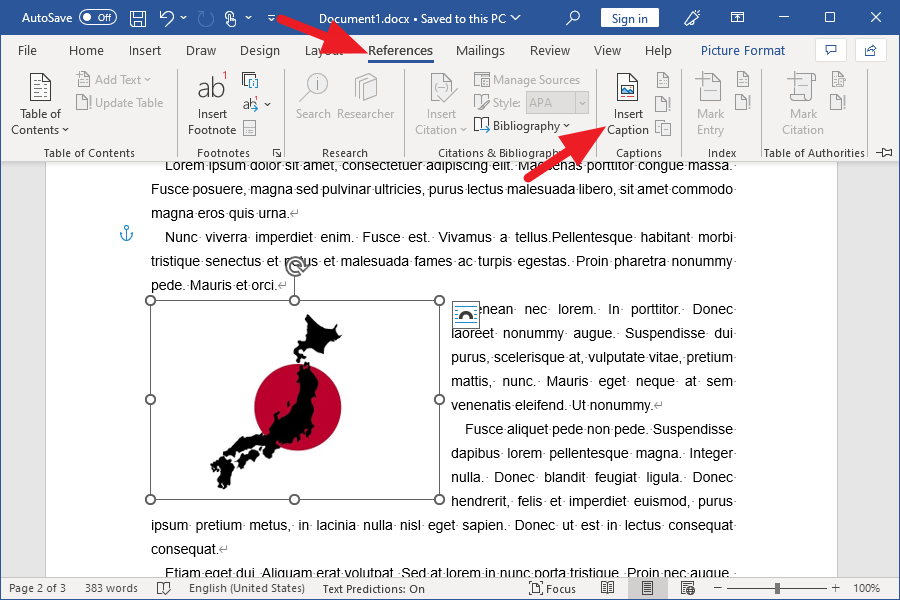
Step 5: Insert the caption
First, click “Insert Caption” in the References tab.
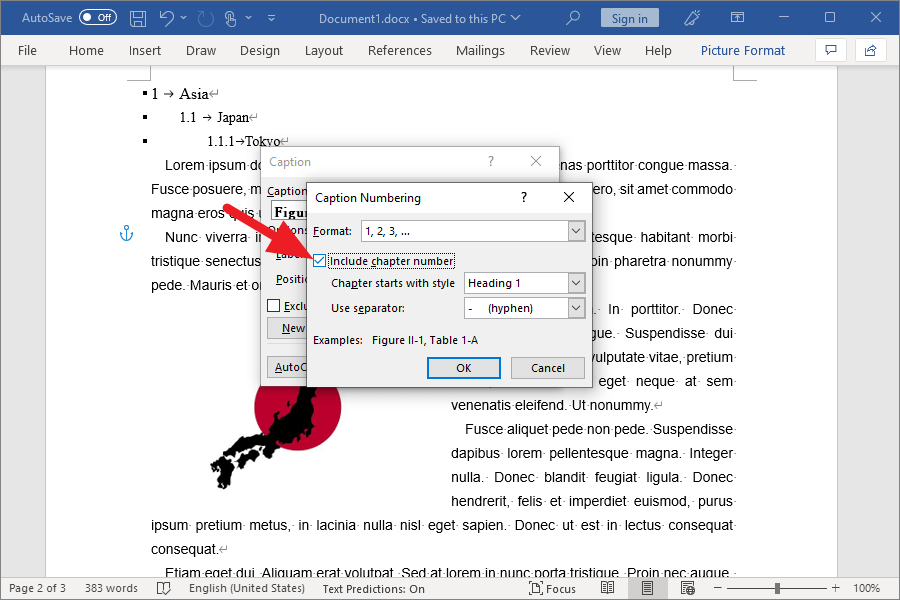
When the Caption window opens, click “Numbering” in the lower right corner.
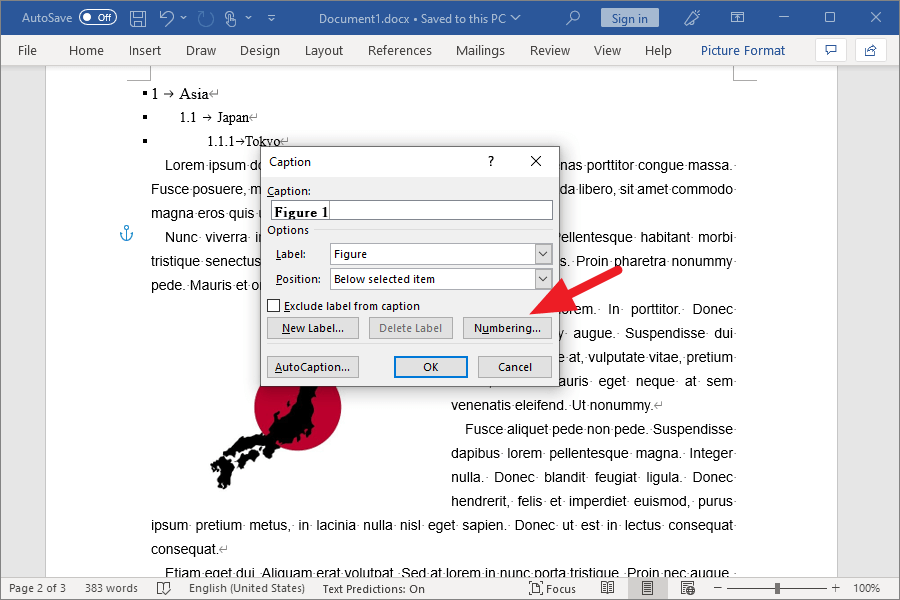
Check “Include chapter number.” And click OK to close the window.
As shown below, a text box labeled “Figure 1-1” has been added below the image.
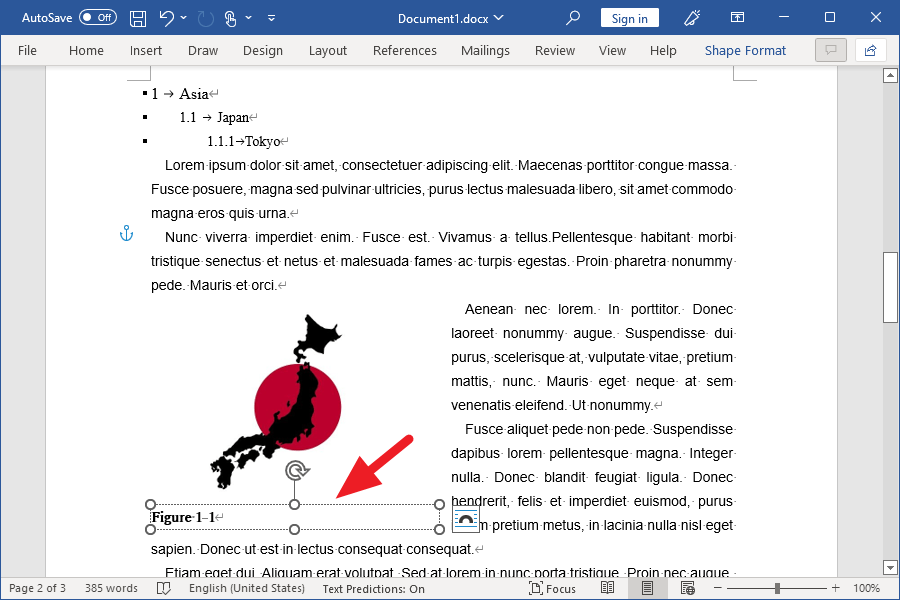
As explained earlier, if you "Paste the image first and insert the caption later," the caption will be inserted in a well-balanced manner as shown here.
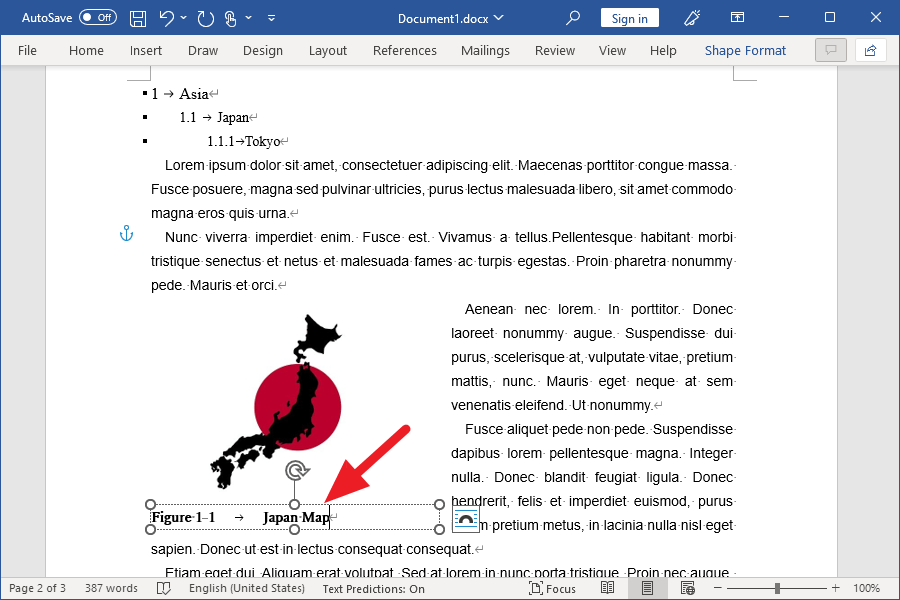
Let’s add the title of the figure in the text box. I added “Japan Map.”
Step 6: Group and align objects
The image and the caption are independent objects, so let’s group them to make them easier to relocate.
With the text box for the caption selected, hold down the Shift key and click on the image.
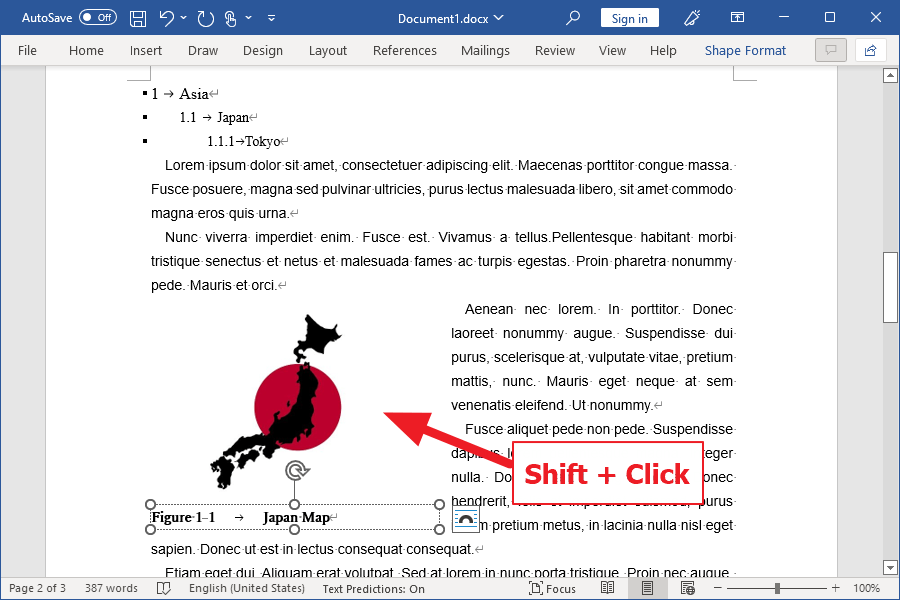
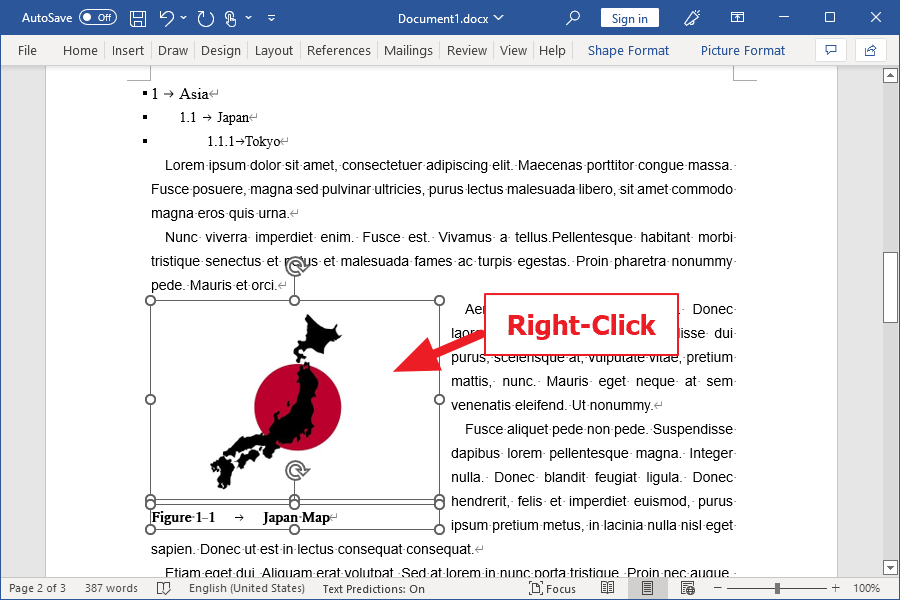
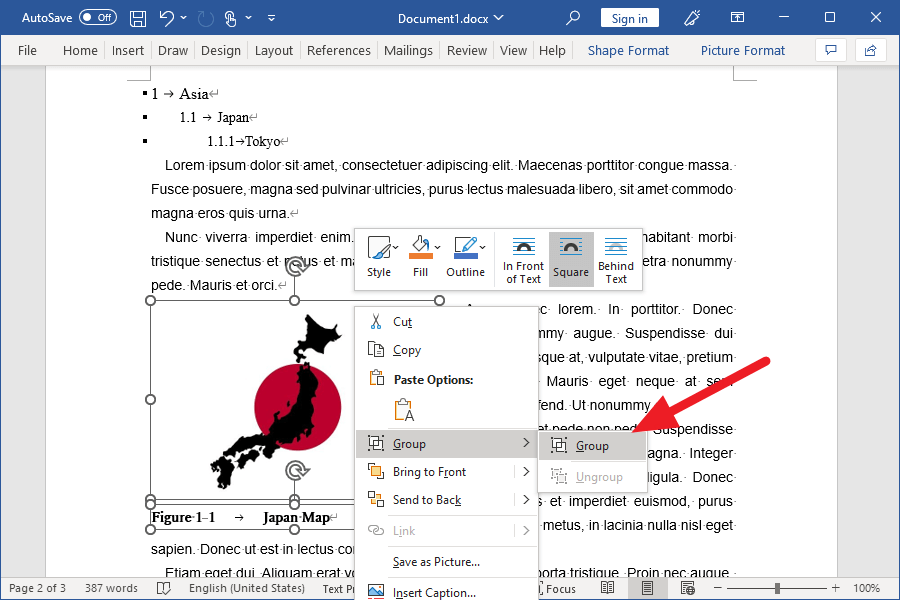
Once both the caption and the image are selected, right-click on the image.
Click on Group in the menu.
The image and the caption are now grouped into one object. Let’s move it from the left end to the right end by dragging.
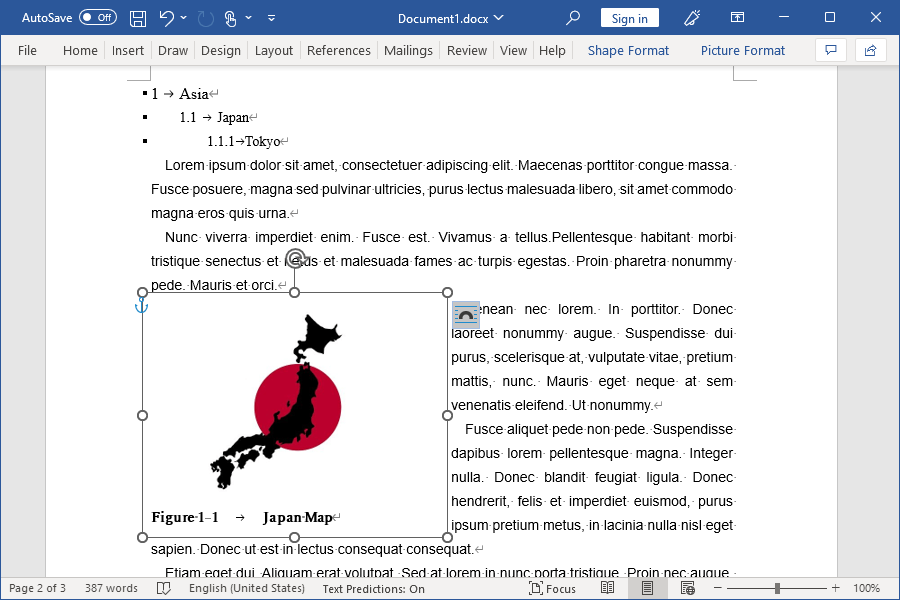
The image and the caption move together since they are grouped.

Step 7: Lock the anchor
Next, lock the anchor that ties the paragraph to the object such as the image.
I’ll explain the reason for locking the anchor later.
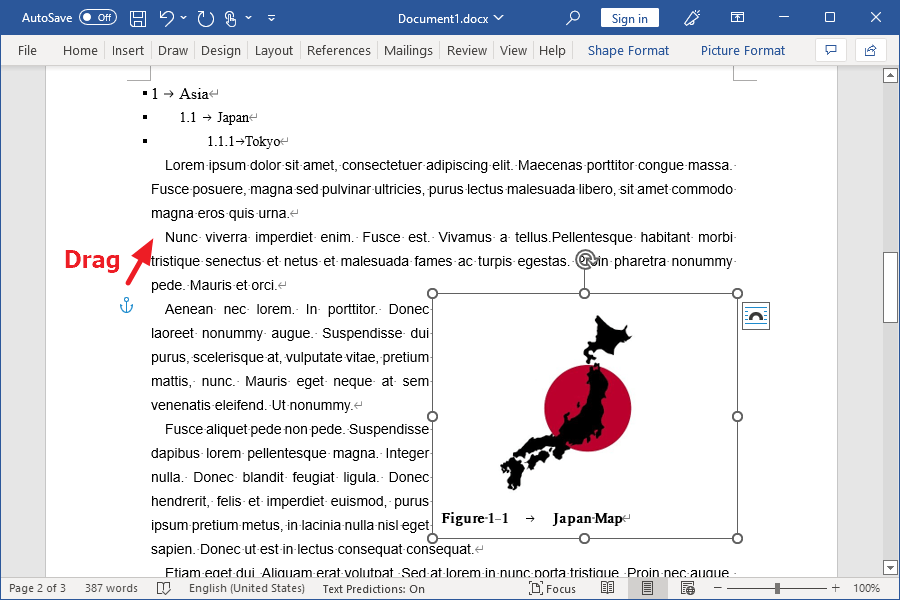
First, make sure you see the anchor symbol at the beginning of the paragraph near the image.
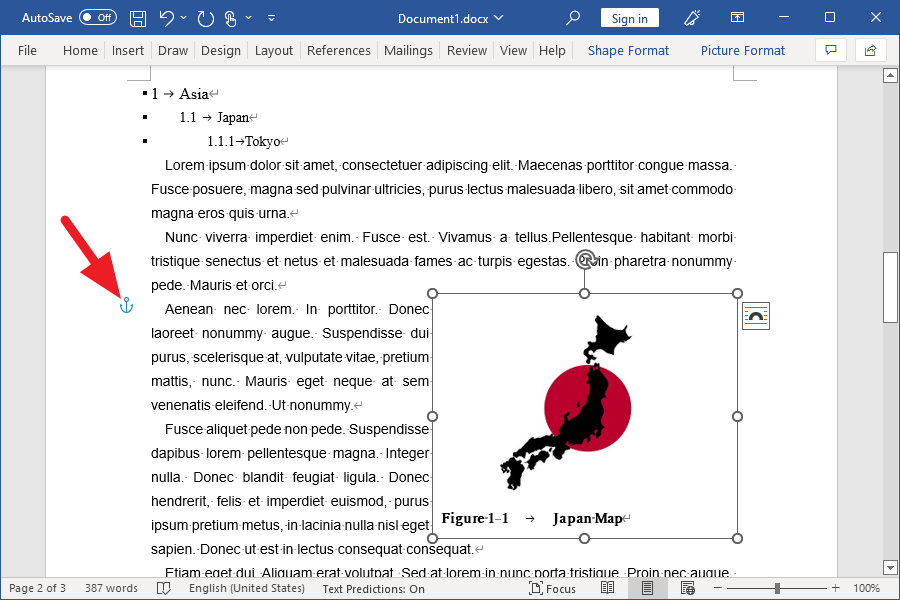
Drag the anchor position to the paragraph you want to link.
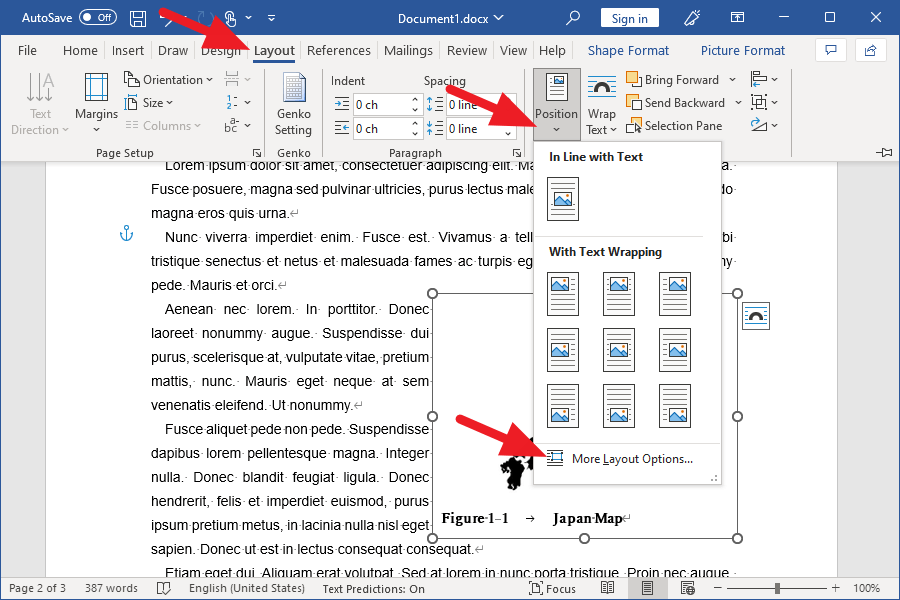
Then click Position in the tab Layout, and then click More Layout Options.
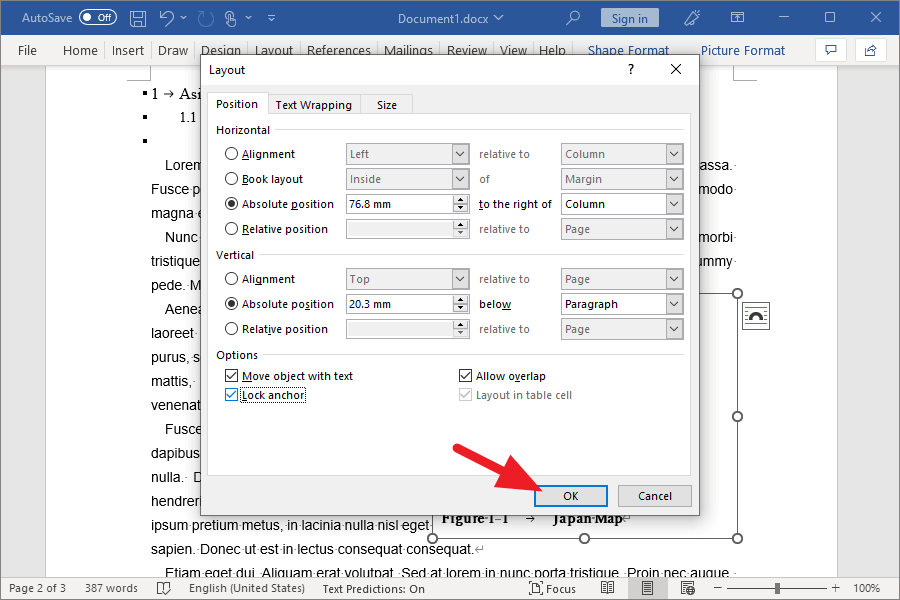
When the Layout window opens, check the Lock anchor checkbox.

Click the OK button at the bottom right corner to close the window.
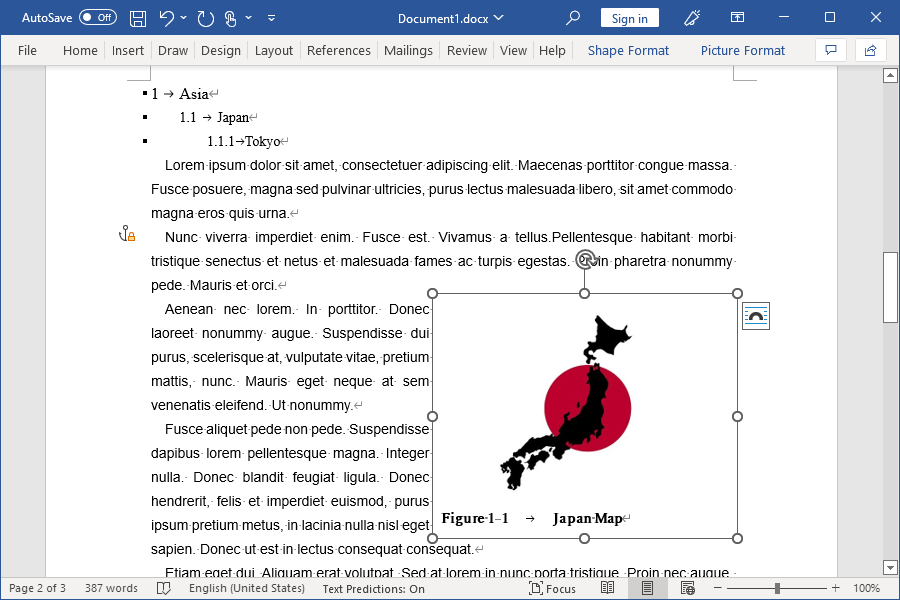
Setting the figure and chart number is complete.
What is the role of the anchor?
The role of the anchor is to tie the object to the paragraph.
When you insert an object such as an image or text box, you will see an anchor symbol in the paragraph immediately adjacent to the object.
The object is tied to the paragraph in which this anchor symbol appears.
This means that when you move the paragraph in which the anchor is displayed, the object will also move with it.
However, on the contrary, if you move the object, the paragraph does not move and the anchor symbol moves automatically to the nearest paragraph of the object.
Why lock the anchor?
The reason for fixing the anchor is to prevent the anchor from moving automatically when you move the object.
Generally, figures are described or introduced in a particular paragraph and should be located near that paragraph.
If you don’t lock the anchor when you move the figure to make it look better, the anchor will move to another paragraph.
This can result in a loss of connection to the paragraph describing the figure, and in some cases, the figure may be moved to a completely unrelated page.
It doesn’t matter when writing short sentences, but when writing a thesis, don’t forget to lock the anchor.
After fixing the anchor, do not use Web Layout
Even if you lock the anchor, Web Layout allows unlocking the anchor automatically.
I didn’t understand why this happened.
After inserting a figure, I recommend that you edit it in the Print Layout instead of using the Web Layout.