How to replace, add, or delete data after combining Excel books in Power Query

This section explains how to replace, add, or delete Excel books that are the source of the combination after Excel books have been combined using Power Query.
We will use the Excel book created in the tutorial of the following article. If you have not read the following article, please read it first.

How to combine multiple excel books into one using Power Query and split it again using VBA
If you are sick and tired of wasting time with cut-and-paste to merge or split excel data, this article is for you.
Replace the source Excel Books
First, I will explain how to replace the Excel books that are the source of the combination.
Let’s break it down into cases where the columns or rows are increasing or decreasing and see how each is displayed.
Cases where columns (headings) are increasing or decreasing
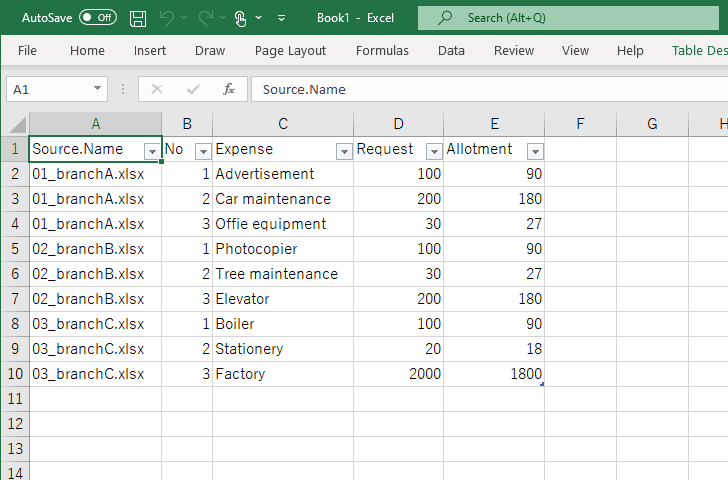
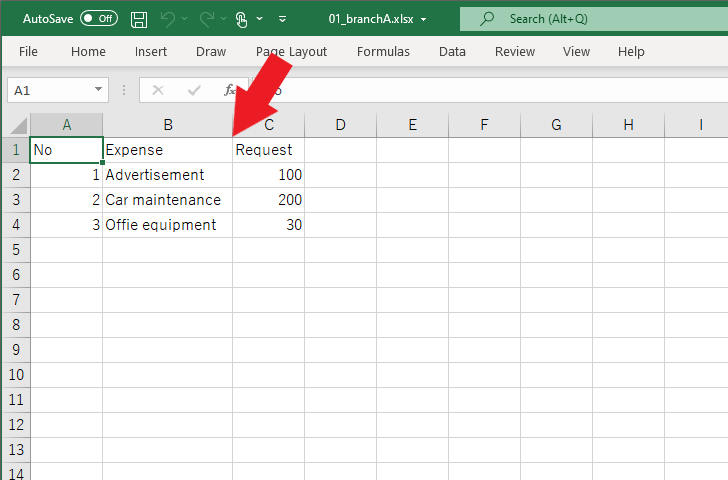
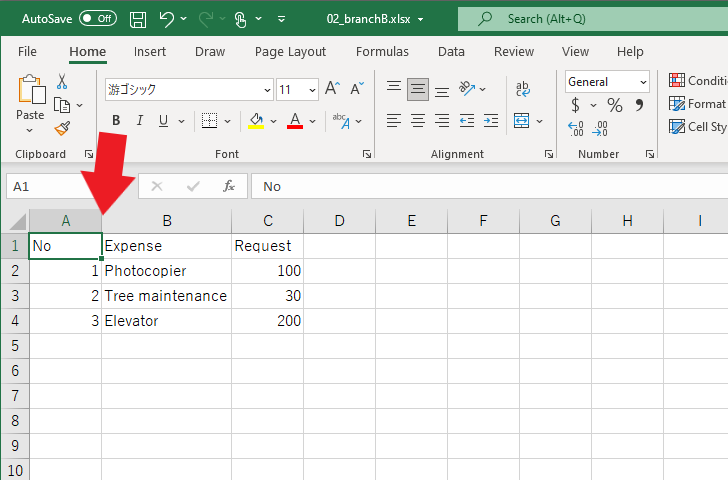
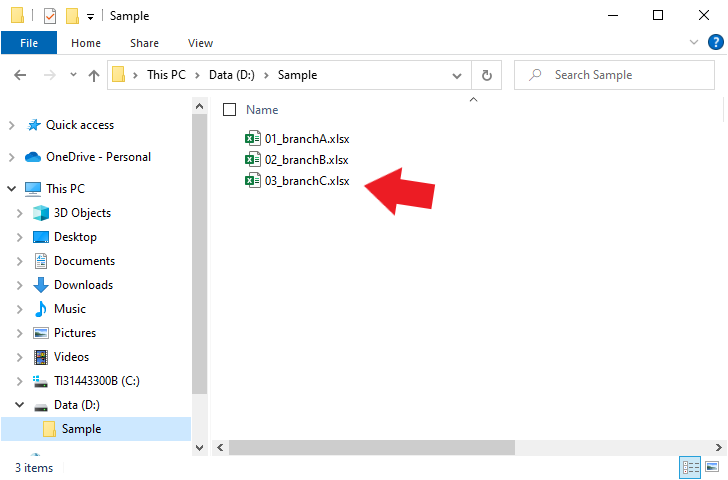
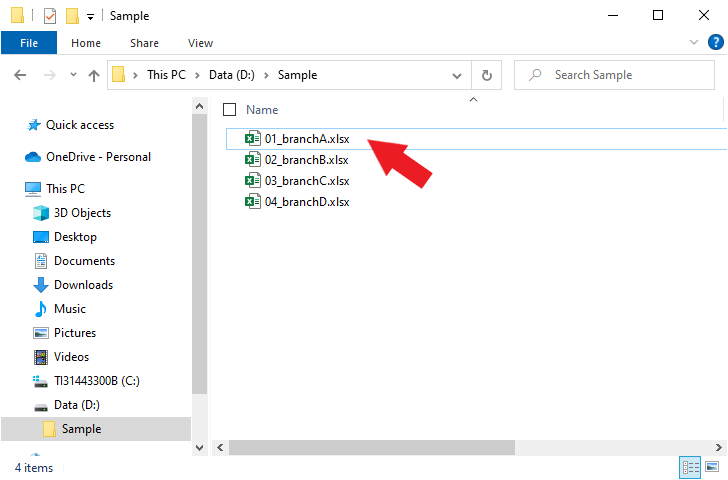
For the sample file
The sample file is one of the Excel books to be combined, which is the basis for the combination.
Data is combined based on the headings in the sample file.
First, let’s check which is the sample file.
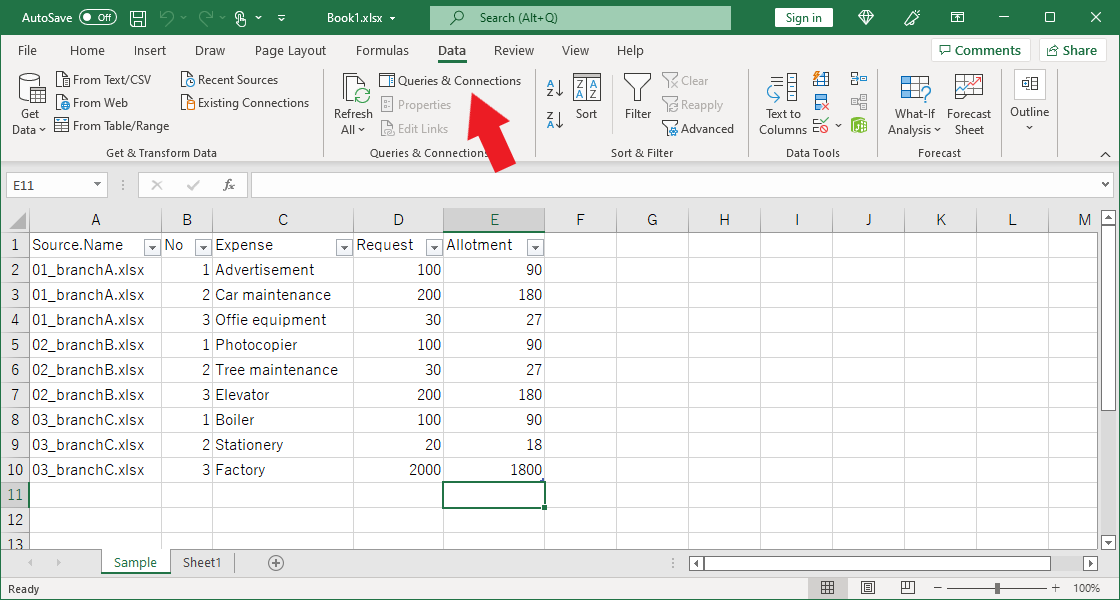
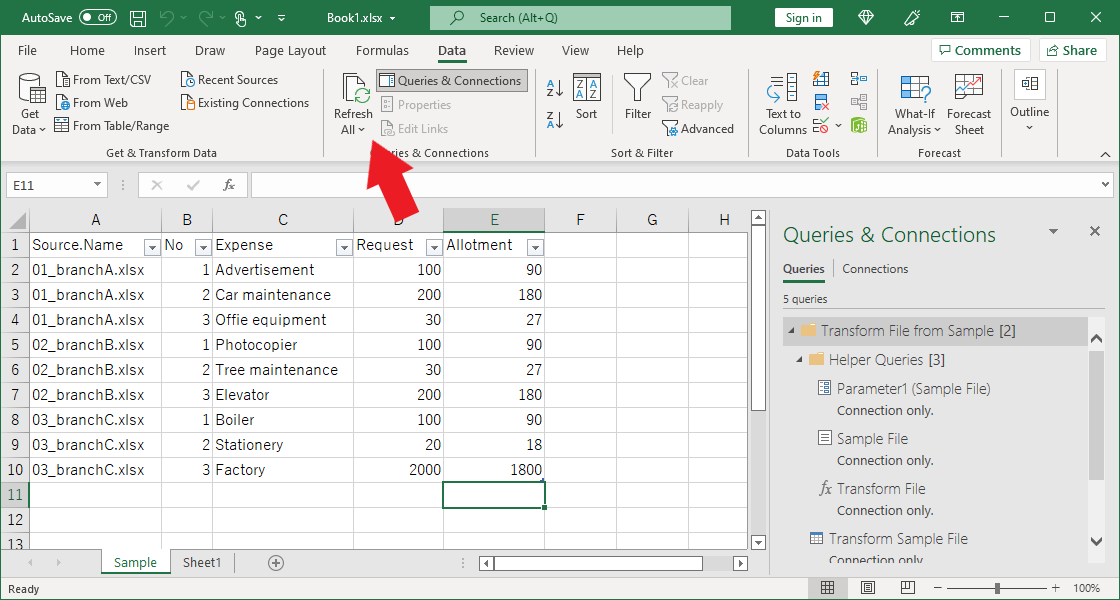
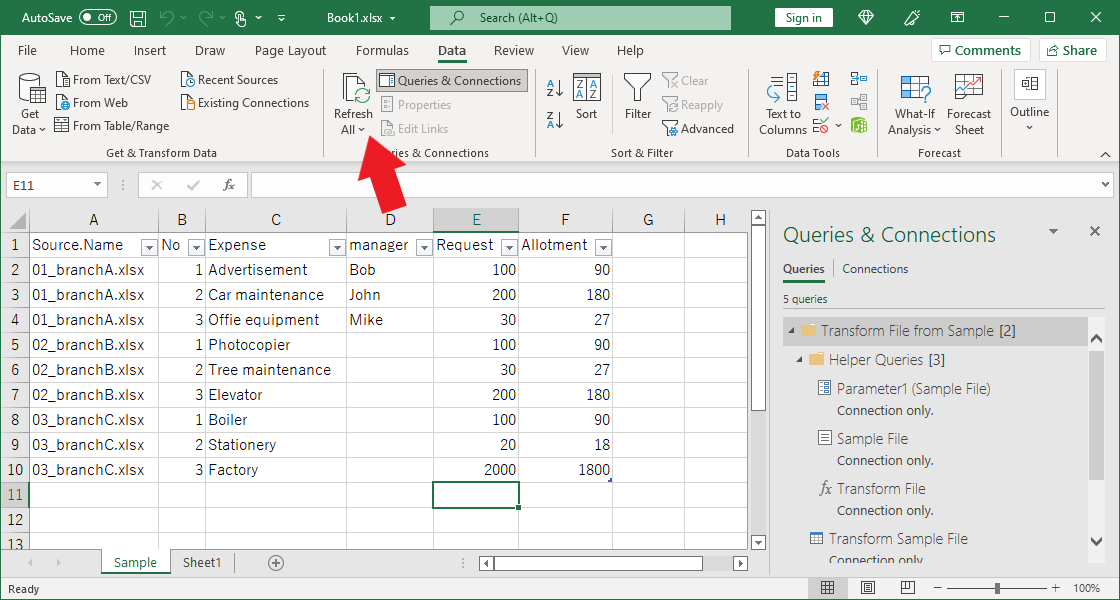
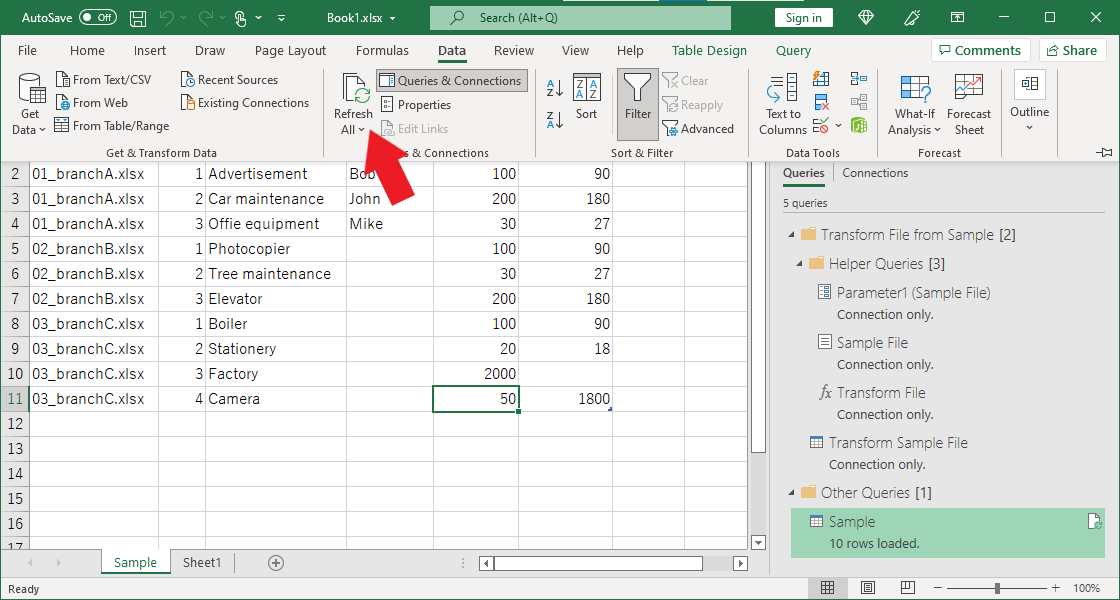
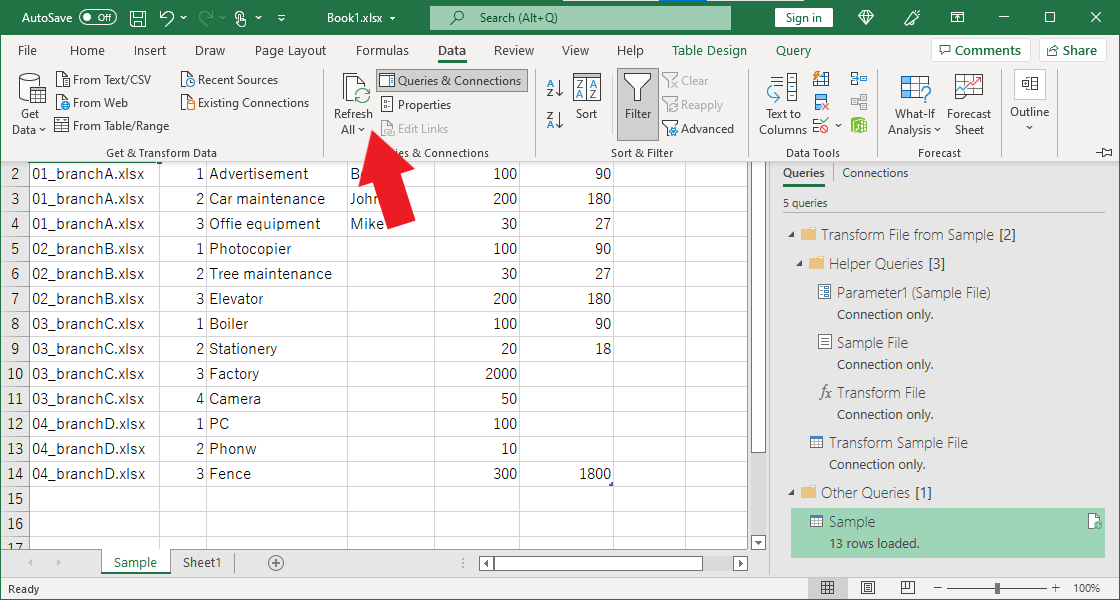
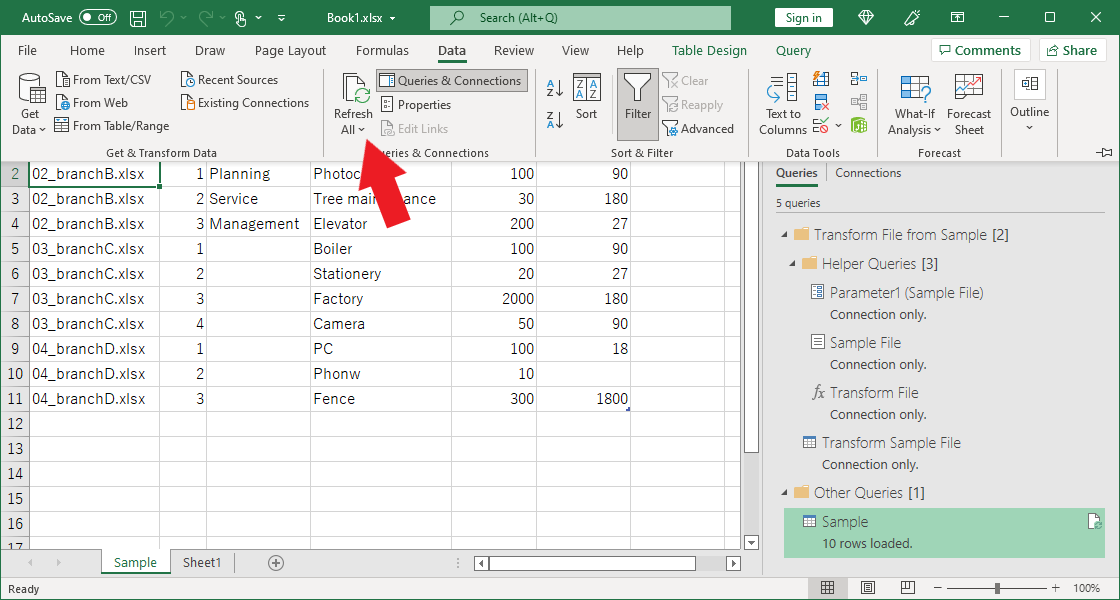
Click on “Queries & Connections” in the tab “Data.”
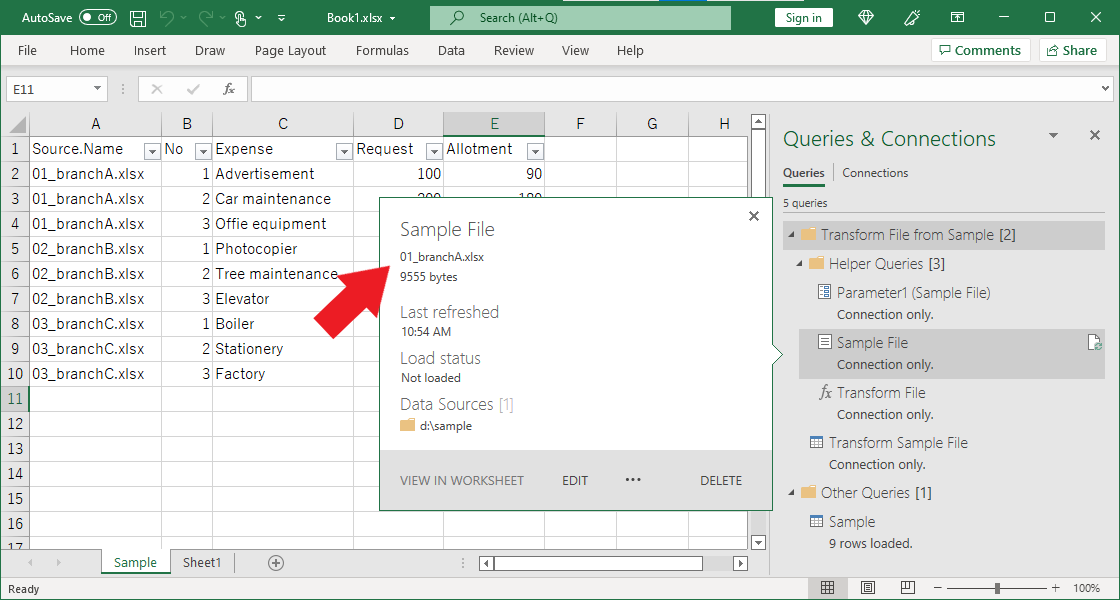
When the “Queries and Connections” menu appears on the right, hover the cursor over “Sample File” to see the file name of the sample file.
The sample file is “01_branchA.xlsx” as you can see.
Save this Excel book and close it.
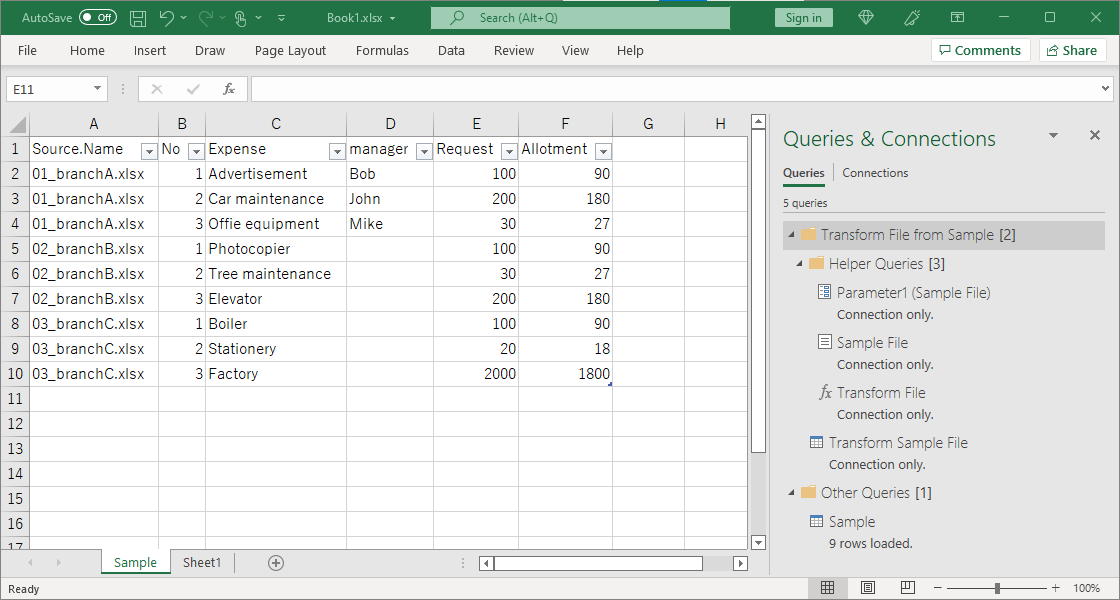
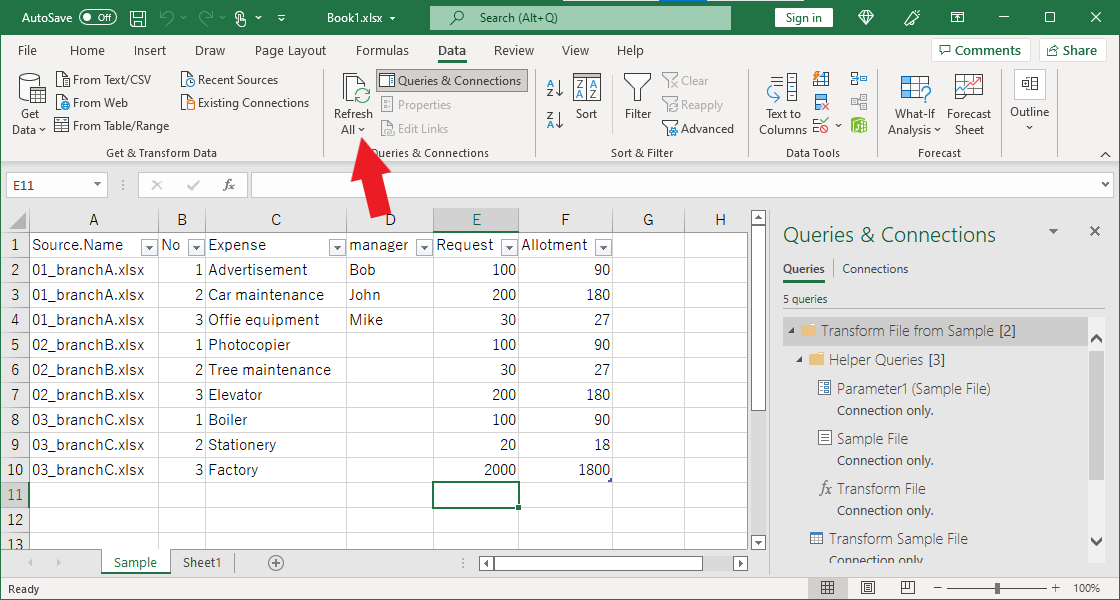
Click on “Refresh All” in the tab “Data.”

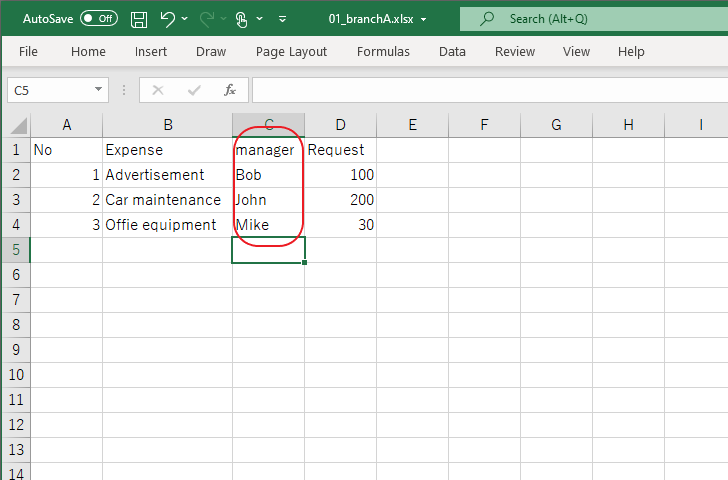
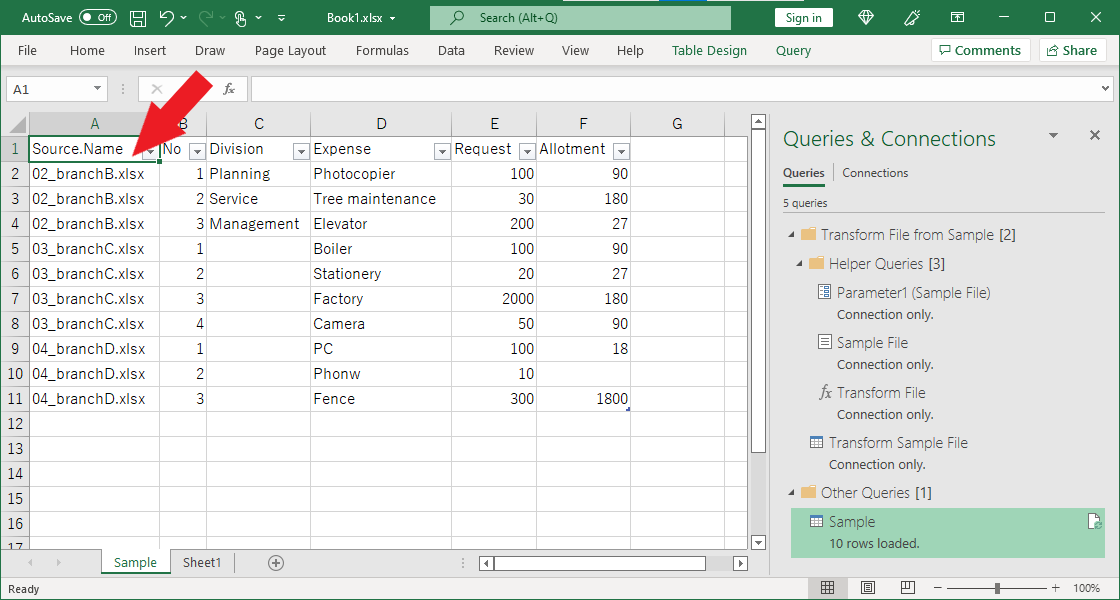
A column for “Manager” has appeared.
Since the data of “Manager” is added only to the sample file “01_branchA.xlsx”, the cells of “02_branchB.xlsx” and “03_branchC.xlsx” are blank.
| 📌NOTE |
|---|
|
For other than the sample file
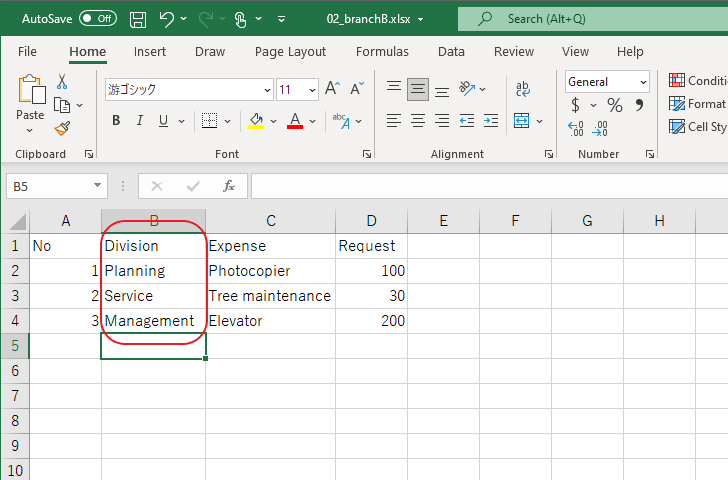
Next, let’s try to see what happens if you add a column to an Excel book other than the sample file.
Save this Excel book and close it.
Click on “Refresh All” in the tab “Data.”
As you can see, the “Division” column is not added.
| 📌NOTE |
|---|
|
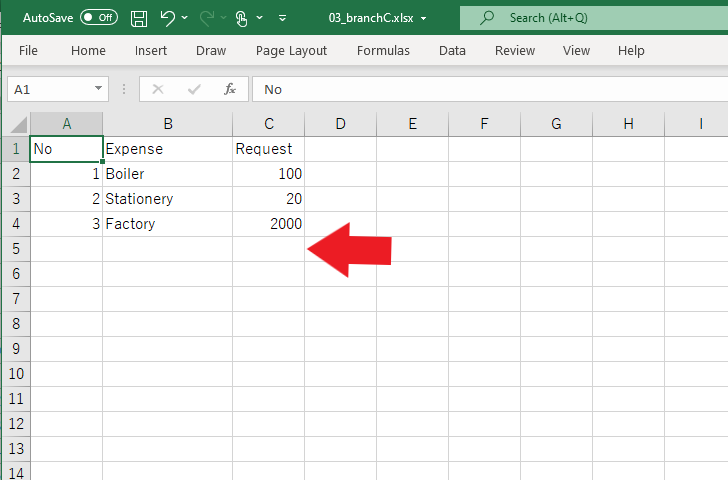
Cases where rows are increasing or decreasing
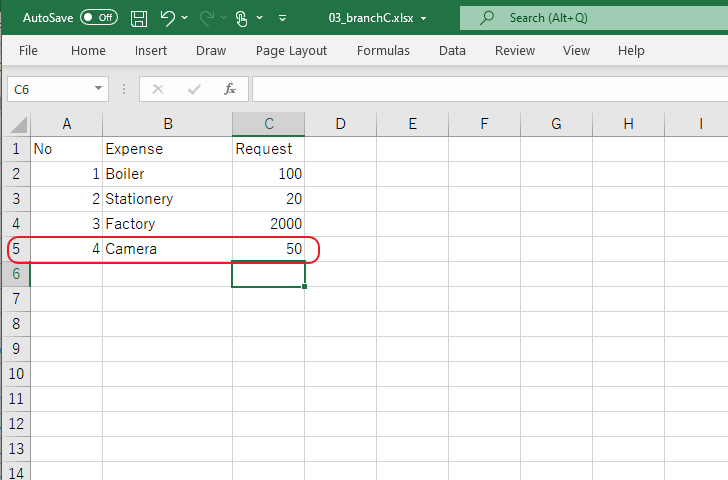
Next, let’s increase the rows in the source Excel Book, and refresh the combined Excel Book.
Save this Excel book and close it.
Click on “Refresh All” in the tab “Data.”

“Camera” has been added to the last column.
However, there is a problem.
The F10 cell “1800” of the “Allotment” entered after combining the data has moved to the F11 cell.
I tried to find out the cause and solution of this problem, but the cause is unknown and I couldn’t find a solution either.
There is no choice but to fix it manually.
The only thing I found was that, if you add the column in the combined Excel Book (in the above case, “Allotment”), the cell in the last row moves to the end of the table, and the other cells stay in the cell position at the time of input when you add rows in source Excel Books and refresh all.
| 📌NOTE |
|---|
|
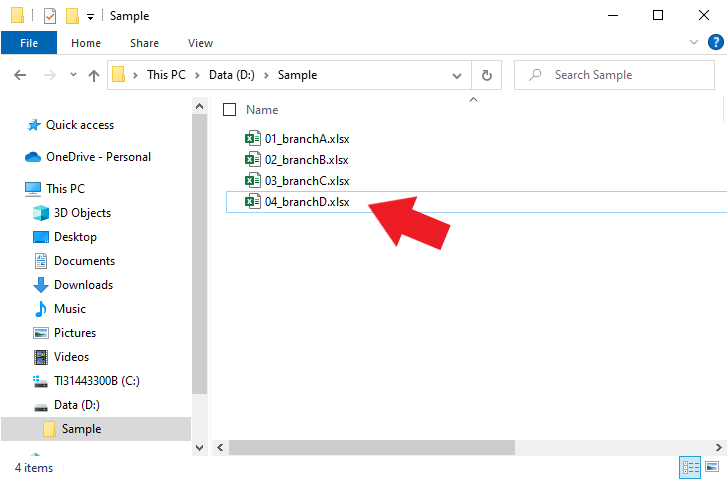
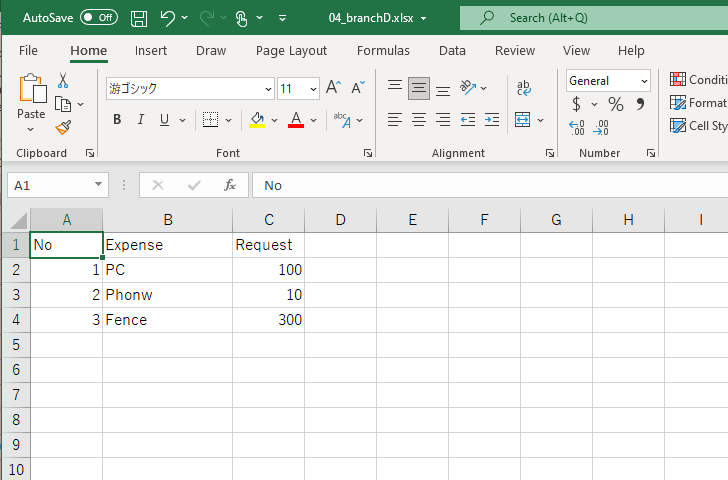
Case when adding the source Excel book
Let’s see how to add one Excel book as the source of the combination.
Click on “Refresh All” in the tab “Data.”
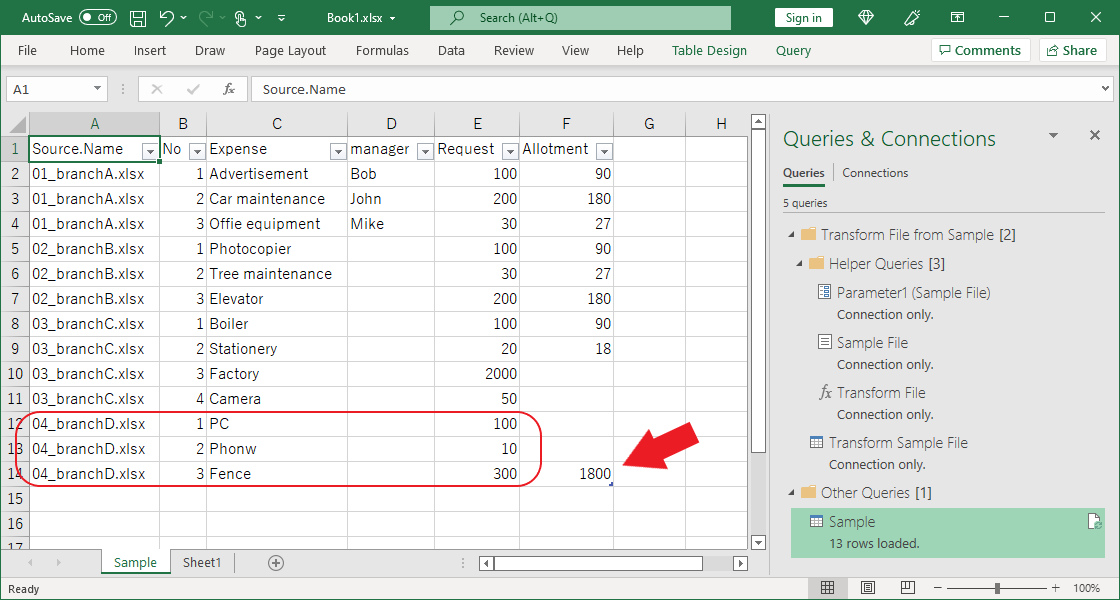
Rows 12 to 14 were filled with the data of “04_branchD.xlsx.”
However, the F11 cell “1800” that was in the bottom right corner of the table has been moved to the F14 cell.
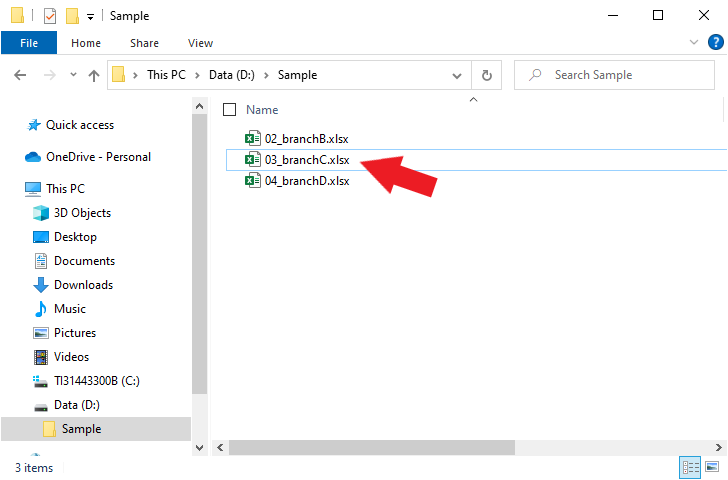
Case when deleting the source Excel book
Now let’s see what happens if you delete the Excel book from which you are combining.
When deleting the Excel book that is the sample file
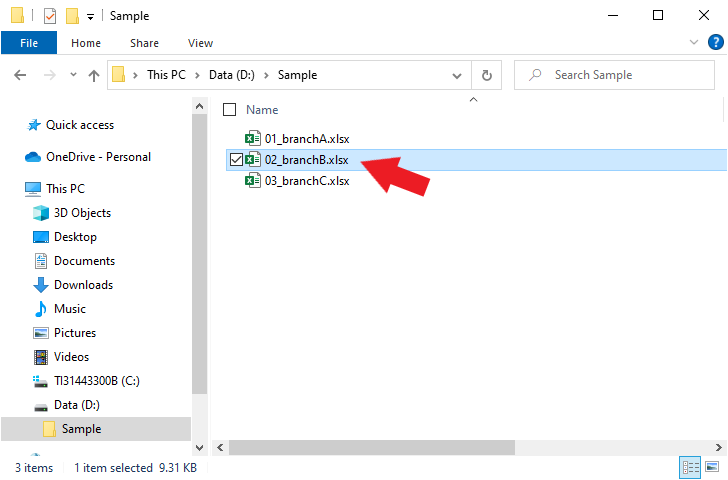
First, let’s delete “01_branchA.xlsx” which is the sample file.
Click on “Refresh All” in the tab “Data.”
The data of “01_branchA.xlsx” in the 2nd to 4th rows has disappeared.
Let’s check what the sample file is.
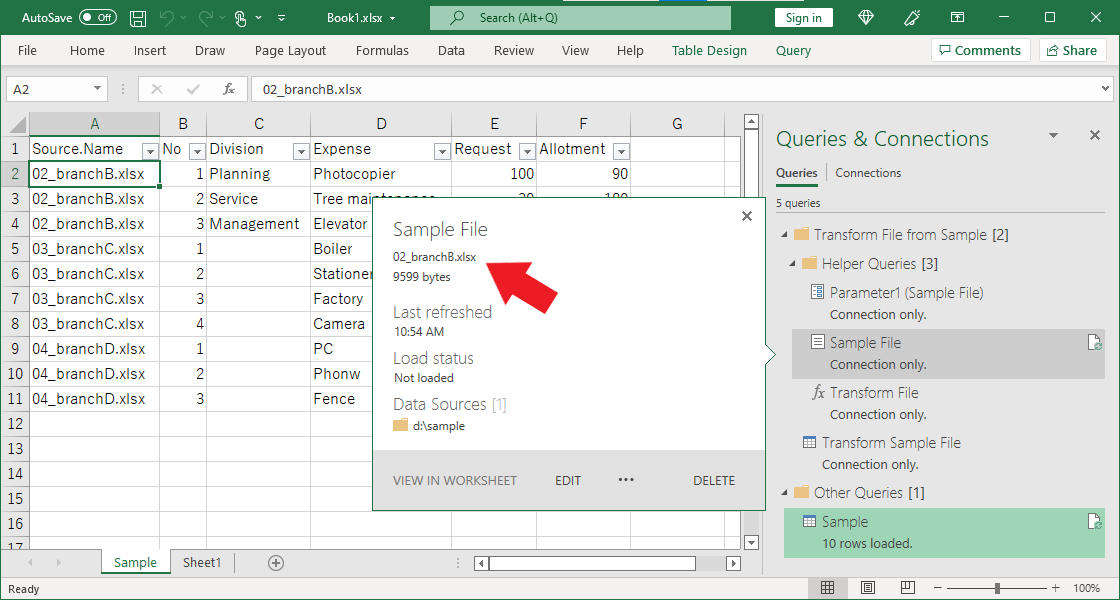
If you hover the cursor over “Sample File” in the “Queries & Connections” menu on the right side, you will see that the sample file name has changed to “02_branchB.xlsx.”
This is because “First File” was selected for the sample file during “Combine Files” in the previous tutorial.
When deleting Excel books other than sample file<
Then let’s see what happens if you delete an Excel book other than the sample file.
Click on “Refresh All” in the tab “Data.”
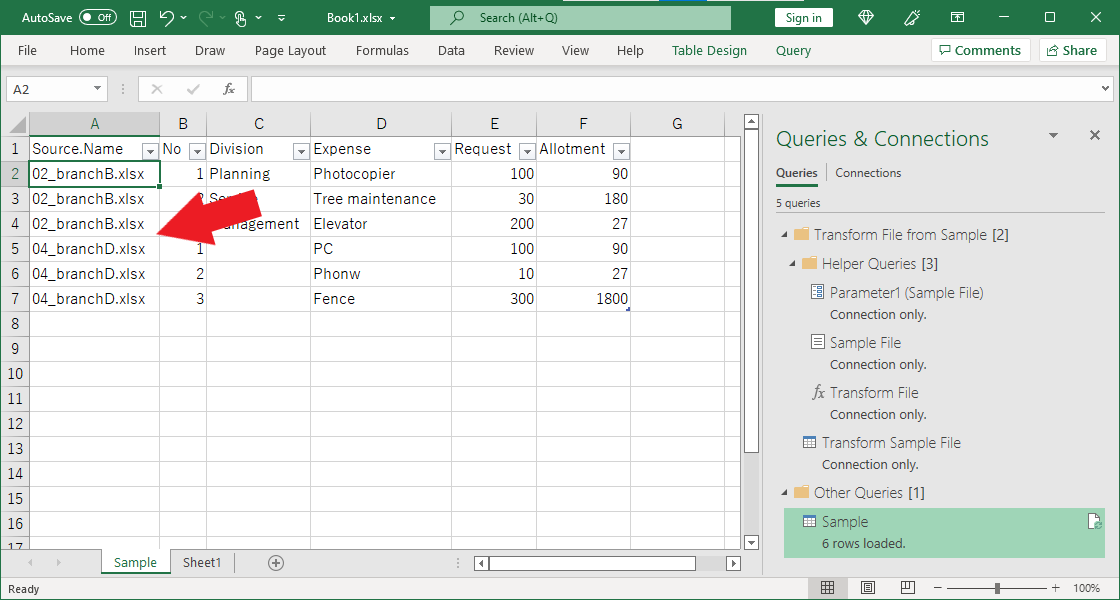
The data of “03_branchC.xlsx” in the 5th to 8th rows has disappeared.