How to use the Sheets Tool in Amadine for iOS
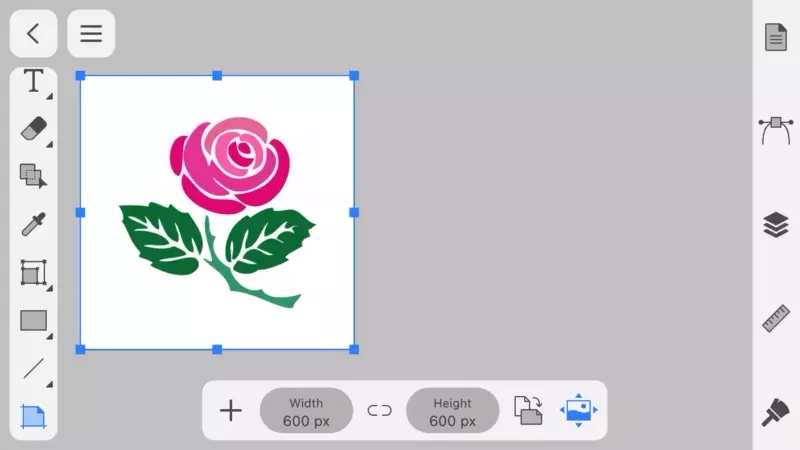
Amadine has a feature called “Sheets”, which is the same function as Adobe Illustrator’s artboards.
In this article, I would like to show how to use the sheet.
Overview of the Sheets Tool
You can regard a sheet as a range of output.
Objects that are out of the sheet are not in the output image.
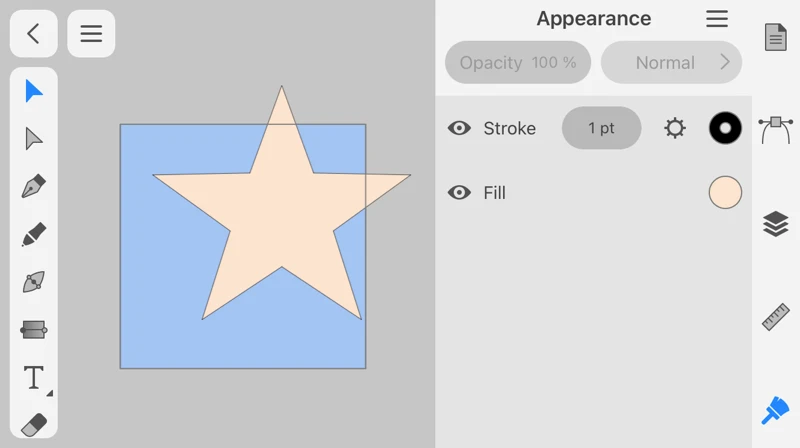
Let's output this in PNG format.

A single document in Amadine can have multiple sheets.
This means that a single document can have multiple output ranges.
Create color variations
The sheet tool is useful for creating different color variations of the same object in a single document.
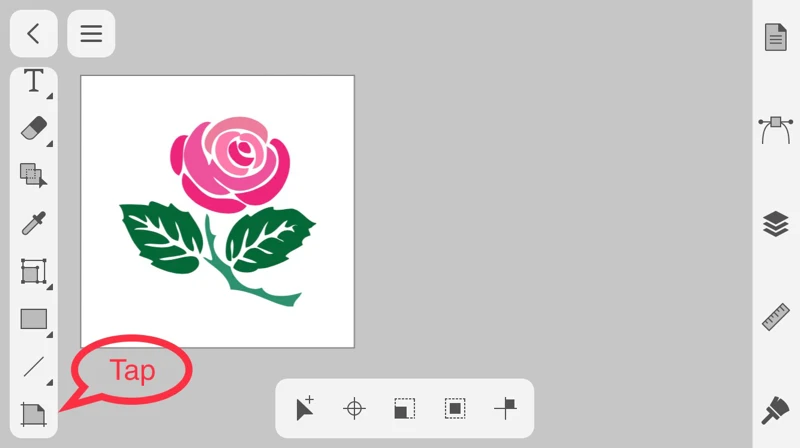
Tap the Sheets Tool icon.
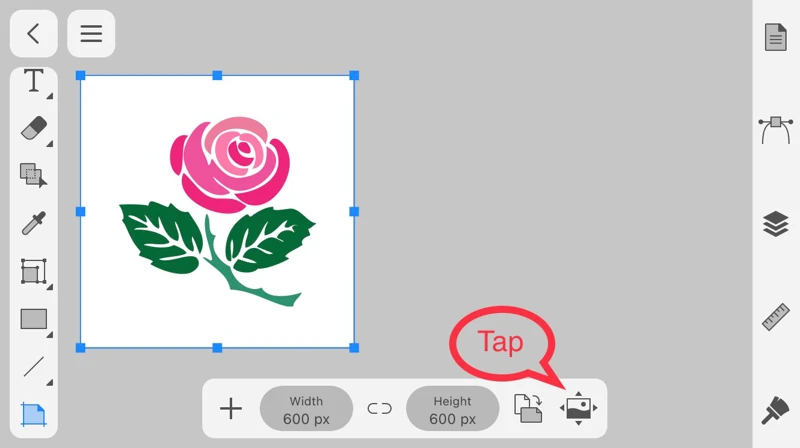
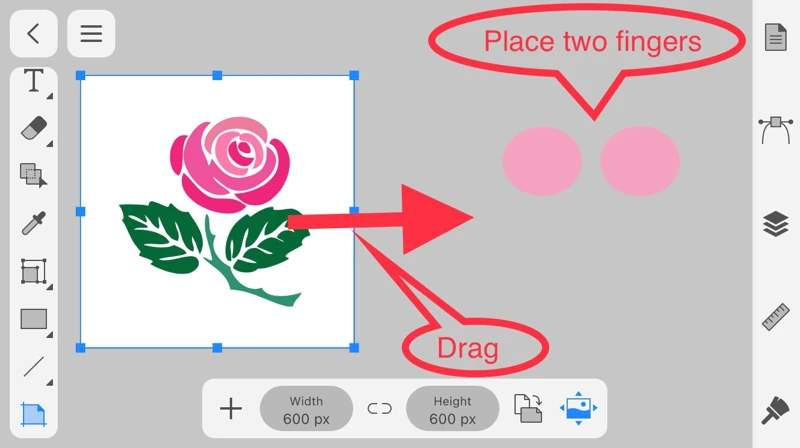
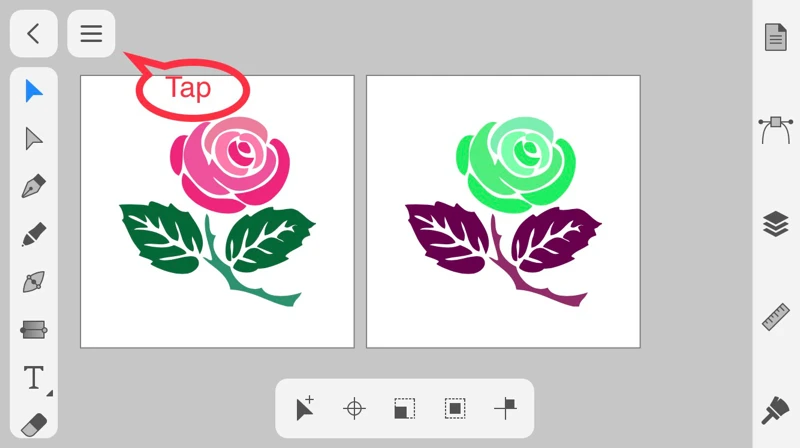
Tap the Menu icon.
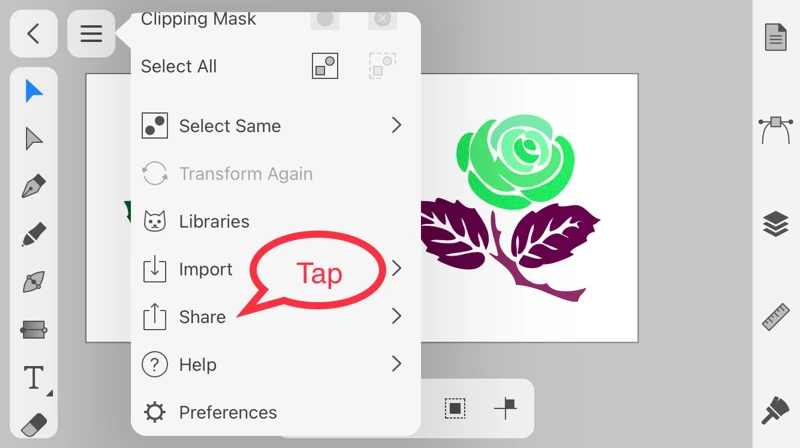
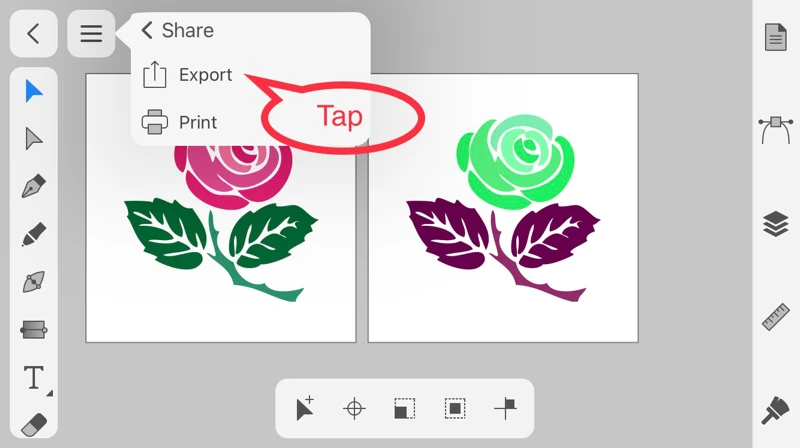
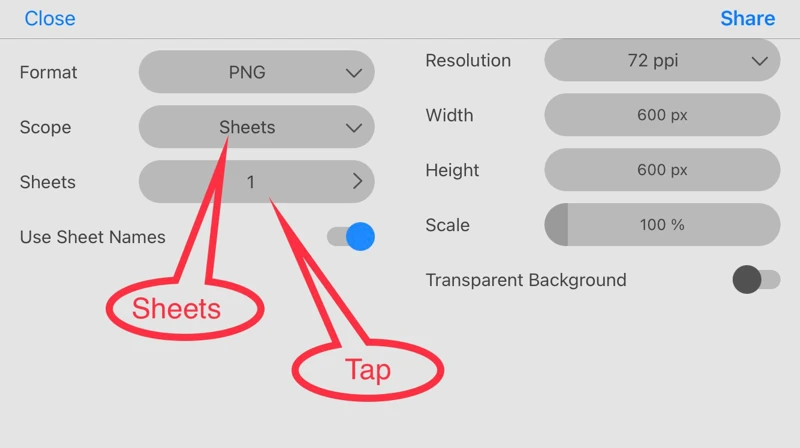
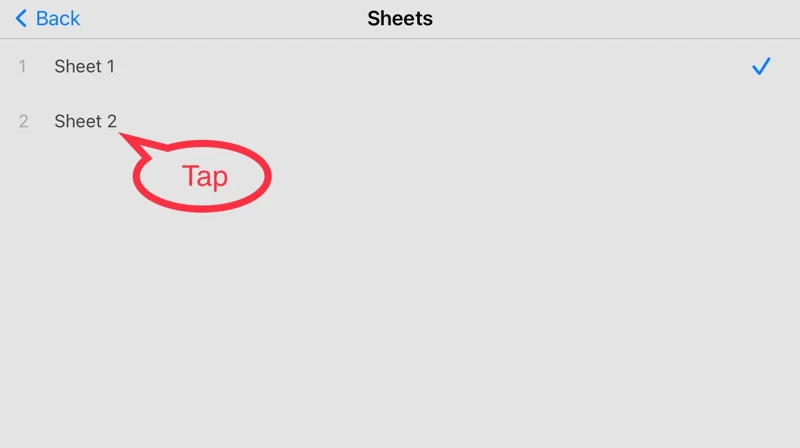
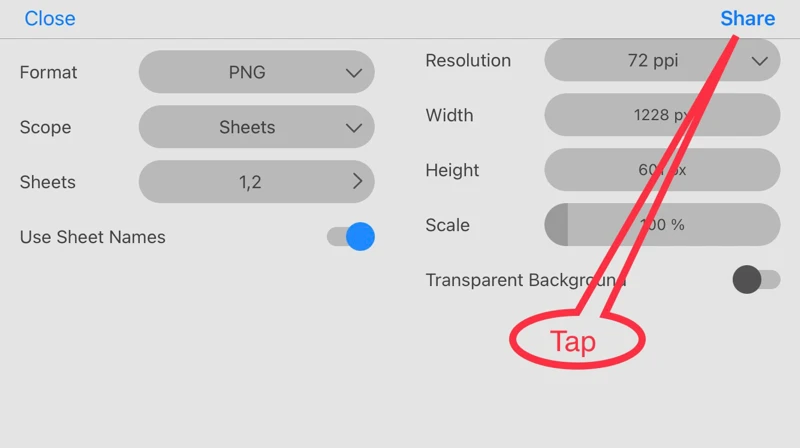
The image for each sheet is output.
Create a guide for the cropped area of the Featured image
Featured images will be cropped into squares when shared on Facebook and Twitter.
When the aspect ratio is 16x9, a 9x9 square in the center of the image would be displayed on the SNS.
For this reason, when using it for a rectangular Featured image, you should be careful that the cropped image is fine when shared on social media.
The sheet function is useful for checking the location of this crop.
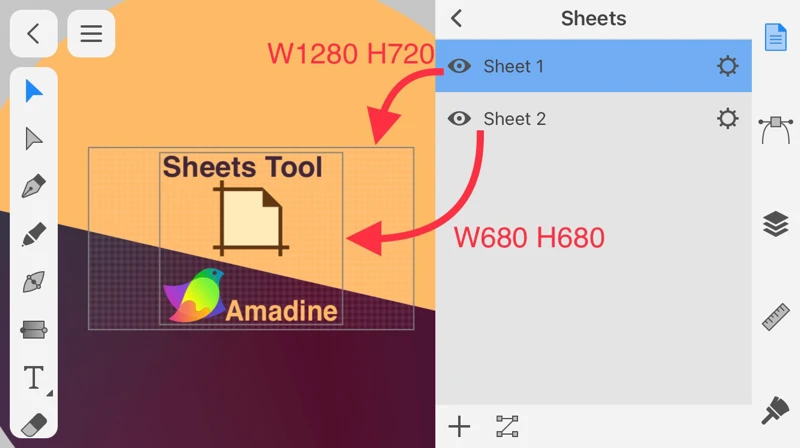
Create Sheet 2 with a Width of 680 and a Height of 680 and place it in the center of Sheet 1, the output range.
When you output Sheet 1 in PNG format, the border of Sheet 2 disappears on the output image.
The sheet function is useful as a guide to see what is displayed when shared on Facebook and Twitter.

